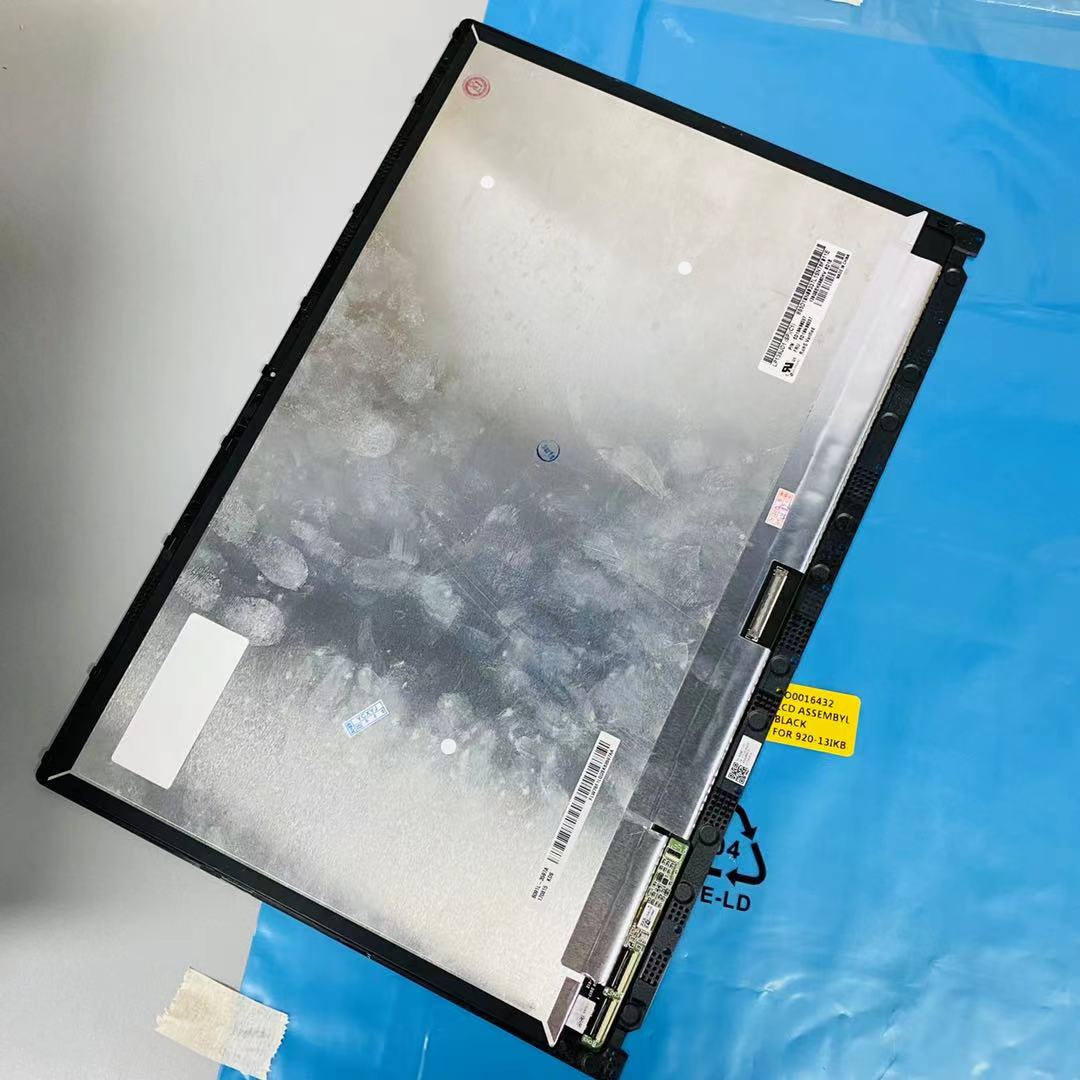
Lenovo Yoga 920-13IKB Audio Jack Replacement
Duration: 45 minutes
Steps: 13 Steps
In this guide, we’ll walk you through the process of swapping out the audio jack on your Lenovo Yoga 920-13IKB. Let’s get those tunes playing again!
Step 1


Flip your gadget upside down like it’s doing yoga so you can get to those sneaky screws on the back cover.
– Unscrew the ten 5mm Torx T5 screws on the back cover to free it up—like unlocking a secret door!
Step 2


– Sneak the opening tool under the back cover—it’s your best bud for lifting stubborn covers. Just wiggle it gently, and let it do the heavy lifting!
– Grab the cover and give it a little upward tug to unhook that pesky tab in the center. It’s like releasing a tiny latch—easy peasy!
Tools Used

Step 3


– Unscrew those twelve 5mm Phillips #00 screws holding the motherboard down—think of it as setting your motherboard free!
Step 4


– Gently pop up the ten flat connectors holding the motherboard using your handy Opening Tool. Take your time and free that motherboard like a pro!
Tools Used
Step 5


– Gently pull out the ribbon cables from the opened connectors using tweezers to give that motherboard some breathing room.
Tools Used

Step 6
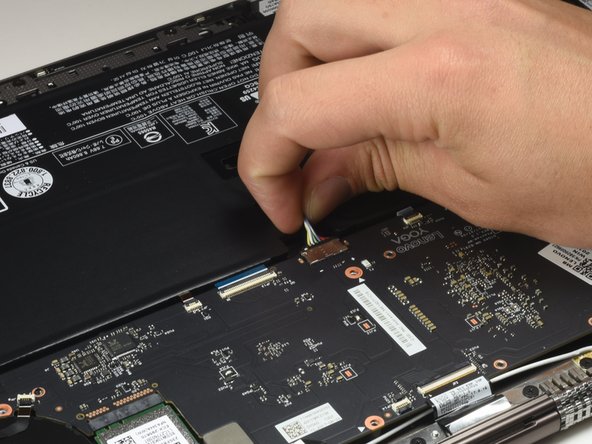

– Let’s get started! To disconnect the battery, simply pull the ribbon wire grouping out of the top of the motherboard. Easy peasy!
Step 7


– Gently wiggle and detach the black and red wire from the motherboard using tweezers—for a smooth move that your device will thank you for later!
Tools Used
Step 8


Hold up—don’t yank the motherboard all the way out just yet! Make sure the green AC card is disconnected first.
– Carefully lift the motherboard, keeping it level and parallel to the device’s hinge.
– Gently tug the motherboard away from the USB-C and audio jack ports, then remove it from the device casing. Take your time here—no need to rush!
Step 9

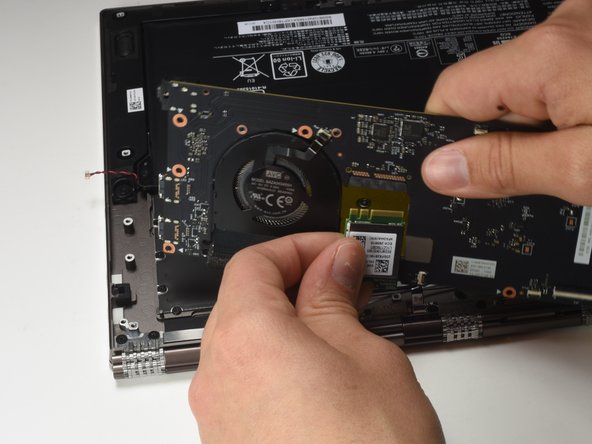

– Gently unplug that green AC card from the motherboard by pulling it out with your hands—easy peasy!
Step 10

– Flip the motherboard over so you can get to the backside. Trust us, the adventure gets even cooler from here.
Step 11


When you take the screws out of the motherboard, they like to stick around with the speaker. It’s their way of saying, ‘Don’t forget about us!’
– Alright, gear up! Unscrew and free up those four 3mm JIS #00 screws using your handy screwdriver—you’re totally nailing this!
– Next up, unfasten that lone 3mm Phillips #00 screw with the screwdriver. You’re one step closer to victory!
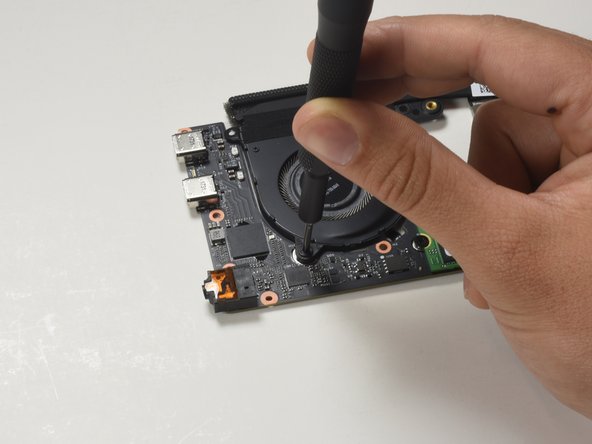
Step 12

– Detach those fans from the motherboard so you can give the board a proper spotlight for its replacement. You got this!
Step 13

– To put your device back together, just work through these steps in reverse. If you need help, you can always schedule a repair.
–
Success!