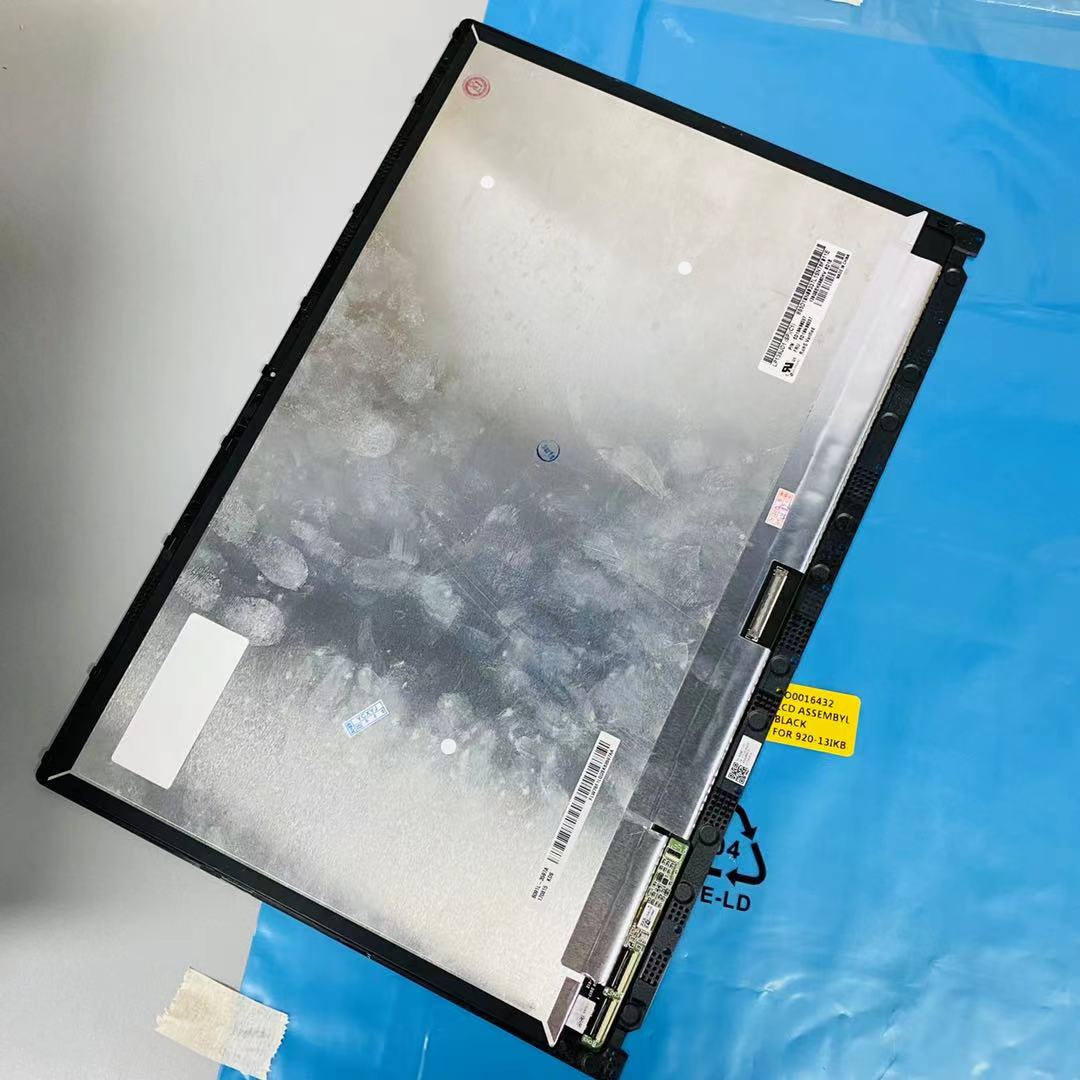
Lenovo Yoga 920-13IKB Battery Replacement
Duration: 45 minutes
Steps: 6 Steps
Ready to breathe new life into your Lenovo Yoga 920-13IKB? This guide will walk you through the steps to swap out its battery and keep your device running smoothly. Grab your tools, stay chill, and let’s get started!
Step 1
Turn the device over to reveal the screws hiding beneath the back cover.
– Grab your trusty Torx T5 screwdriver and remove the ten 5mm screws on the back cover. Once they’re out, the back cover should come loose, ready for the next step!
Step 2
– Sneak the opening tool under the back cover and give it a gentle nudge to pop it up.
– Grab the cover and lift it with confidence to unhook the tab holding it snugly in the center.
Tools Used
Step 3
– Unscrew those four 5mm Phillips #00 screws that are keeping the battery snug as a bug. You’ve got this!
Step 4
Before you yank that battery out, make sure it’s disconnected from the motherboard to avoid any shocking surprises or damage!
There’s a little gathering of wires hanging out under the slim flap smack-dab in the middle of the battery—yep, that’s where you’ll find it!
– Gently grasp the bundle of wires near the connector and give a light tug to separate the battery from the motherboard. You’ve got this!
Step 5
– Use your trusty opening tool to carefully pry the battery up until you can get a good grip on it with your hands.
Tools Used
Step 6
– Put your device back together by following the steps in reverse. It’s like a tech time machine—but cooler!
– If you need help, you can always schedule a repair.
Success!


