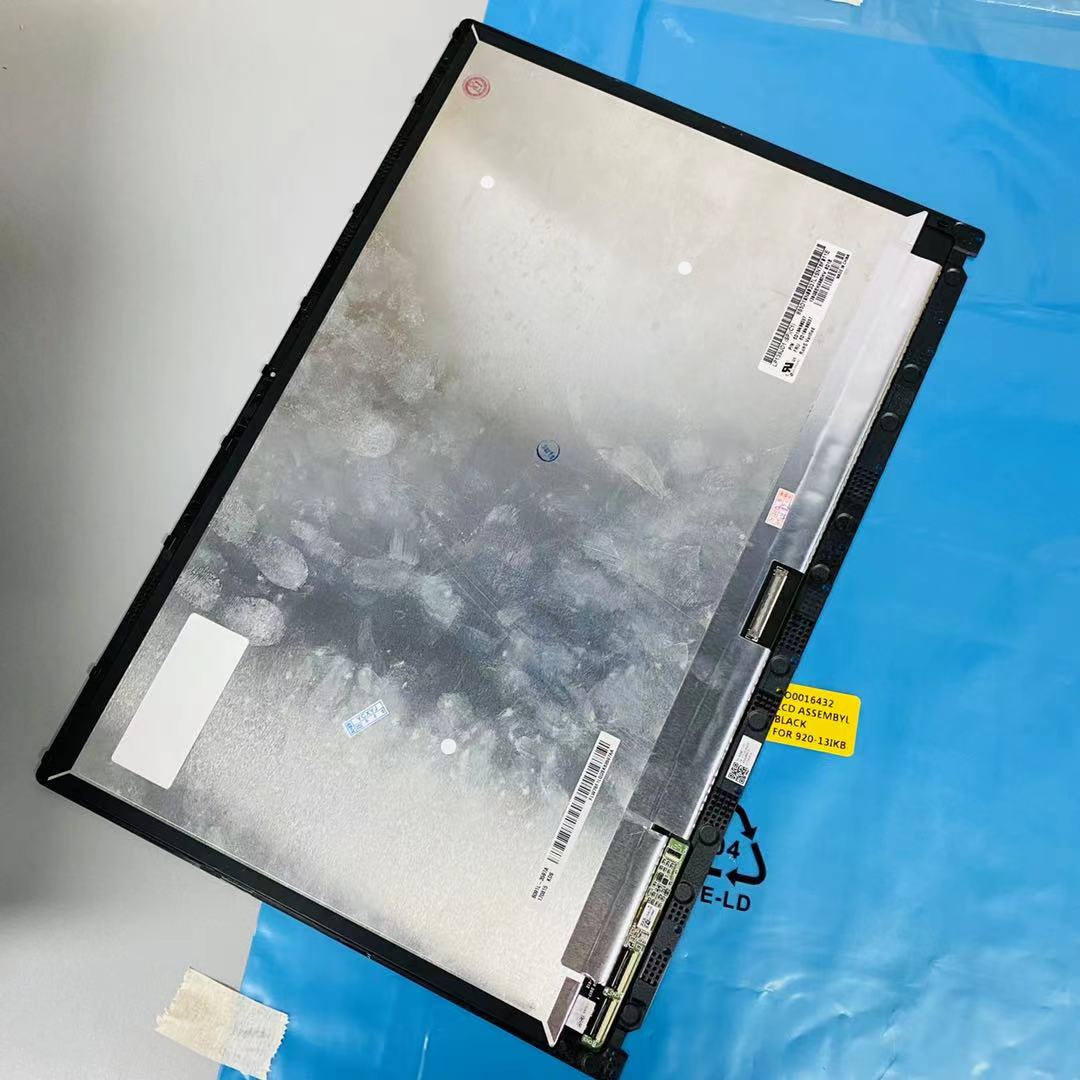
Lenovo Yoga 920-13IKB Fingerprint Sensor Replacement
Duration: 45 minutes
Steps: 11 Steps
Get ready to dive into some fun tech magic as we guide you through the process of swapping out the fingerprint sensor on your Lenovo Yoga 920-13IKB. It’s easier than it sounds, and with a little bit of patience, you’ll have your device back to its snazzy self in no time! If you find yourself in a pinch, remember, you can always schedule a repair.
Step 1
Flip your device onto its back, like you’re giving it a nice stretch, and get ready to tackle those screws holding the back cover.
– Unscrew the ten 5mm Torx T5 screws on the back cover to free it up—like unlocking a secret door!
Step 2
– Slide the opening tool under the back cover and gently wiggle it around like you’re sneaking candy past a movie usher—just enough to pop it loose.
– Grab the cover and give it a confident tug to free the tab holding the center down. You’re doing great—keep at it!
Tools Used
Step 3
– Let’s get started! Remove the four 5mm Phillips #00 screws that hold the battery in place. This is the first step in freeing your battery from its compartment.
Step 4
Before you lift that battery out, make sure it’s fully disconnected from the motherboard. You don’t want to accidentally cause any shortages or damage. Take your time, it’s all about being careful!
The wire bundle is tucked away just under the slim flap near the center of the battery. Take a peek there when you’re ready to move forward!
– Pinch those wires near the connector between your fingers and give a gentle tug to free the battery from the motherboard. Easy peasy!
Step 5
– Grab the Opening Tool and use it to gently lift the battery until you can easily grab it with your hands.
Tools Used
Step 6
– Take out the battery, like a tech-savvy ninja!
Step 7
– Unscrew the 3mm Phillips #00 screw to free up the sensor. Easy does it!
Step 8
– Gently lift the cover of the fingerprint sensor with the iFixit Opening Tool and take it off like a pro!
Tools Used
Step 9
– Lift the tab on the cable connector with the Opening Tool and free that ribbon wire—you’re rocking this repair process!
Tools Used
Step 10
– Carefully unplug the ribbon wire from the sensor to set the sensor free — it’s like liberating a tiny superhero!
Step 11
– Gently pop up the fingerprint sensor using your opening tool, and set it free from the device.
Tools Used
Success!


