Lenovo Yoga Tab 3 10 Motherboard Replacement
Duration: 45 minutes
Steps: 5 Steps
Step 1

– Swing open the built-in kickstand and give your device a sturdy base—it’s like a mini superhero cape for your tech!
Step 2


– Peel off the sticker hiding out under the built-in kickstand, and voilà—you’ll uncover two 0.75 mm screws waiting to be freed!
– Slide the microSD card slot cover away, and don’t forget to remove any microSD card hanging out inside, if one’s tucked in there.
– Grab your trusty Phillips head screwdriver and unscrew those three 0.75 mm screws like a pro. You’ve got this!
Step 3


You might need a little bit of muscle to pop off those small plastic braces holding the backplate in place. Don’t worry, you’re on the right track!
– Set the device up so the screen is staring right at you. Time to get to the real fun part!
– Gently wiggle your spudger into the seam between the screen and the back cover. Work it carefully to start separating the back cover from the frame—don’t rush it; you’re doing great!
– Take a victory lap around the perimeter with your spudger to fully detach that backplate from the frame. Keep it smooth and steady!
Step 4

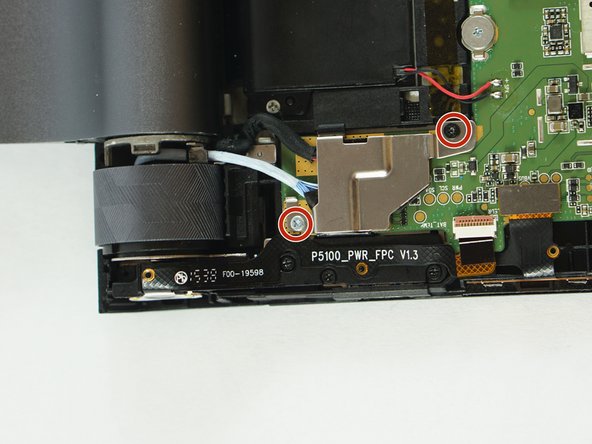
– Start by finding the screws on the motherboard, wire cover assembly, and speakers. They’re hiding, but not too well!
– Grab your trusty J000 screwdriver and carefully unscrew the ones on the motherboard, wire cover, and the two speakers. Take your time, you’ve got this!
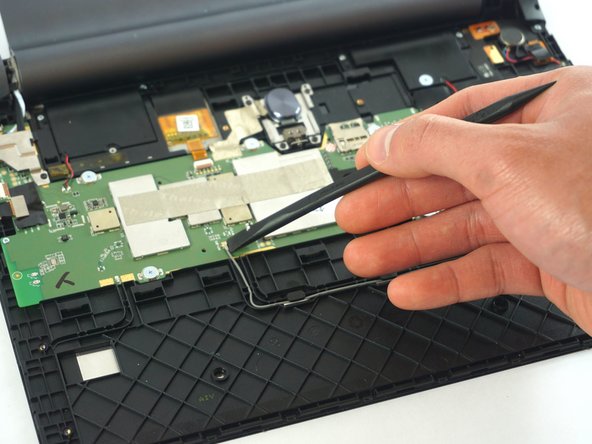
– Disconnect the wifi connector from the motherboard. It’s like giving it some breathing room, so be gentle!
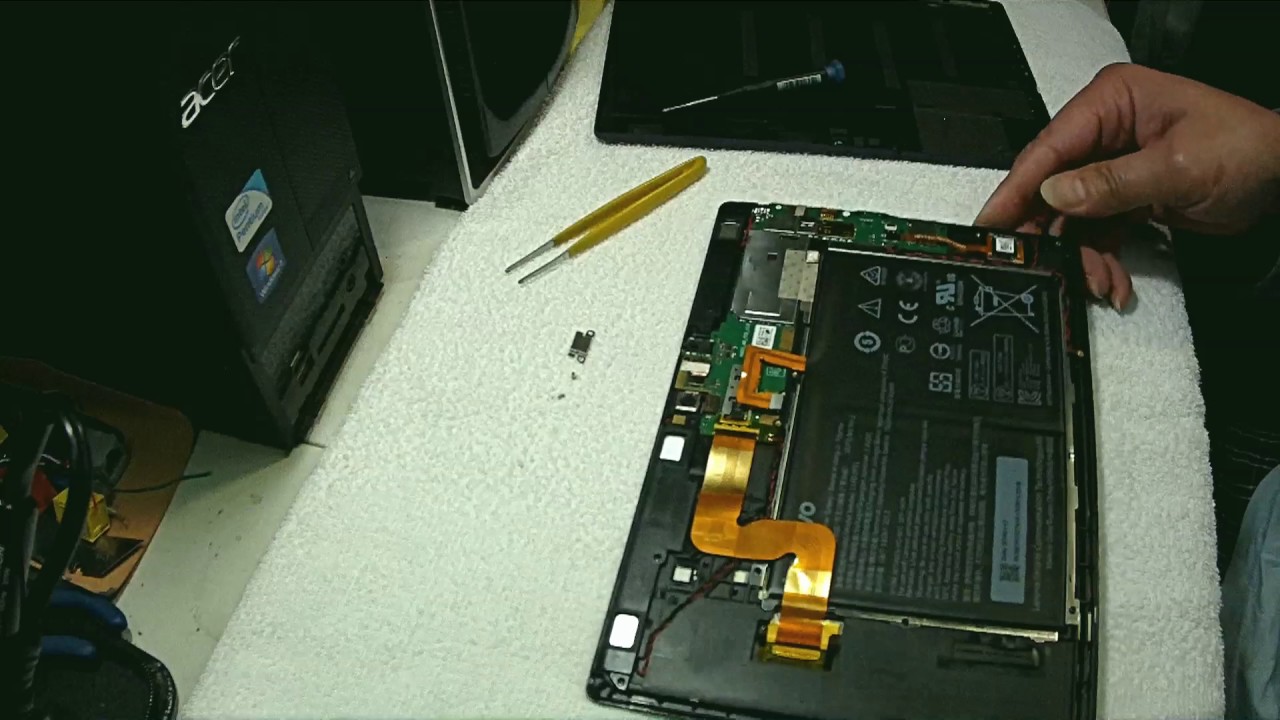
Step 5
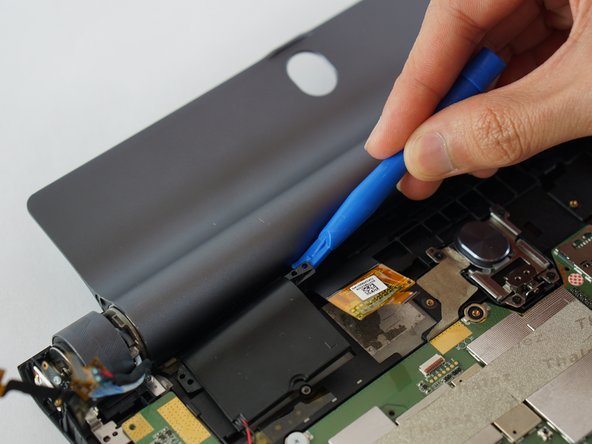

– Grab your spudger and gently pop those speakers up—there’s just a tiny adhesive strip holding them down.
– Slide the spudger into the top-left corner of the motherboard, then lift it up like a pro to peel it off the adhesive underneath.
– Carefully lift the motherboard away, and you’re on your way to victory!
Success!