Lenovo Yoga Tab 3 10 Wifi Module Replacement
Duration: 45 minutes
Steps: 7 Steps
Get ready to boost your device’s wifi capabilities! This step-by-step guide will walk you through replacing your wifi module. If you’re feeling stuck or unsure, don’t worry – we’ve got you covered. Follow along and you’ll be back online in no time. If you need help, you can always schedule a repair.
Step 1

– Swing open the built-in kickstand and give your device a sturdy base—it’s like a mini superhero cape for your tech!
Step 2


– Peel off the sticker right beneath the built-in kickstand to uncover two sneaky little 0.75 mm screws just waiting to be removed.
– Take off the microSD card slot cover and gently pull out any microSD card that might be hanging out in there.
– Grab your trusty Phillips head screwdriver and unscrew those three 0.75 mm screws like a pro!
Step 3


You’ll need a bit of oomph to pop off those tiny plastic braces holding the backplate in place. No worries—you’re doing great!
– Position the device so the screen is facing you like a star performer.
– Slide the spudger gently along the seam between the screen and back cover, keeping it smooth and steady as you work to separate the back cover from the device frame.
– Keep detaching that backplate like a pro! Glide the spudger all around the edges until the cover comes off.
Step 4


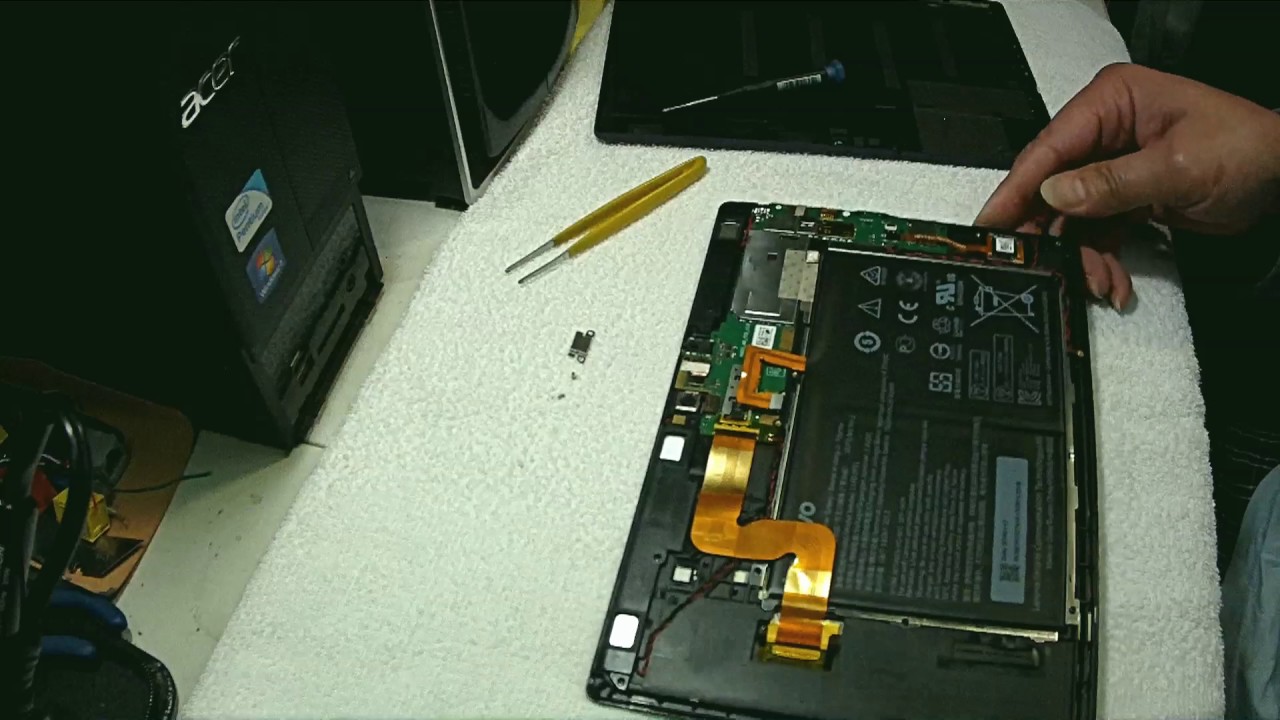
– Grab that trusty nylon spudger and carefully peel up the foil cover on the Wi-Fi module—think of it as unwrapping a tiny tech treasure.
Step 5

– Grab your trusty tweezers and carefully peel back that shiny gold tape right above the copper foil—smooth and steady does it!
Tools Used

Step 6

– Grab your trusty plastic spudger and gently pry the wifi module connector away from the motherboard. You’re doing great!
Step 7


– Gently wiggle and lift the wifi module out of the device—take your time, it’s a delicate dance!
Success!