Lenovo Yoga Tab 3 8 LCD Replacement
Duration: 45 minutes
Steps: 6 Steps
So, you’re dealing with a cracked, broken, or glitchy LCD screen on your Lenovo Yoga Tab 3 8. No worries, we’ve got you covered! Before diving in, make sure you back up any important files—just in case things get wild. Power off the device to keep yourself and the hardware safe. As you go, keep track of those tiny screws so they don’t wander off into oblivion (trust us, it happens). Be extra careful when removing the LCD, especially if it’s already cracked—no one wants a screen explosion! Grab some heavy-duty gloves and safety glasses to stay injury-free and make this process as smooth as possible. If you need help, you can always schedule a repair.
Step 1


– First, let’s get this repair started by opening the kickstand – just press that release button in the center and you’re good to go!
– Next, carefully remove the identification sticker with a pair of tweezers to expose the two 2mm screws hiding underneath. Easy peasy!
Tools Used

Step 2

Now, look for the third 2mm screw to the right – it might be hiding under an S sticker, so gently scrape it off if you need to.
– Let’s get started by removing the three 2mm screws hidden under the kickstand. Grab your trusty PH00 screwdriver and get to work!
Step 3


As you lift the back off the device, watch out for the power button—it might try to make a sneaky escape! Keep an eye on it so it doesn’t vanish into the abyss.
Underneath the SD card slot, there’s some sneaky adhesive hanging out. Just remember to gently apply a bit of force to pop that adhesive loose!
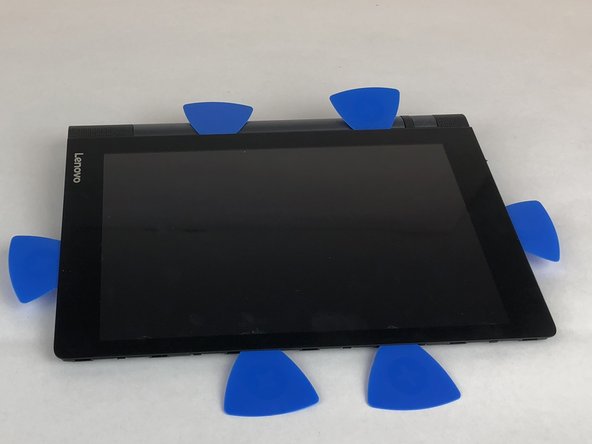
– Begin at the edge that’s away from the hinge and gently slide a plastic opening tool between the screen and the back cover. This will help you pop open those little clips that are holding everything together.
– Continue working your way along the edge and up the sides, using that trusty plastic opening tool to separate the clips as you go.
Step 4
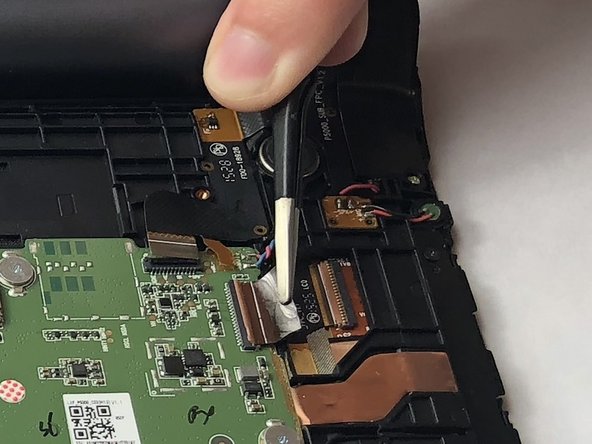

– Flip your device so it’s lying screen-down with the hinge farthest from you. Look to the left of the kickstand lock, and you’ll spot the tiny copper-and-white LCD connection on the motherboard. Flip the lock up with tweezers—it’s easier than wrestling a pickle jar lid—and then use those trusty tweezers to gently pull the wire out. No tug-of-war needed!
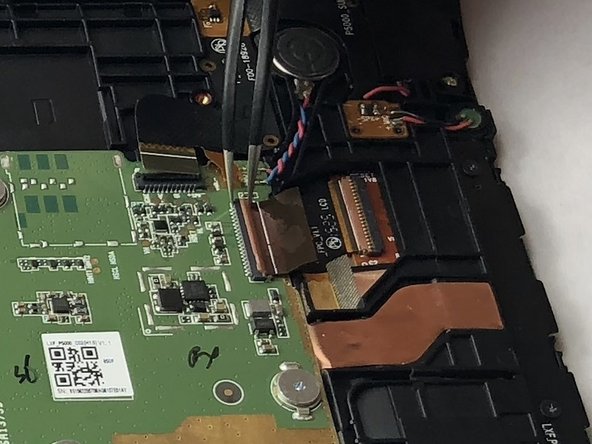
– Now, turn your focus to the right edge of the motherboard. There, you’ll find the larger, brown-and-black LCD connection. Flip the lock open like you’re lifting the lid on something exciting, and then smoothly pull the wire out using tweezers. Easy-peasy!
Tools Used
Step 5


Hey there! Just a friendly reminder to be gentle with those opening picks—don’t push them in too far, or you might end up giving your LCD a bad day!
And when you’re prying the LCD, take it easy! If it feels stuck, don’t force it. A little heat from your iOpener can work wonders—just reheat and give it another go if the adhesive isn’t cooperating!
– Warm up the iOpener and place it flat along the edge of the LCD for about 2-5 minutes to get that adhesive nice and loose.
– Next, grab a plastic opening tool and gently slide it under the LCD. Carefully lift it off the adhesive, and as you go, insert opening picks around all four edges to keep things from sticking back together.
Tools Used

Step 6

– Gently lift the LCD out with your fingers, taking care not to get the wires caught – you’re almost there!
Success!