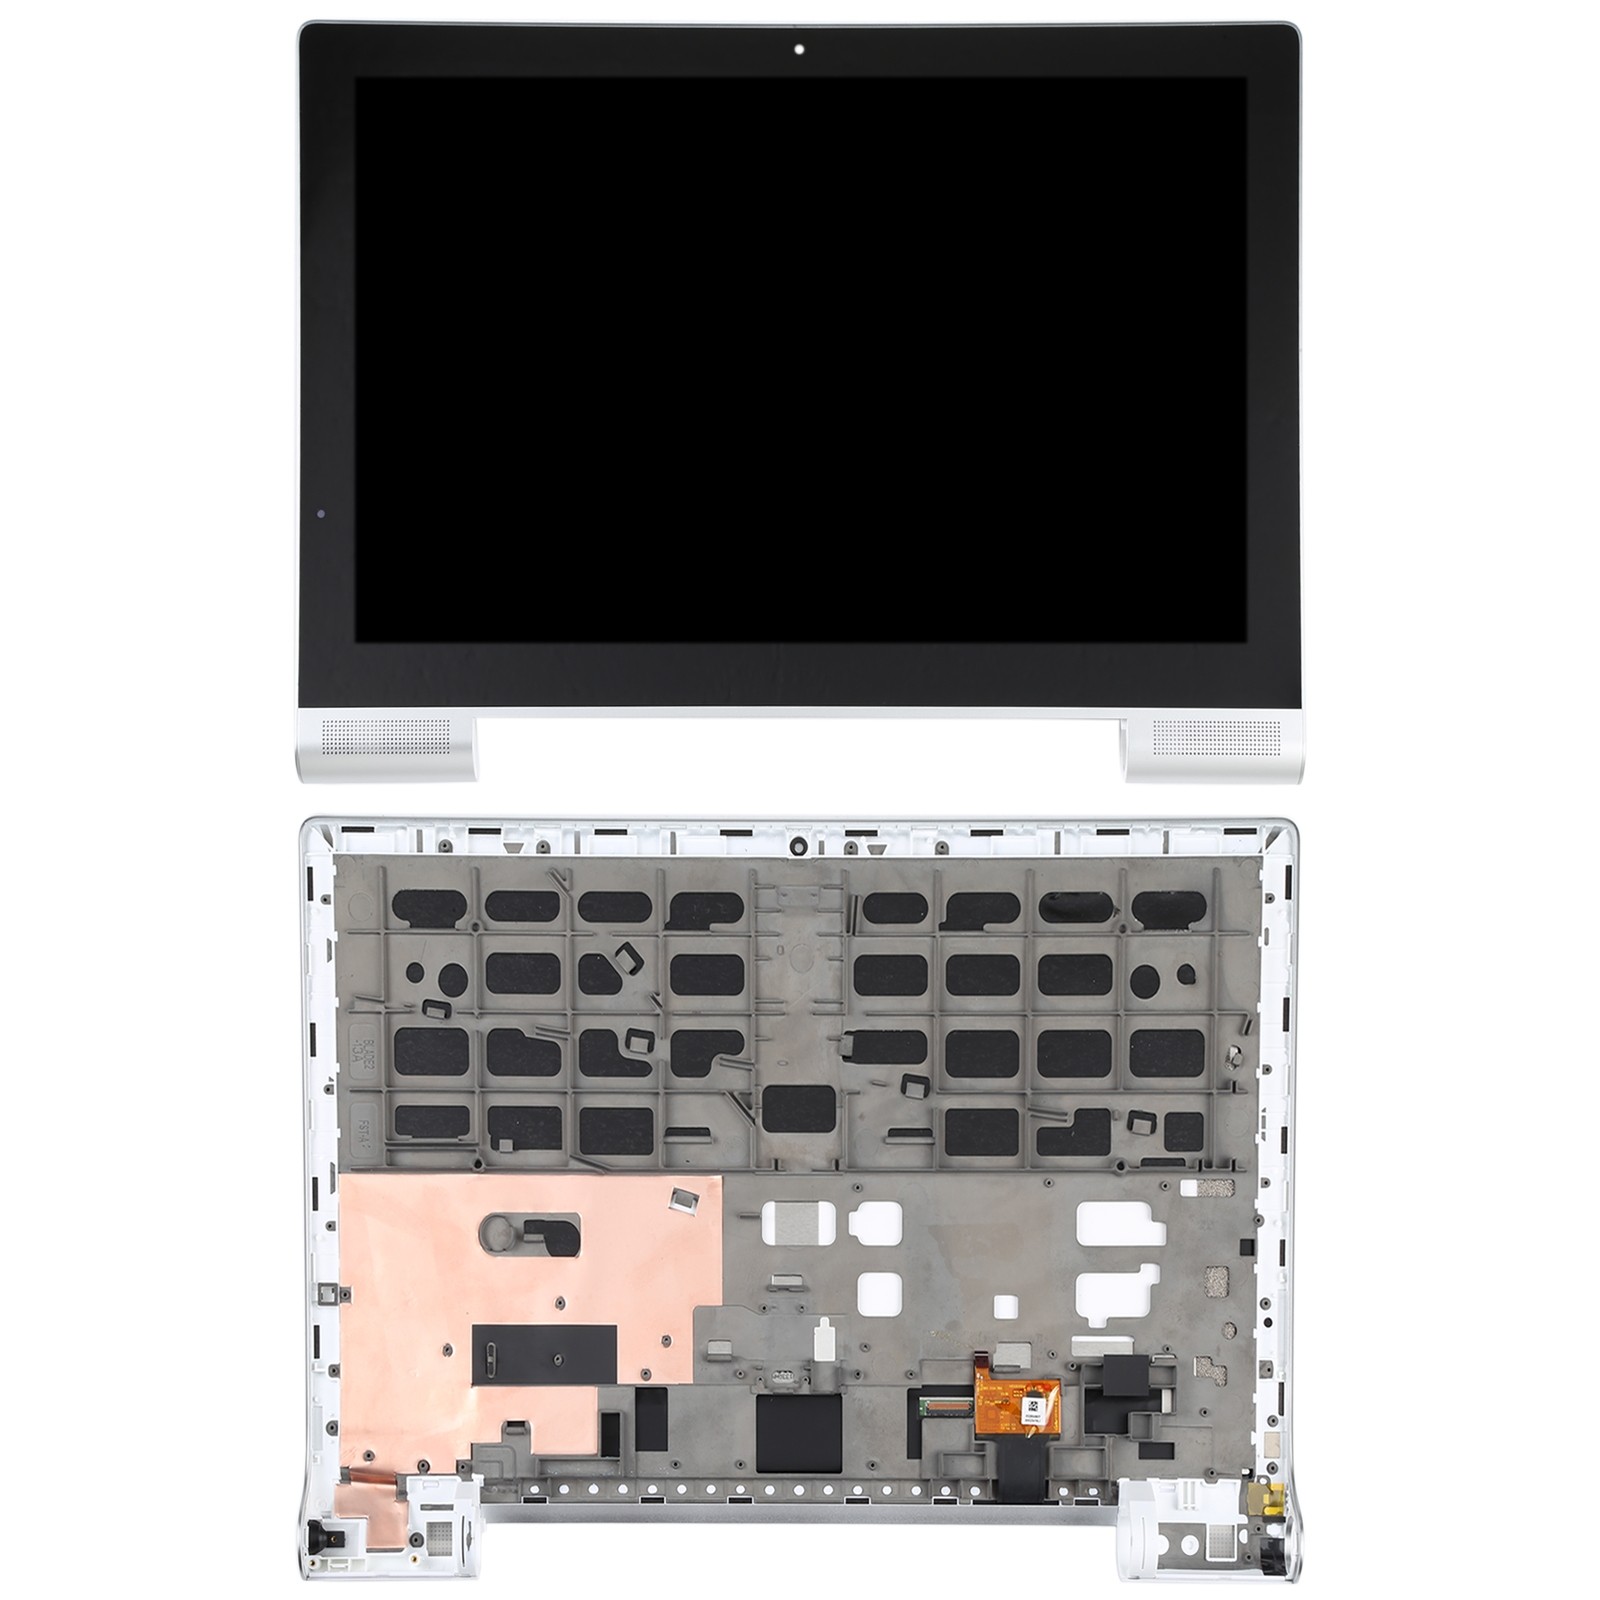
Lenovo Yoga Tablet 10 Headphone Jack Replacement
Duration: 45 minutes
Steps: 7 Steps
Before you dive in, make sure you know how to pop off the back cover—trust me, it’ll make everything else way smoother.
Step 1

You’ll find these screws hiding out behind the stand.
Ours decided not to show up to the party.
– Let’s get started by removing the two tiny Phillips #000 screws. Yep, they’re small, but don’t worry, you’ve got this!
Step 2

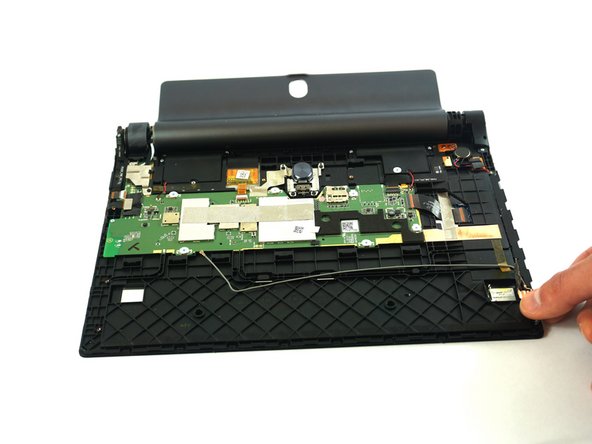
Hold up! Before you go yanking off the back cover, make sure you’ve tried Step three first. Going in too soon could leave you with a broken back cover. Patience is key!
– Grab your trusty plastic opening tool and use it to carefully pry the edges of the back case loose. Simply slide it between the edge of the cover and the screen, and gently work your way around to release the back case.
Tools Used

Step 3

– Grab your trusty spudger and gently slide it into the heart of the device. With a little upward nudge, coax the back case to pop off. You’re doing great!
Tools Used

Step 4


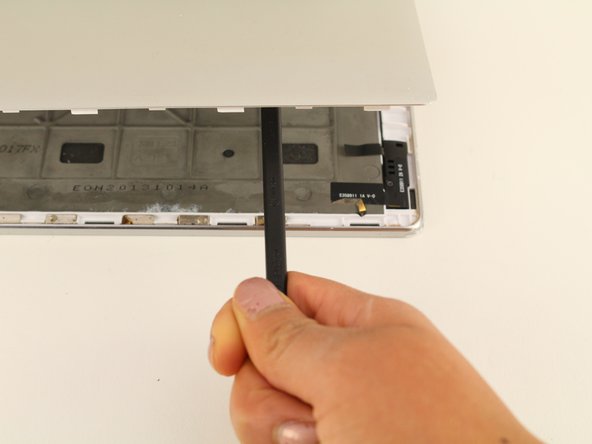
– Gently pluck the headphone jack cover with your tweezers, giving it a little pull straight up and away from your device. You’ve got this!
Step 5


– Let’s get started by removing the two 3.5mm screws. Grab your trusty Phillips #00 Screwdriver and get to work!
Step 6


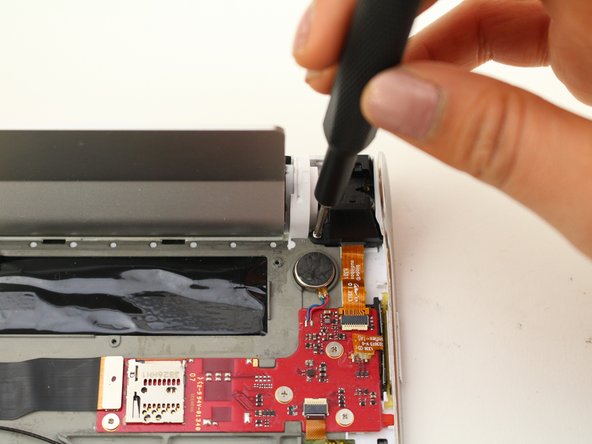
– Gently slide your trusty spudger between the headphone jack and the motherboard, then give it a little push upwards toward yourself. You’ve got this!
– Now, give that wire a gentle tug toward the headphone jack to disconnect it. Easy peasy!
Tools Used
Step 7


– To put everything back together, just work your way through these steps in reverse – easy peasy!
– You made it! If you need help with another repair or have any questions, you can always schedule a repair
Success!