Lenovo Yoga Tablet 2 830-F Battery Replacement
Duration: 45 minutes
Steps: 7 Steps
Alright, time to get things rolling! Before you dive in, grab yourself a fresh replacement battery from a retailer of your choice. Make sure your device is powered down and set yourself up in a nice, clutter-free workspace that’s free of static—because no one likes surprise sparks. Let’s do this!
Step 1


– First, let’s get started by removing two tiny 3mm screws from the back of your device using a Phillips #00 bit – easy peasy!
– Next, take out the single 2mm screw with that same trusty Phillips #00 bit.
– Now, it’s time to get a little gentle – use a blue opening tool or spudger to carefully pry off the back cover, and voila! Your tablet’s interior will be revealed.
Tools Used

Step 2


Some ribbon cables are held in place by little clips—just flip those clips up before gently sliding the cables out of their connectors.
– Unscrew the six 3mm screws holding the back of the motherboard in place—grab that Phillips #00 bit and get to work!
– Now tackle the three 3mm screws securing the back of the secondary board, same Phillips #00 bit for the win!
– Gently disconnect the ribbon cables linking the boards to the other electrical components—take your time, no yanking!
– Carefully release the ZIF connectors joining the boards to the other electrical components—easy does it, you’re doing great!
Step 3


– Start by loosening the three 2mm screws on the back of the left speaker module with your trusty Phillips Screwdriver #00 bit.
– Now, repeat the same for the right speaker module—three 2mm screws waiting for you to unscrew them with your Phillips Screwdriver #00 bit.
– Once the screws are free, carefully remove both the left and right speaker modules. You got this!
Step 4


You might need to put a little muscle into this part. If it feels like the white plastic holder is about to snap, try using the spudger from another angle.
Skip the right side—always use the spudger on the left side only.
– Grab your trusty blue opening tool or spudger and get ready—it’s time to pop off that battery compartment! You’ll find it chilling on the right-hand side of the back, so gently pry it loose like you’re unveiling a hidden treasure. Patience is key—no need to force it!
Tools Used
Step 5


– Time to get started! Use your fingernail to carefully pry off that metallic sticker and reveal the screw hiding underneath.
– Now it’s time for some screw-removing action! Grab your trusty Phillips Screwdriver #00 bit and remove the 3mm screw that was under the sticker.
– Okay, this part might take a bit of finesse – use your tweezers to gently (but firmly) pull off the black clip that’s holding the battery compartment in place. Don’t worry if it takes some effort, you got this!
Tools Used

Step 6

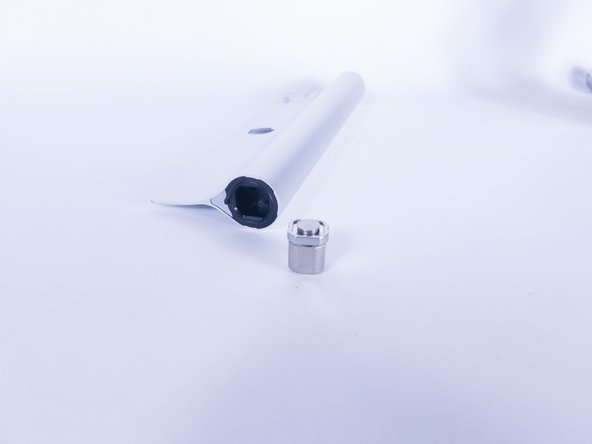
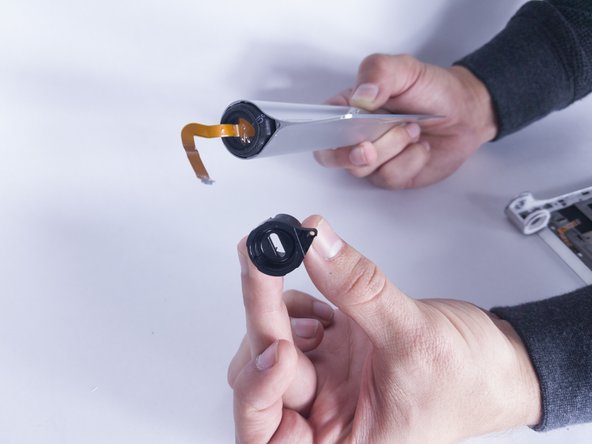
– Pop off the hinge clip from one side of the battery compartment. A spudger tool can help if it’s a bit tricky.
– Once that’s done, the battery should easily slide out of the compartment. No sweat!
Tools Used
Step 7


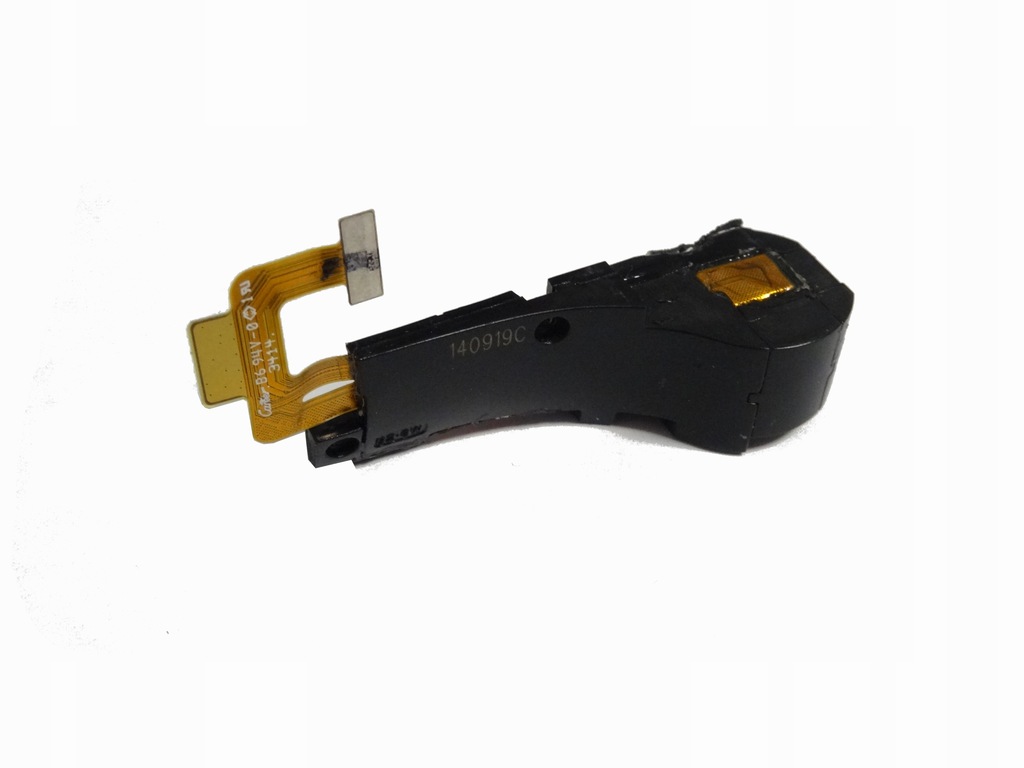
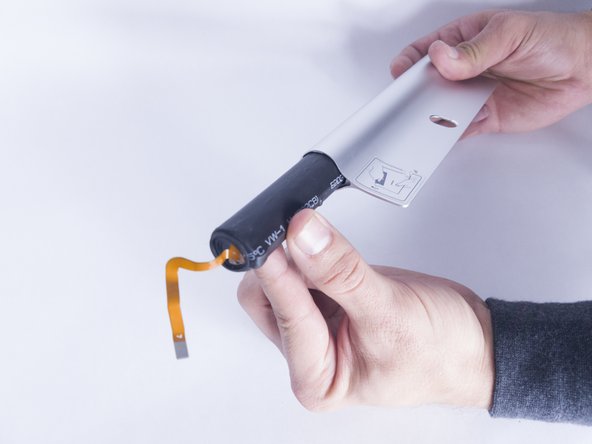
Watch out for the ribbon cable on your new battery—keep it safe and tangle-free as you slide it into place and put everything back together.
– To put everything back together, just reverse the steps you followed to take it apart.
– You did it! If you need help with another repair or have any questions, you can always schedule a repair
Success!