Lenovo Yoga Tablet 2 830-F Display Replacement
Duration: 45 minutes
Steps: 4 Steps
Get ready to breathe new life into your Lenovo Yoga Tablet 2 830-F by replacing that damaged display. This step-by-step guide from Salvation Repair will walk you through the process, helping you navigate each step with care to avoid any extra damage. If you’re feeling stuck or unsure, don’t worry – we’ve got you covered.
Step 1


– Unscrew the three sneaky little screws from the back of your device using a Phillips Screwdriver #00 bit—trust me, they’ll thank you for the attention.
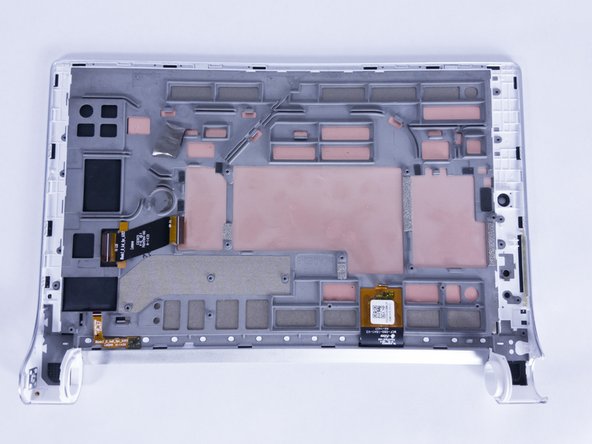
– With a blue opening tool or spudger in hand, gently pop off that back cover to reveal the tablet’s inner secrets. Go slow, you’re doing great!
Tools Used

Step 2


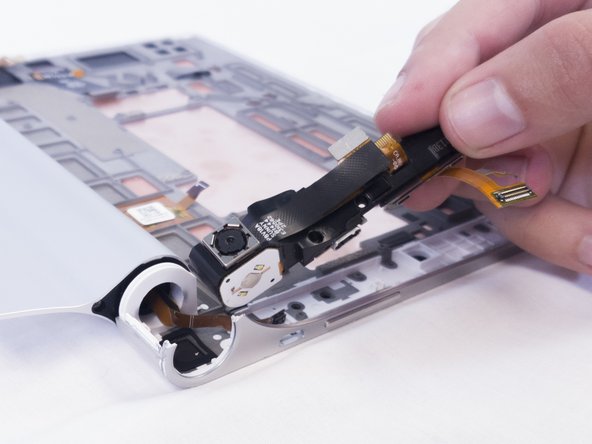
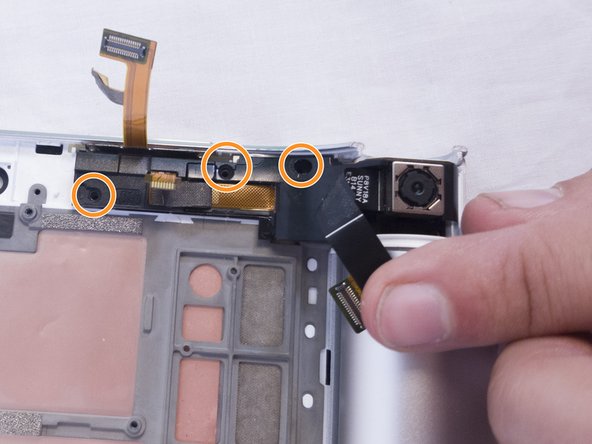
To release some of those ribbon cables, just give the clips a gentle nudge upward before sliding them out of their pin connectors. You’ve got this!
– Let’s get started by unscrewing those six little screws on the back of the motherboard using your trusty Phillips Screwdriver #00 bit.
– Next up, it’s time to tackle the three screws on the back of the secondary board, again with that same Phillips Screwdriver #00 bit.
– Finally, carefully disconnect the ribbon cables that link the boards to the other electronic components. You’re almost there!
Step 3

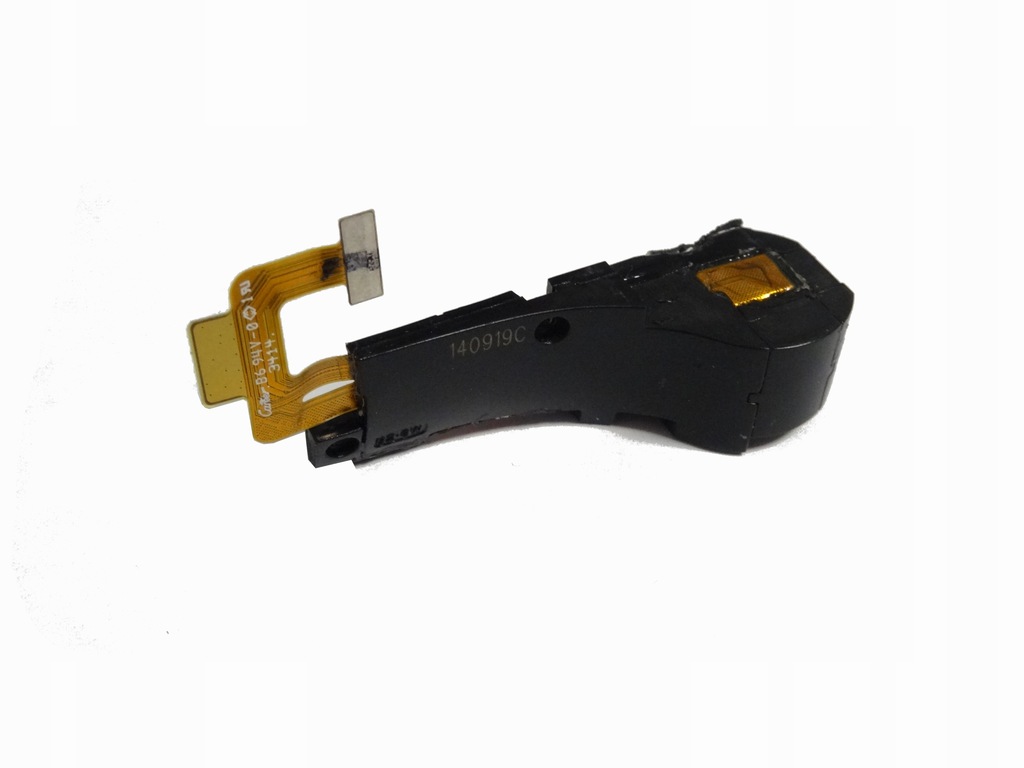
Carefully lift out the left and right speaker modules—it’s like setting them free from their cozy spots!
– Grab your Phillips Screwdriver #00 bit—time to send these screws packing! Remove the three 2mm screws securing the back of the left speaker module.
– Now, let’s give the right speaker module the same treatment—out go the three 2mm screws on the back.
Step 4

Be prepared to use a bit of elbow grease here – you might need to apply some decent force to get this done. If you’re worried about breaking the white plastic holder, try tweaking the angle of your spudger to find a sweet spot.
Remember to keep your spudger on the left side of the device – using it on the right side just won’t work, so let’s stick to the left!
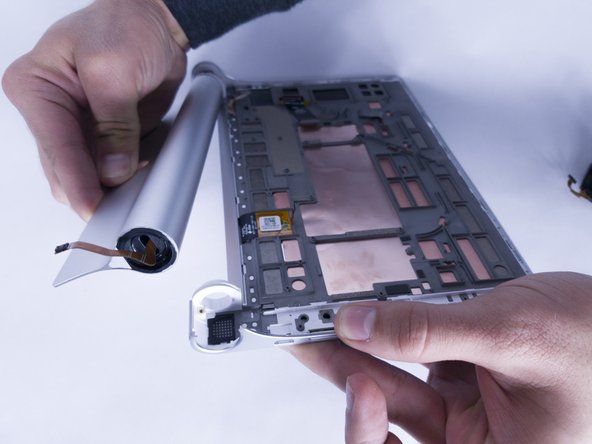
The screen and its casing are a combined unit, so you’ll need to snag them as a duo.
– Let’s get that battery compartment open. Use your trusty opening tool to carefully pry it off the right-hand side of the back. Take your time, it’s easier than you think!
Tools Used
Success!