Lexibook Junior Tablet Speaker Replacement
Duration: 45 minutes
Steps: 6 Steps
Get ready to roll up your sleeves and tackle this repair with confidence! To succeed, you’ll need to have some soldering skills under your belt and be prepared to remove the battery. Don’t worry, we’ve got you covered with this step-by-step guide. If you’re not feeling up to the challenge, you can always schedule a repair with Salvation Repair.
Step 1

Before you start, make sure your device is powered off – we don’t want any accidental shocks or damage!
– Alright, let’s get started! Flip your device over so the screen is facing down. Grab that trusty metal spudger and gently pop off the little rubber circles at each corner. Voila, those screws are now in plain sight!
– Next up, still using your metal spudger, carefully pry open the slender rubber rectangle on the back of your device. That’ll uncover even more screws waiting to be revealed!
Tools Used


Step 2

– Grab your trusty Phillips #00 screwdriver and carefully unscrew the four 6.8mm screws from each corner of the device. They’re like little fasteners holding it together, so take your time!
– Still using that same screwdriver? Perfect! Now, go ahead and remove the three screws hidden behind the rubber rectangle. Don’t worry, they stay in place, just waiting for their moment to shine.
– Next, take your plastic opening tool and gently wiggle it between the back panel and the device. Ease it open like you’re peeling an orange – slowly and carefully. No need to rush!
Tools Used

Step 3

Take it slow and steady—patience is key! Be sure not to damage the battery or the metal plate during this step. A nylon spudger is your best friend here, so stick with it and you’ll do great. It’s all about careful work for the best outcome!
– Grab your trusty nylon spudger and gently work it under the battery to lift it out. Take it slow, it should come right out without a hitch.
Tools Used
Step 4

If you’re looking for some tips on soldering, swing by the Soldering Guide—it’s got all the cool tricks you need!
– Gently wield your trusty soldering iron to skillfully detach the battery from the motherboard. You’ve got this!
Tools Used

Step 5

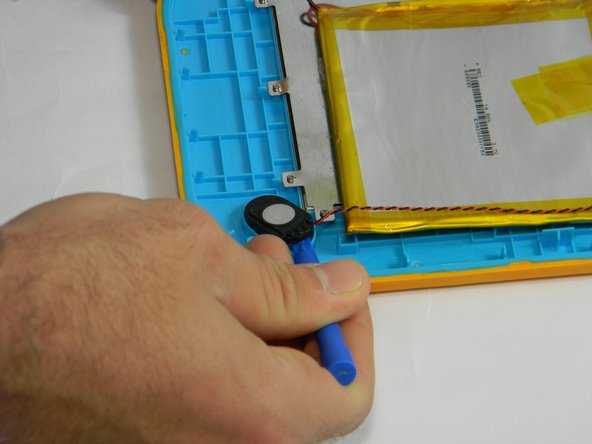
– Grab your trusty plastic opening tool and carefully work your way around the speaker, gently popping it out of its plastic casing. Take your time, it’s a smooth move!
Step 6

– Carefully detach the speaker from the motherboard. It’s a delicate process, so take your time!
– Need a little guidance on soldering? No worries! Check out our helpful soldering guide.
Success!
