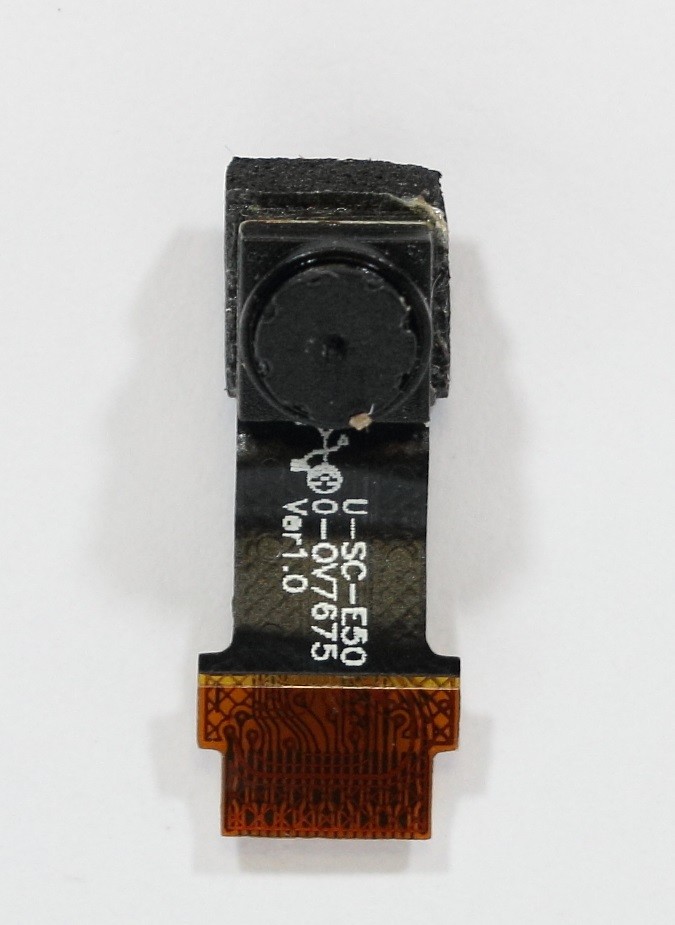
LexiBook Tablet One Camera Replacement
Duration: 45 minutes
Steps: 5 Steps
Get ready to give your LexiBook Tablet One a brand new camera. This step-by-step guide will walk you through the process, including removing the battery. Having a plastic spudger and pencil on hand will make things a whole lot easier. Follow along and you’ll be taking stunning photos in no time. If you need help, you can always schedule a repair
Step 1


Heads up! When cracking this device open, keep an eye on that sneaky speaker wire—it’s just waiting to surprise you. To keep things smooth, pry from the right side with the camera at the top, and you’ll be golden.
– Locate the seam on the device’s casing. Gently insert the blue plastic opening tool and slide it to the sides to carefully release the clips. These clips are cleverly camouflaged within the casing and are approximately 1.5 inches apart from each other.
Step 2


– Grab your spudger and gently slip it between the speaker and the casing. With a little nudge, pop the speaker out, and then set the panel aside. You’re on the right track!
Tools Used

Step 3

Take it easy—watch out for those wires and steer clear of poking through the battery casing while pulling off the adhesive.
You can swap in a similar flat tool if a plastic spudger isn’t handy—easy peasy!
– Time to get that battery out. Use a plastic spudger to carefully pry between the battery and the LCD screen. Work your way around the edges, applying gentle yet firm pressure, until the adhesive lets go. Don’t worry, as long as you’re pushing horizontally, you shouldn’t cause any more damage to the components. Take your time and be patient – it might take a little elbow grease, but you’ve got this.
Tools Used
Step 4

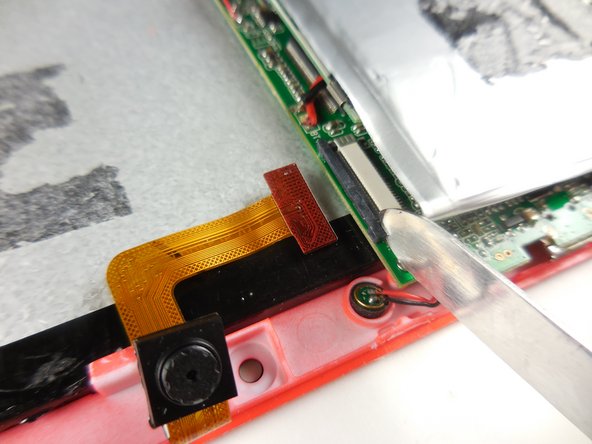
– Pop off the ribbon cable leading to the camera by using a flat-headed tool to lift the ribbon clip—just a pinch of patience here!
– Keep that clip open while you ease the ribbon cable out—steady hands win the day!
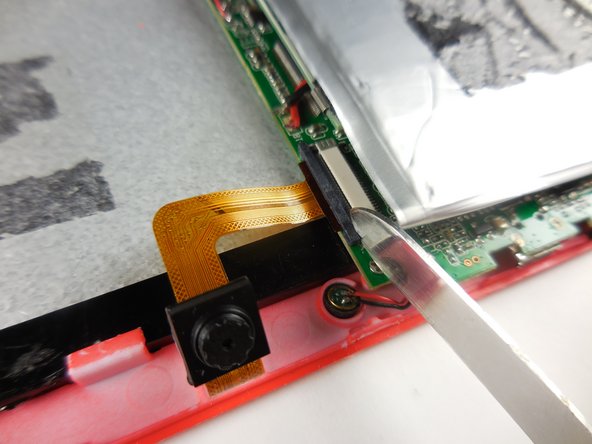
Step 5

Make sure the clip stays fully open when popping in the new ribbon—closing it halfway could wreck the cable.
Once the ribbon’s all snug in the clip, go ahead and snap that clip shut!
– Keep that clip open while you carefully slide in the new ribbon cable. Take it slow and steady – your camera’s new home is almost ready!
Success!

