
LG G7 ThinQ Speaker Replacement Guide: Step-by-Step DIY
Duration: 30 min.
Steps: 10 Steps
Getting into the LG G7 ThinQ can be a bit tricky since we need to pop open that glass back cover. Before diving in, make sure to back up your data, set up a tidy workspace, and take your time—no rush here! If you hit a snag, don’t hesitate to reach out through our live chat or drop a comment at the end of the guide. We’re here to help you through it!
Step 1
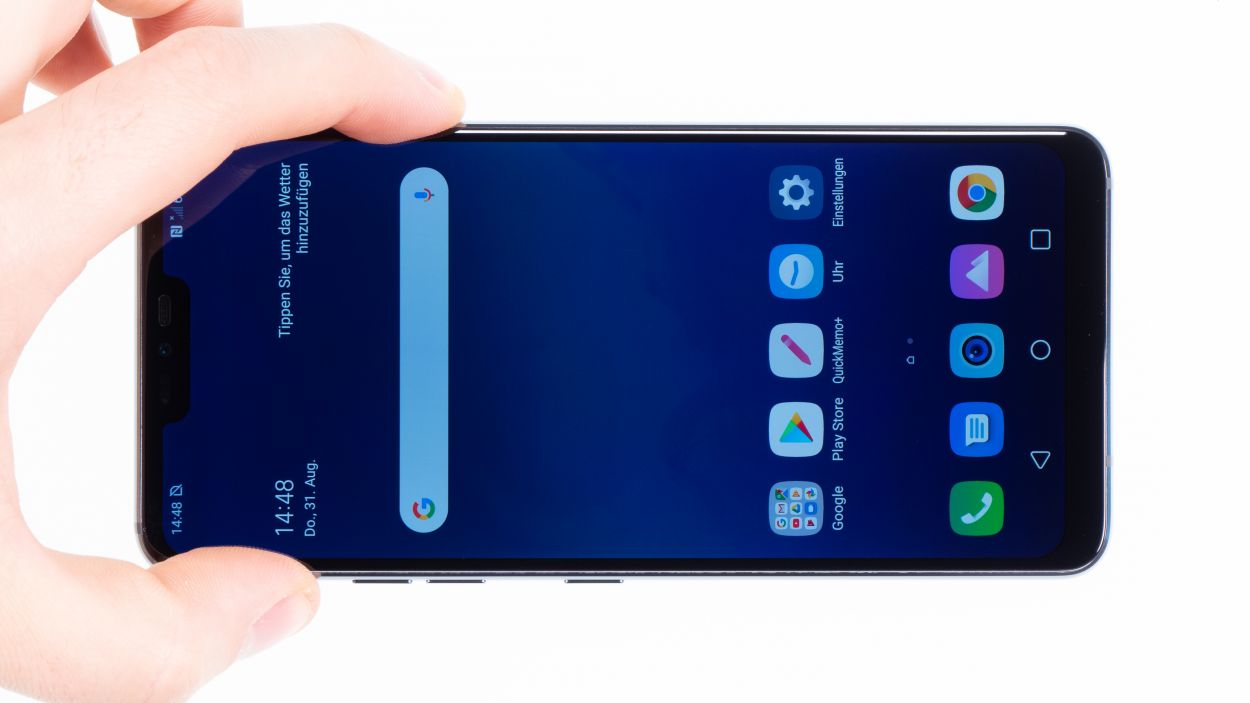

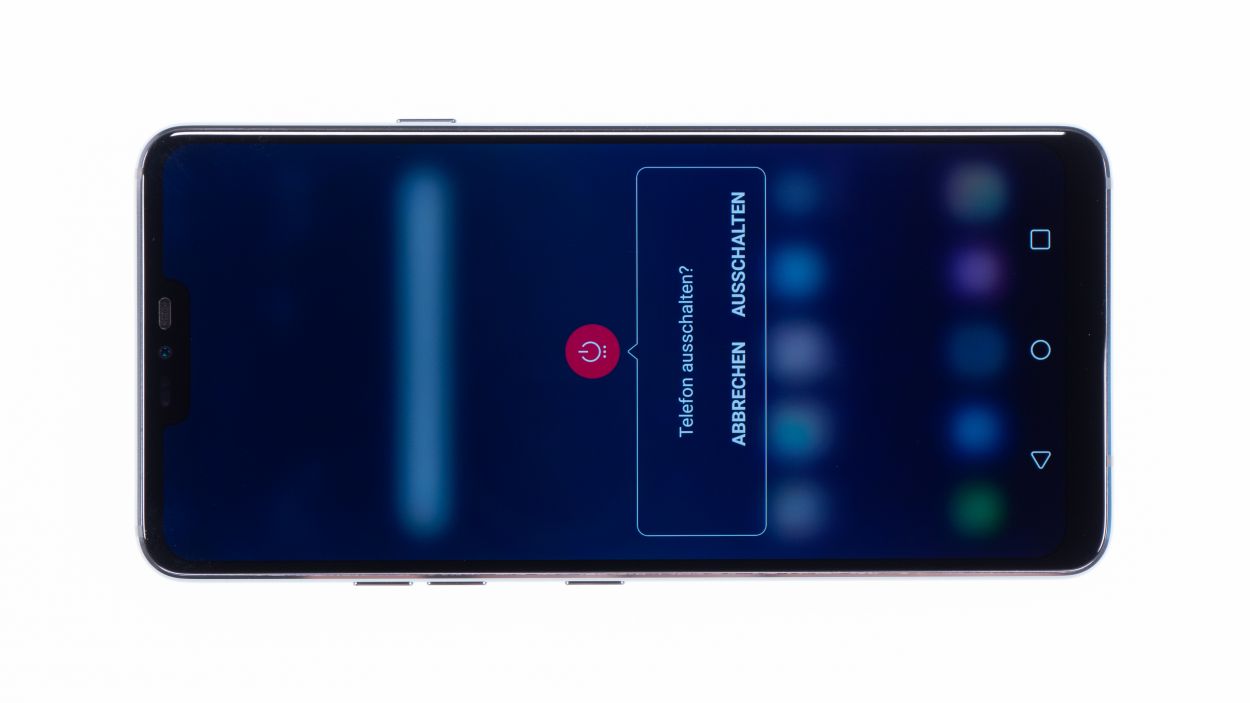
– First things first, let’s give your device a little break! Press and hold the power button on the side until you see the ‘Power off’ option pop up.
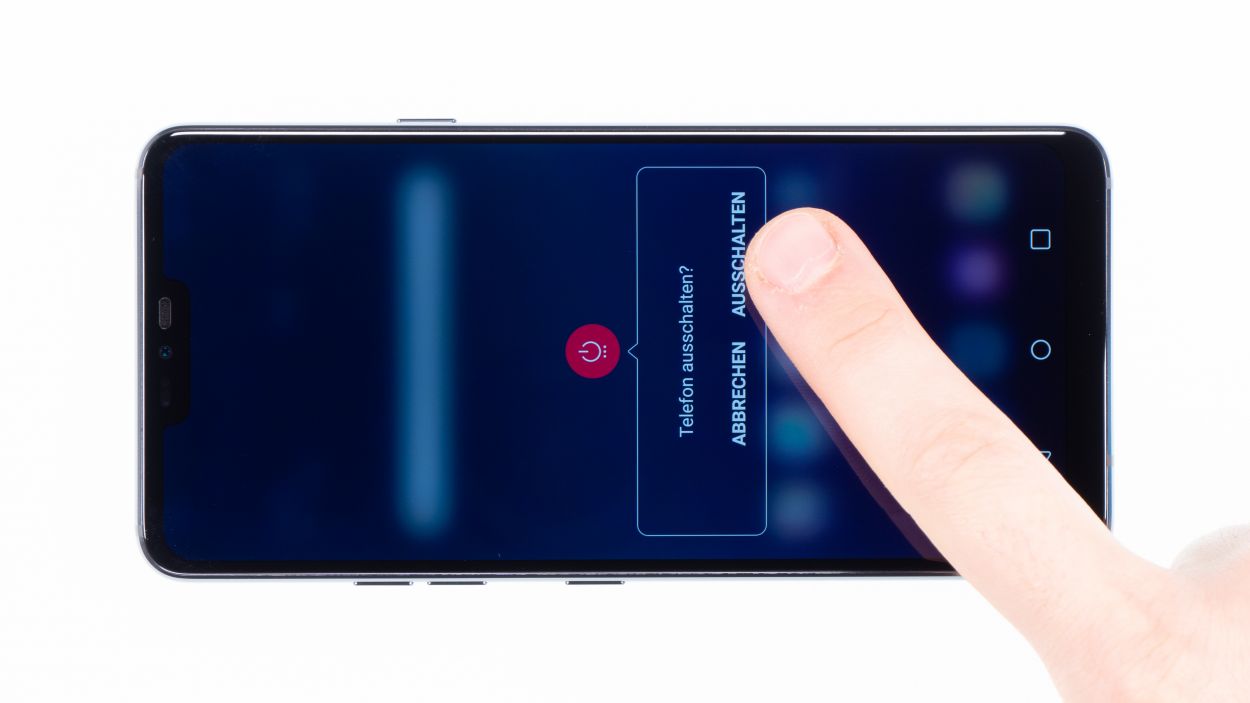
– Go ahead and tap that option to confirm, then sit back and relax while the screen fades to black.
Step 2
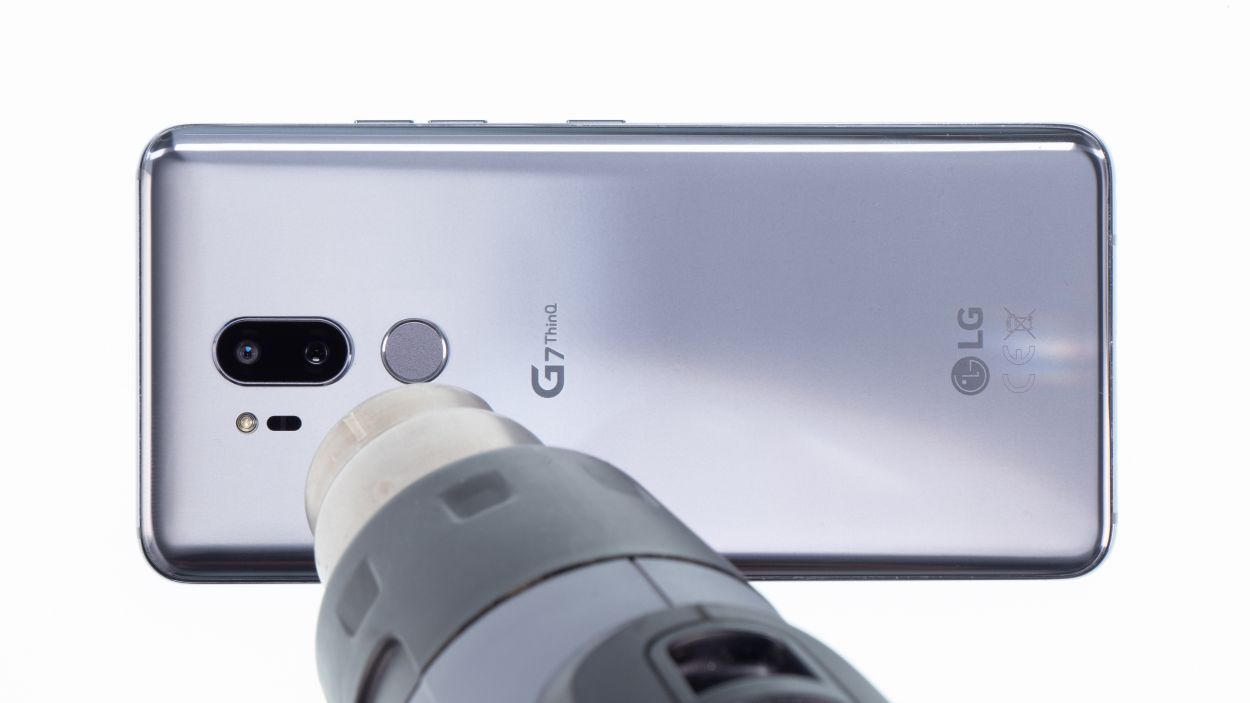
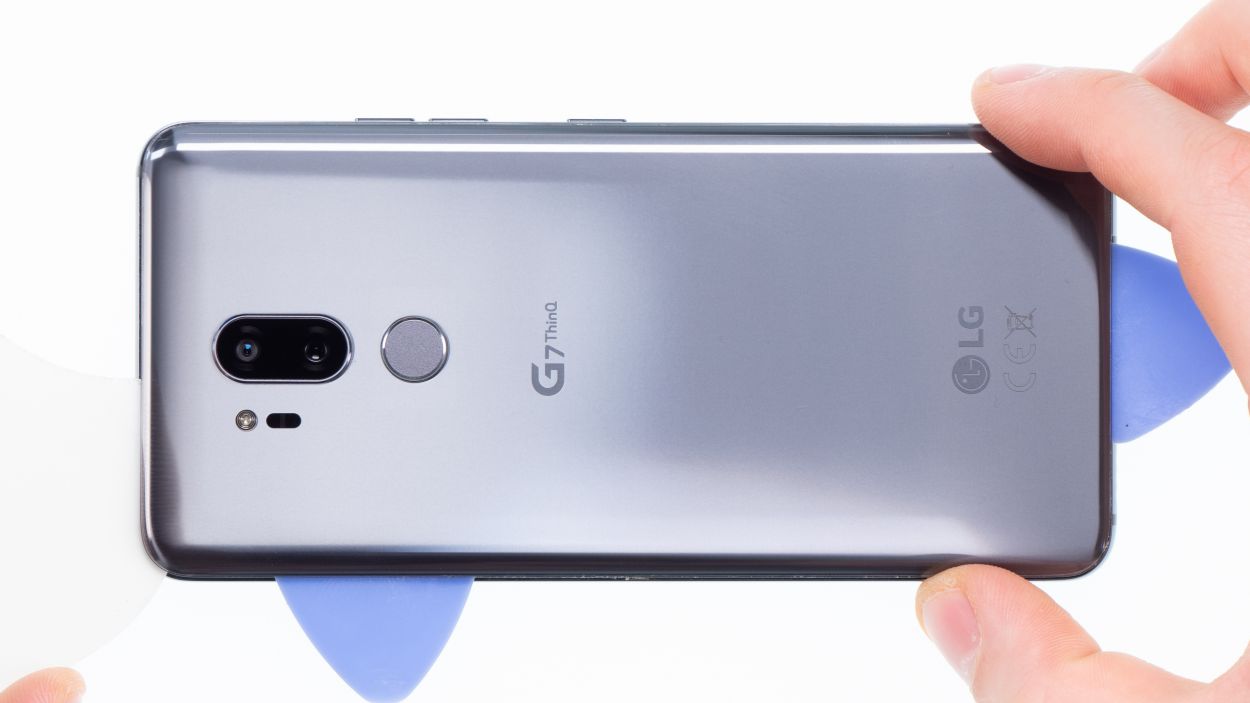
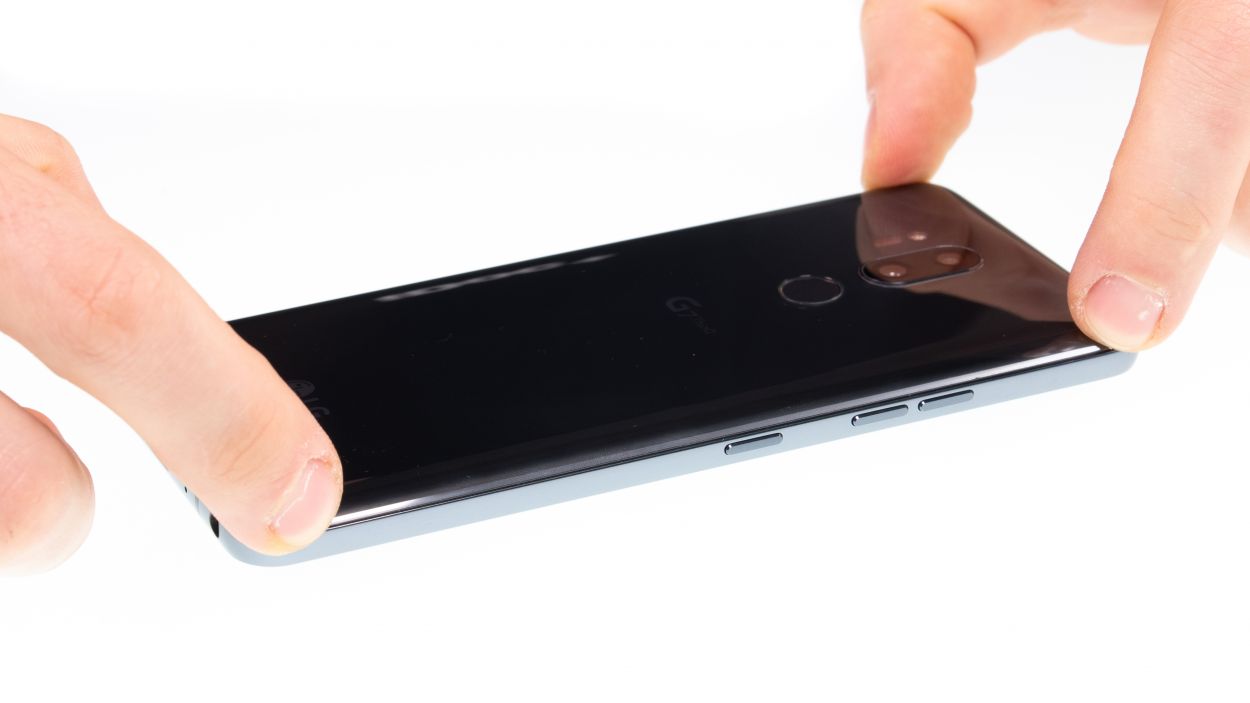
– The back cover is glued on pretty well, so let’s give it a little warmth! Use a hot air source to evenly heat the device, aiming for a cozy temperature of 60 – 80°C. If you can still touch it comfortably, you’re on the right track!
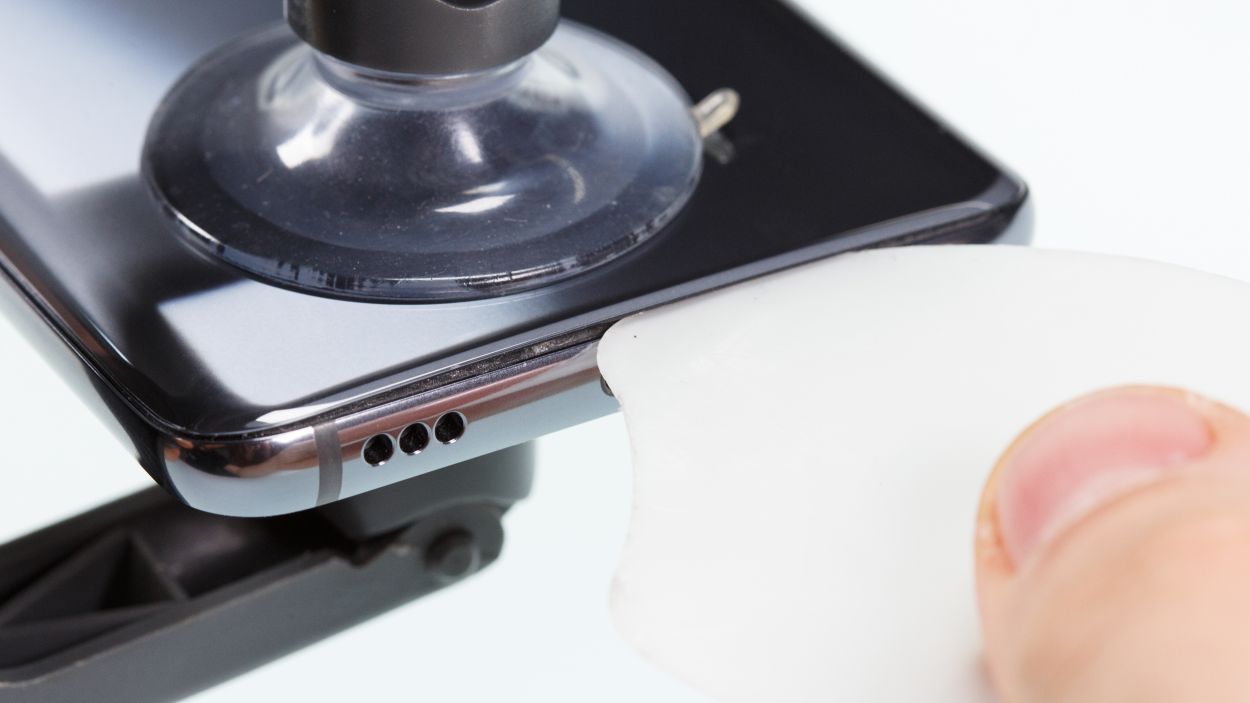
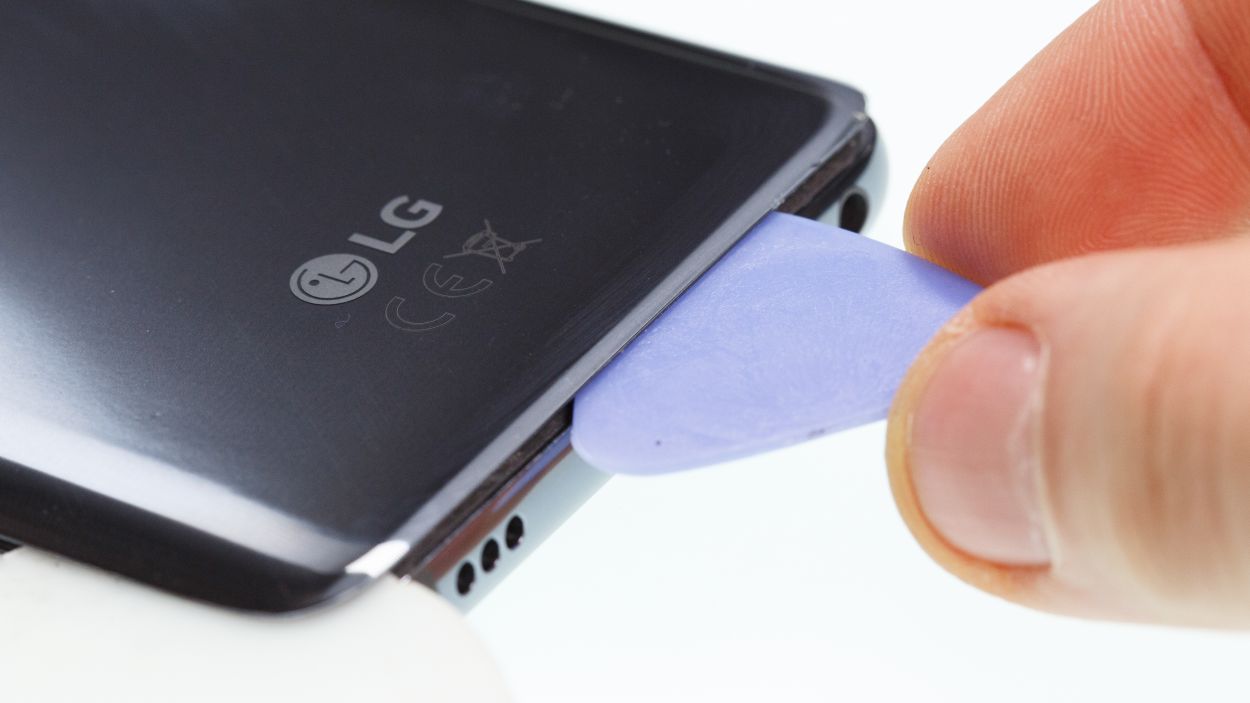
– When it comes to loosening that tricky back cover, a flat and flexible tool like the iPlastix or iFlex will be your best buddy. Grab a few picks, too, to help unstick the cover all around.
– Start by warming up the spot where you’re going to dive in, then slide a flat tool between the back cover and the frame.
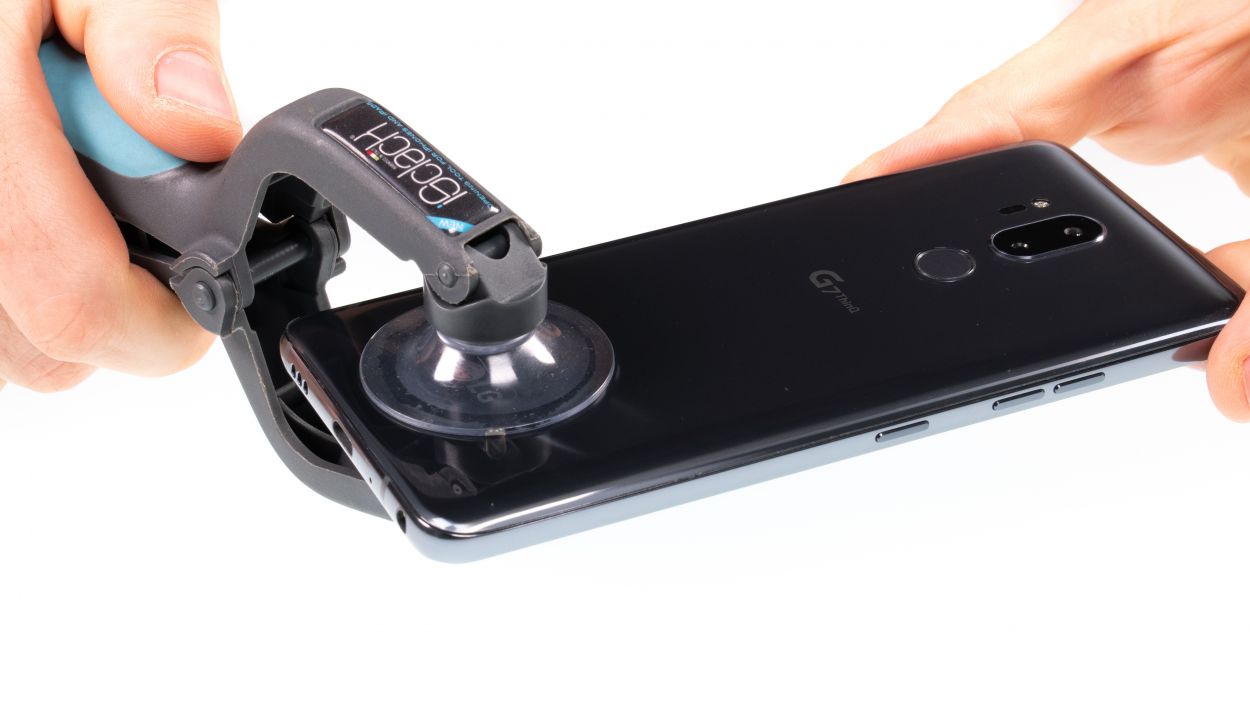
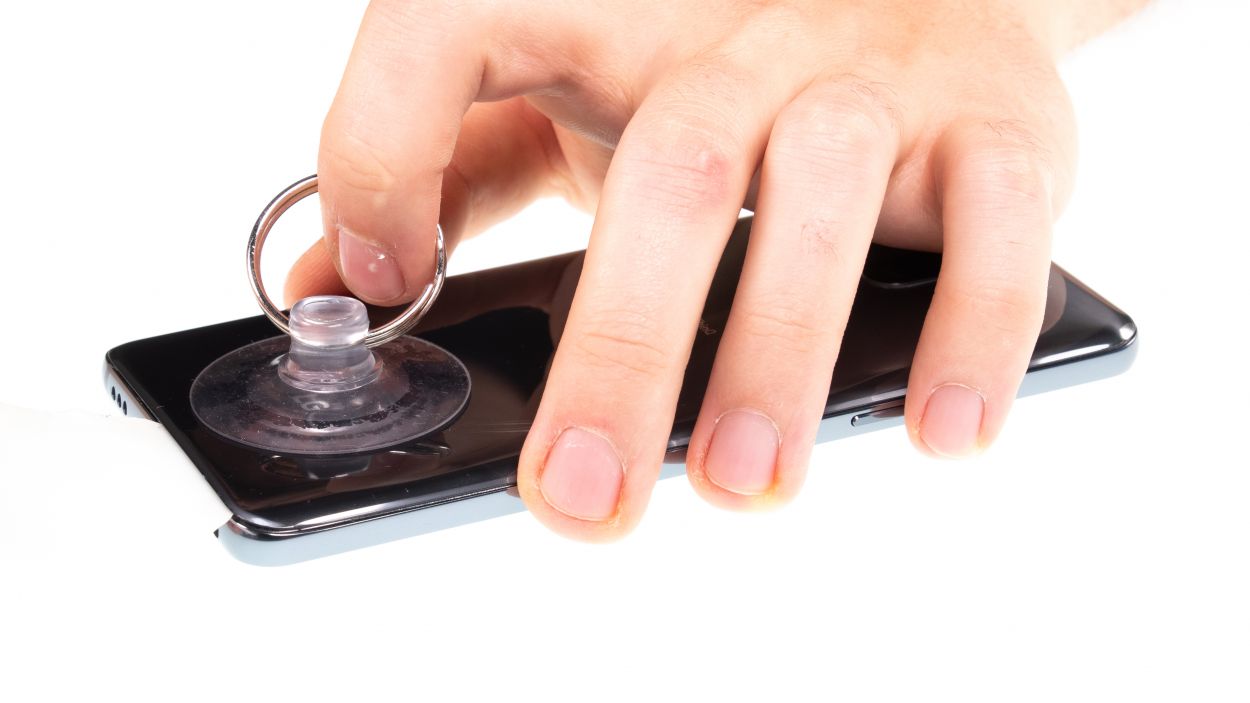
– If you’re struggling to find a good spot for your tool, a suction cup can be a real lifesaver to lift the glass!
– With the iSclack in hand, lifting off the back cover becomes a breeze! Just place the suction cups on both the display and back cover, and squeeze the tool’s lever together like you’re giving a gentle high-five.
Hey there! Just a friendly reminder to handle that back cover with care—it’s a bit fragile and can crack easily. If it’s giving you a hard time, don’t hesitate to warm it up a few times and give it another go. Remember, taking your time is key; it might take around half an hour, but being patient and gentle will help you avoid any mishaps. You’ve got this!
The iPlastix is crafted from a gentle plastic material, so it’s designed to keep your device safe from scratches! However, getting it into the device can be a bit of a challenge since it’s on the softer side. On the flip side, the iFlex, with its super slim and sturdy metal design, glides right into the tight spots between the glass and the frame. Just a heads-up, though – that metallic edge can be a little sneaky and might leave marks on your device’s frame. But don’t worry, you’re doing great!
Step 3
7 × 3,5 mm Phillips
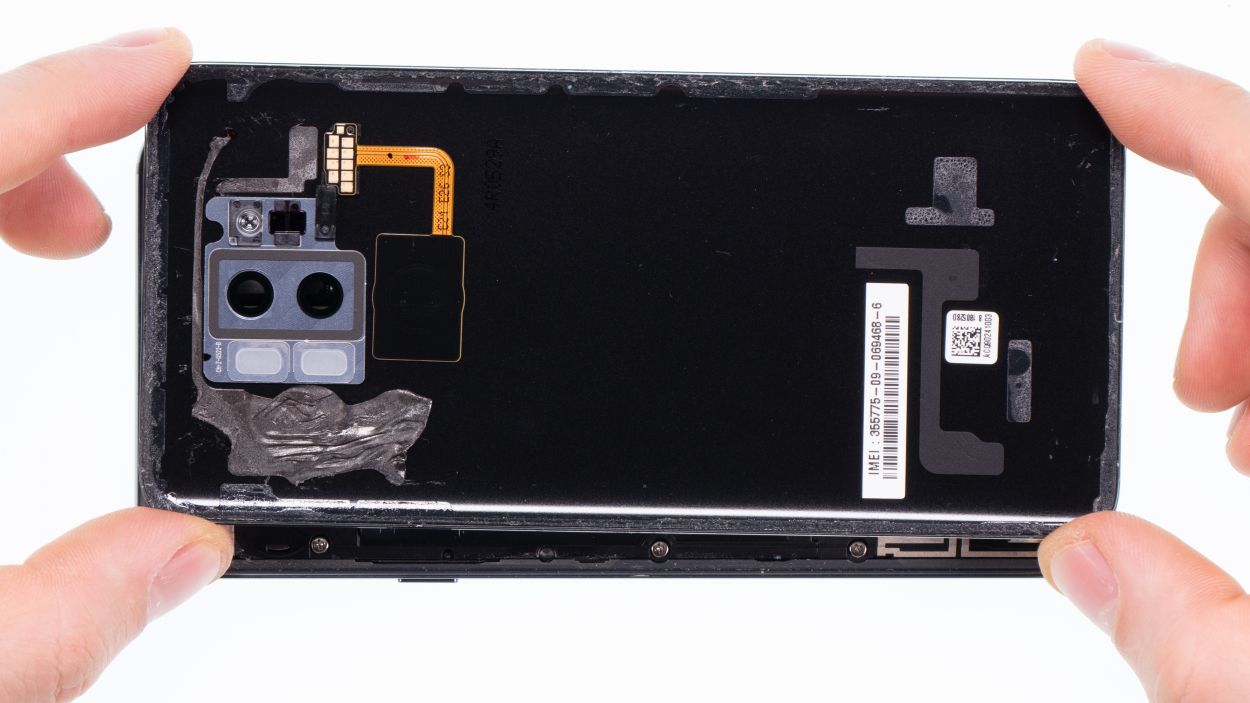
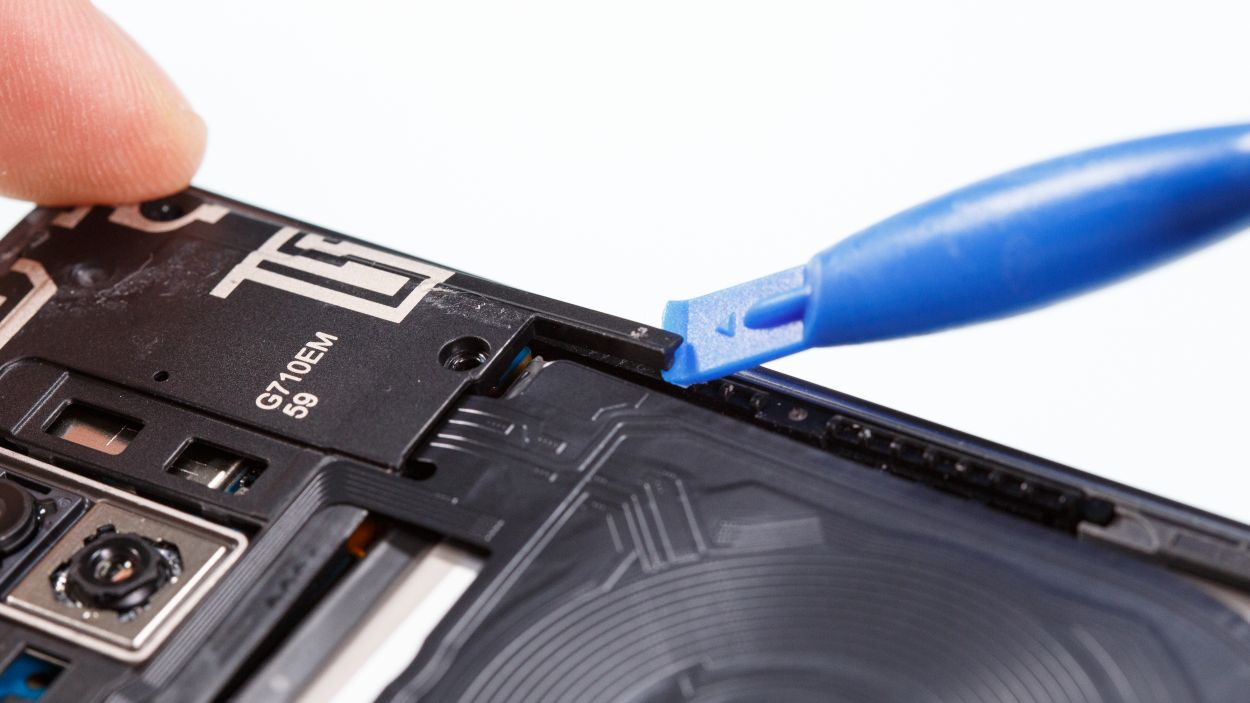
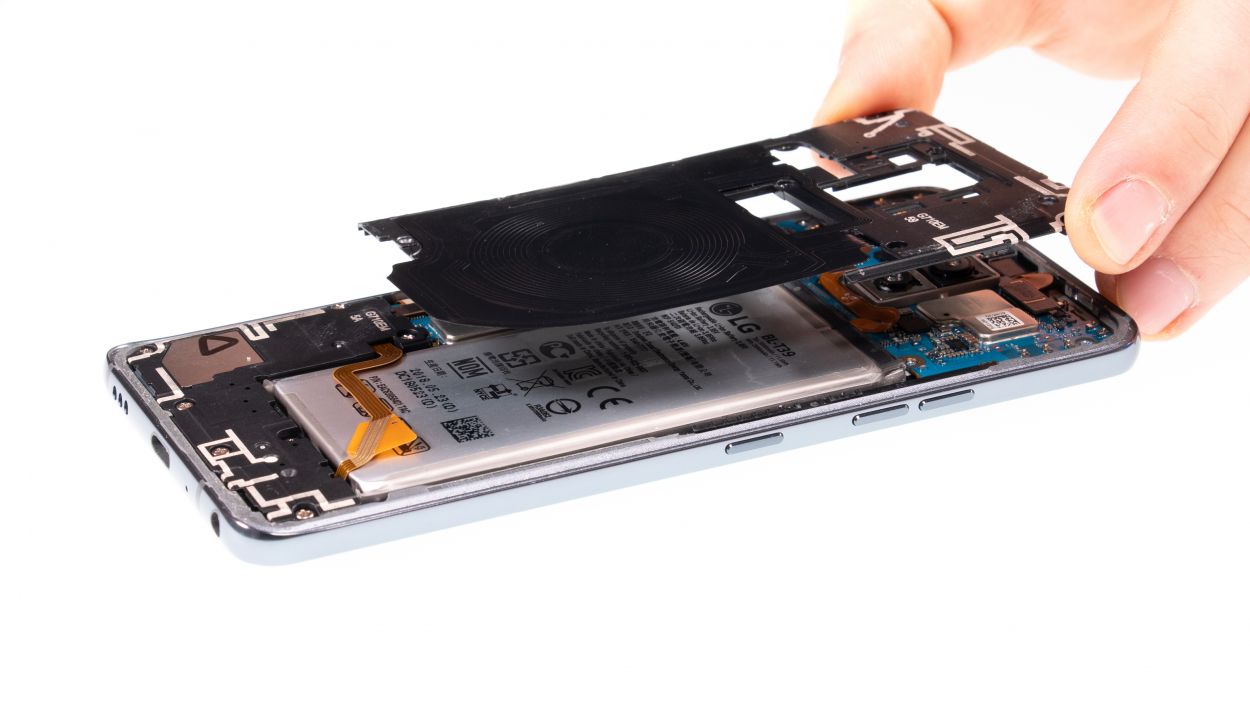
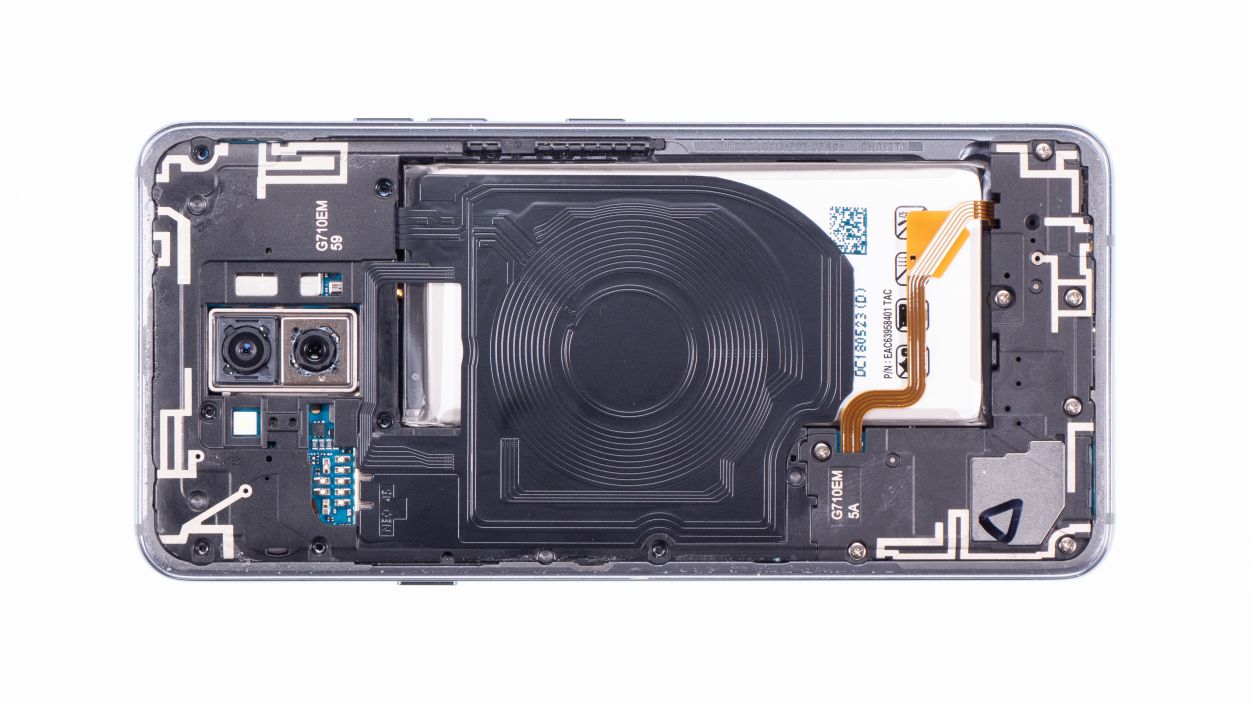
– Time to tackle those Phillips screws holding the cover in place! Once they’re loose, remember that the wireless charging coil and NFC antenna are snugly attached to that plastic cover.
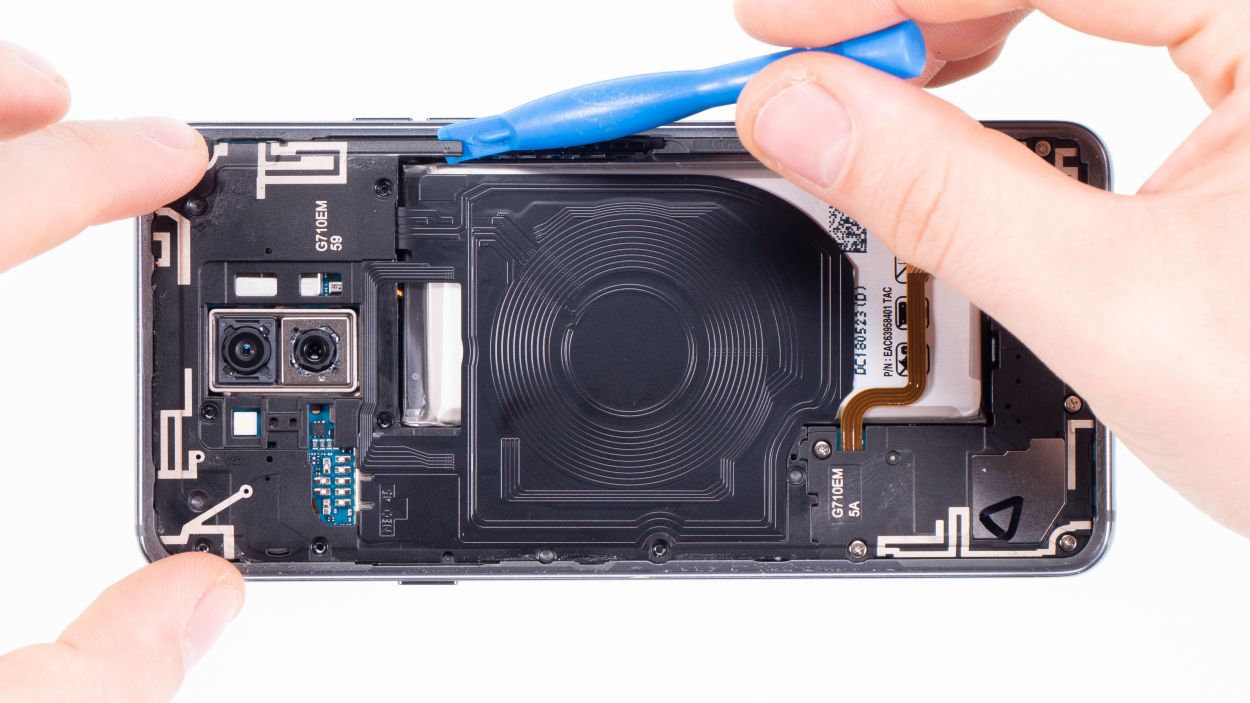
– Next up, let’s get that cover off! It’s like a little puzzle. You’ll want to gently slide a tool beneath the plastic frame and give it a little lift upwards.
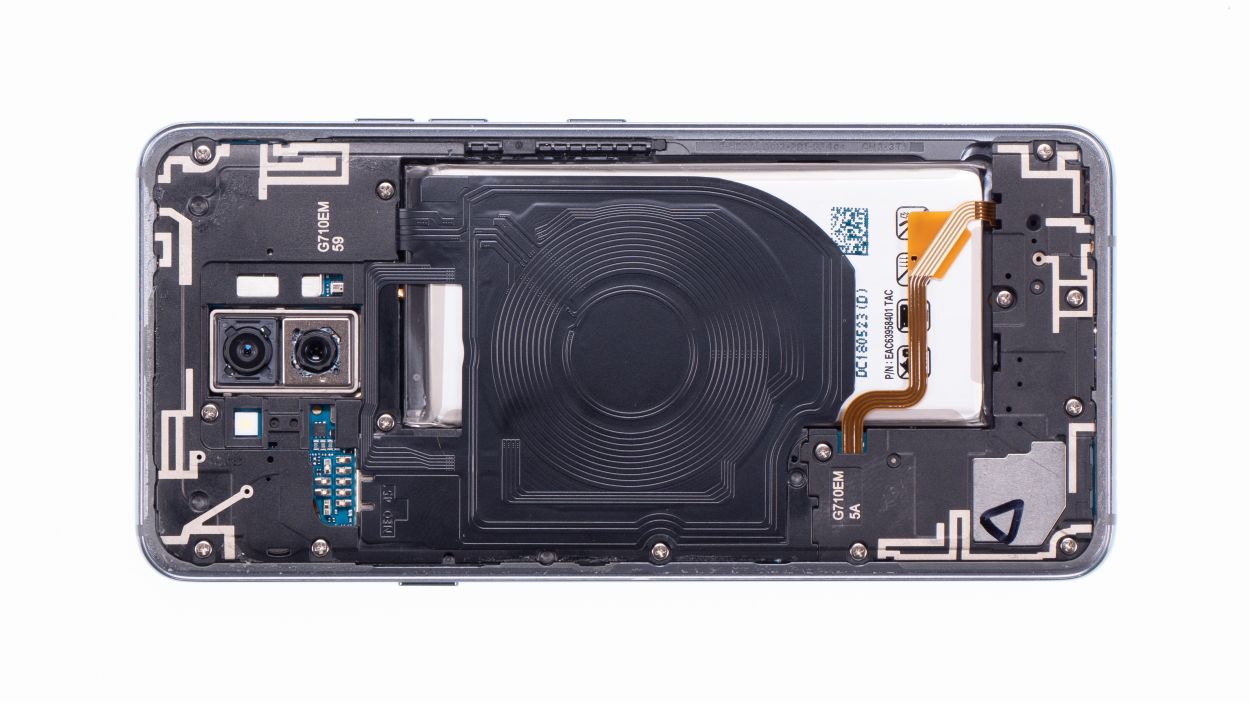
– Awesome! Now you can successfully pop off the plastic cover along with the coil. You’re doing great!
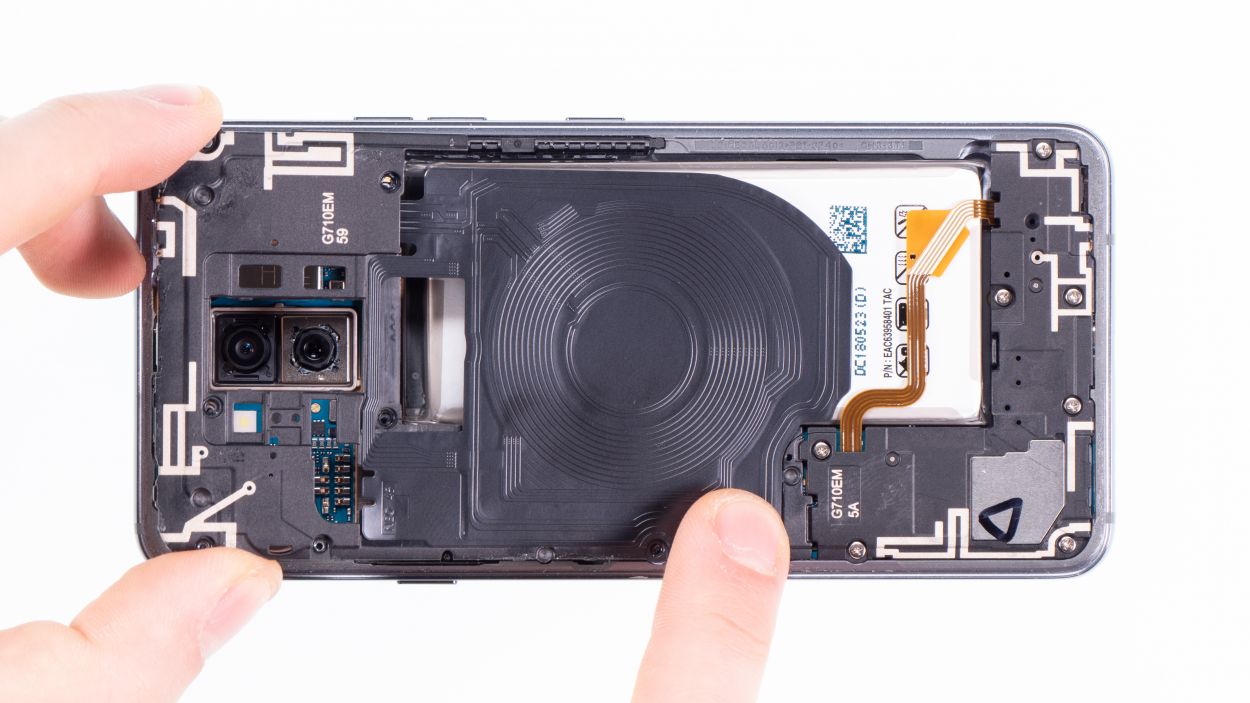
Step 4
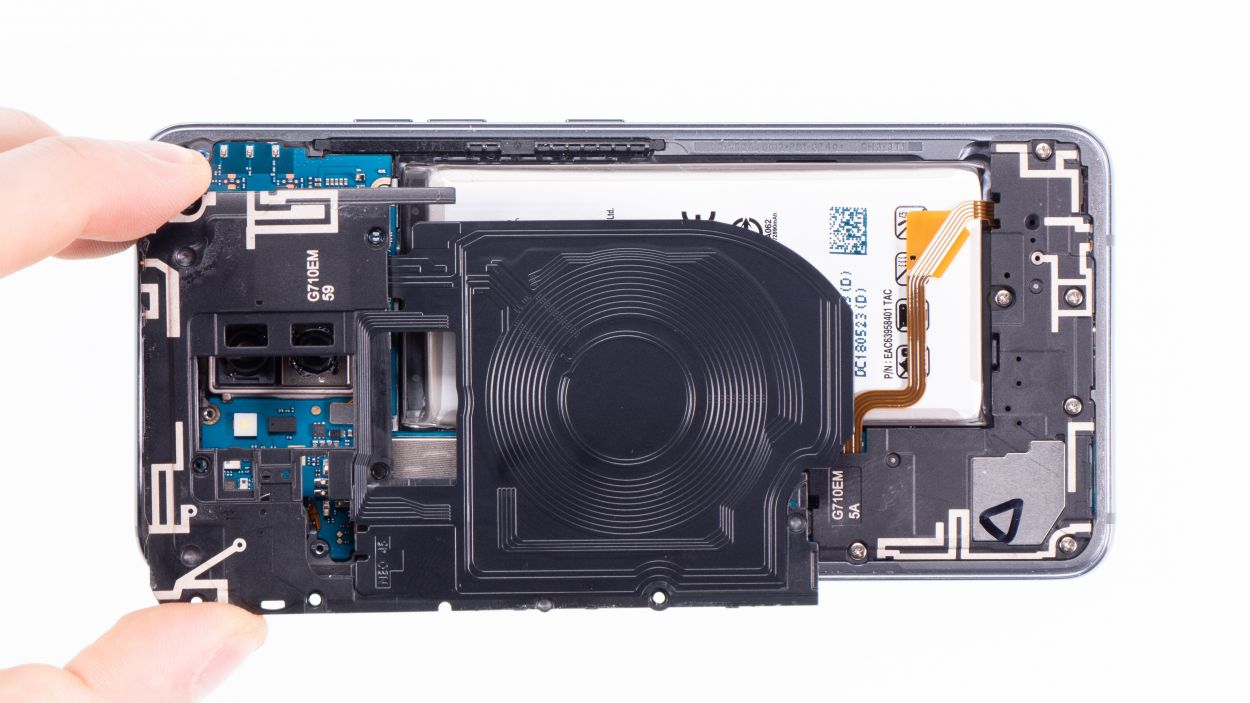
Battery Connector
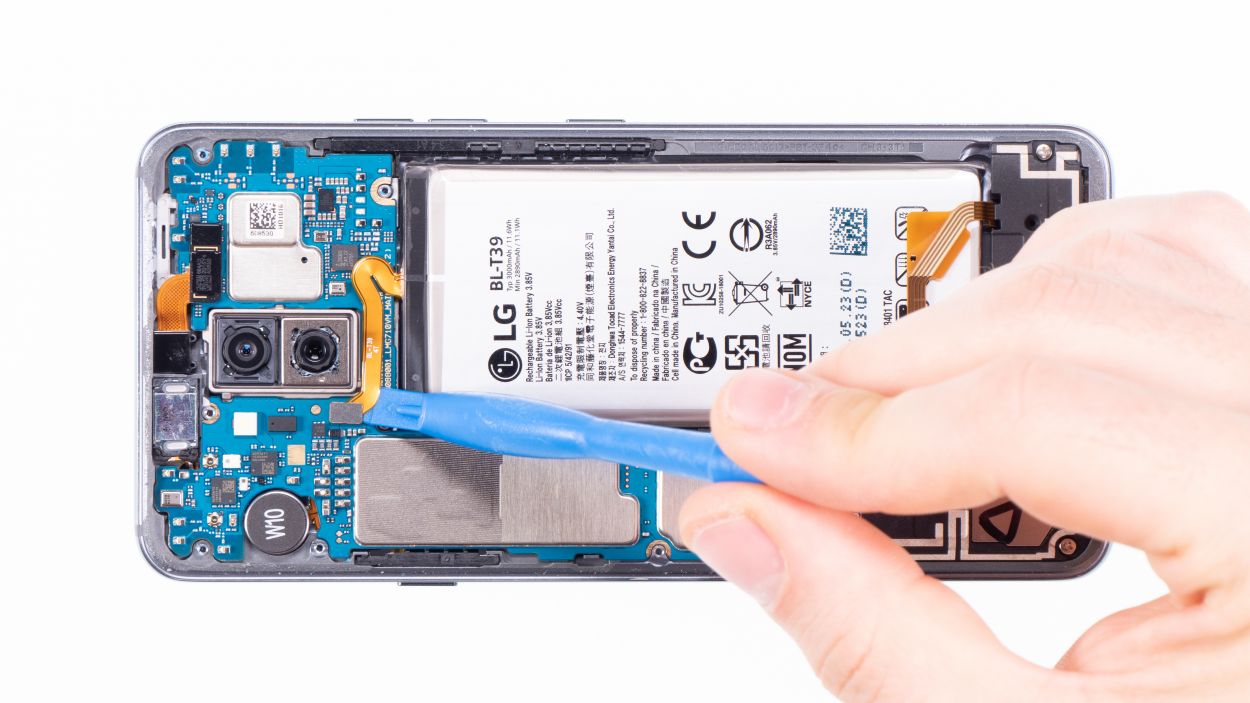
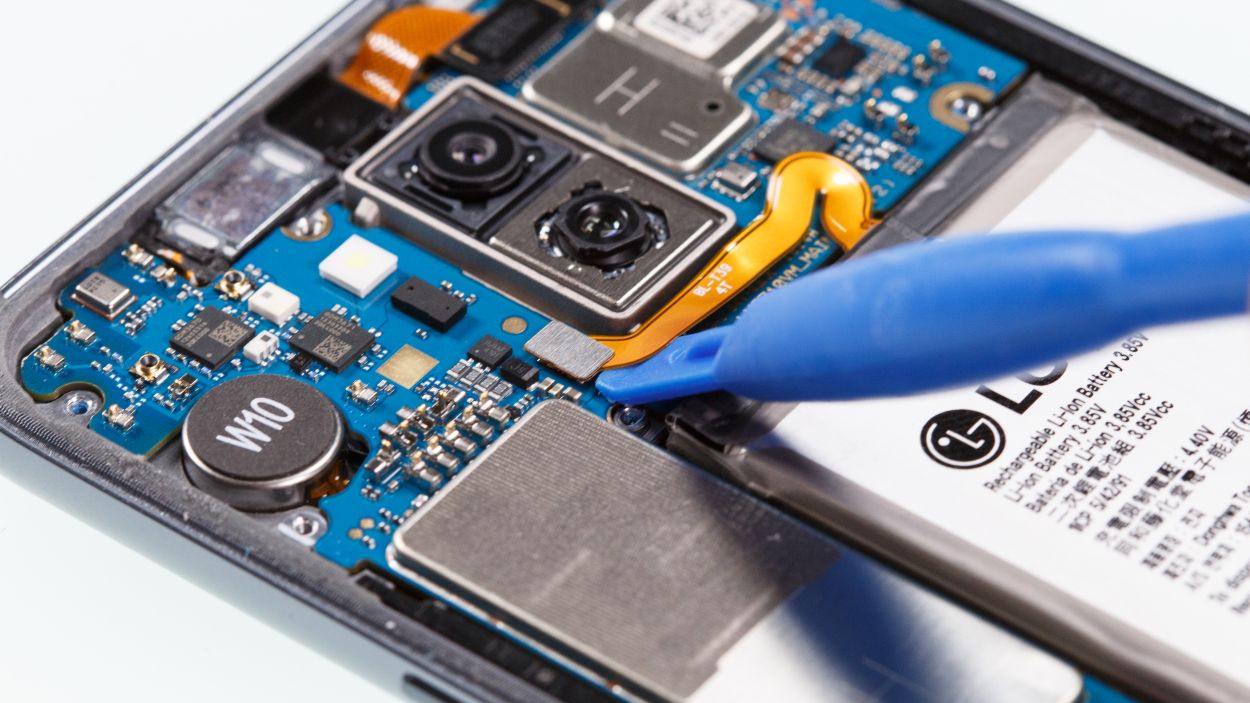
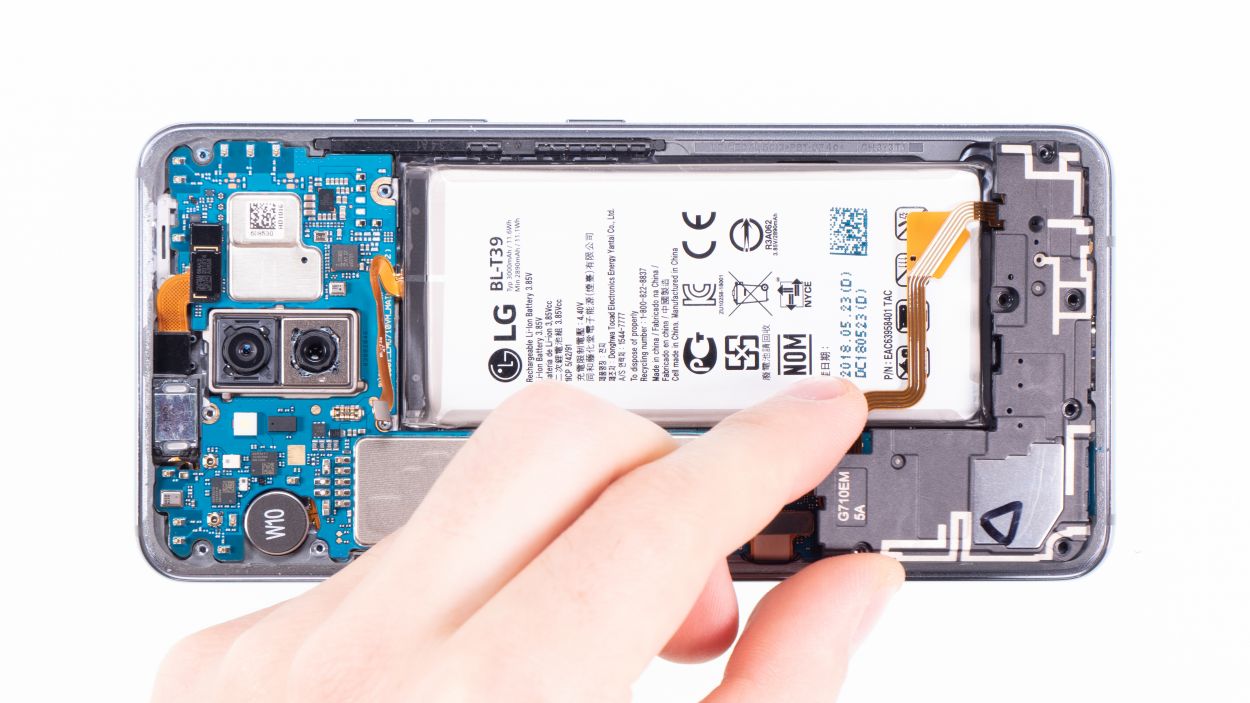
When you’re prying things open, make sure to stick to the edges where there aren’t any tiny components hanging out on the motherboard. This way, you’ll keep those delicate capacitors and ICs safe and sound!
– Using the spudger like a total rockstar, you’ve got this! Let’s give that battery contact a little nudge and separate it from the motherboard. Go team!
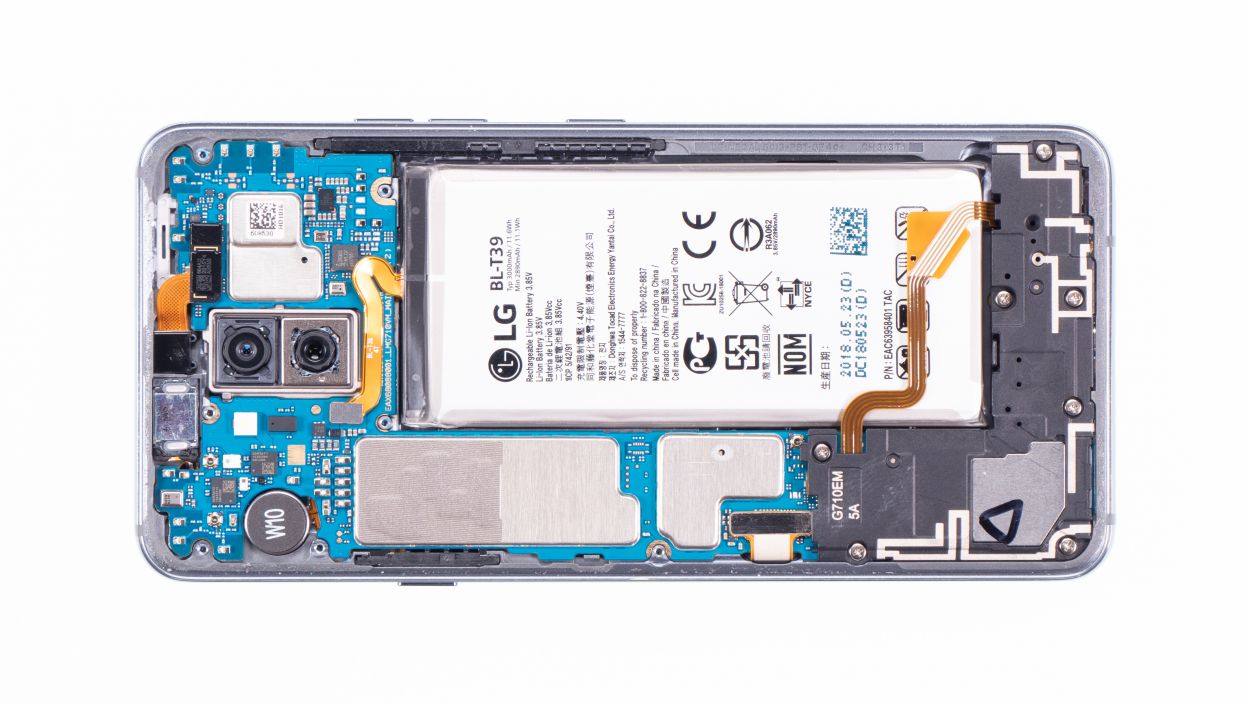
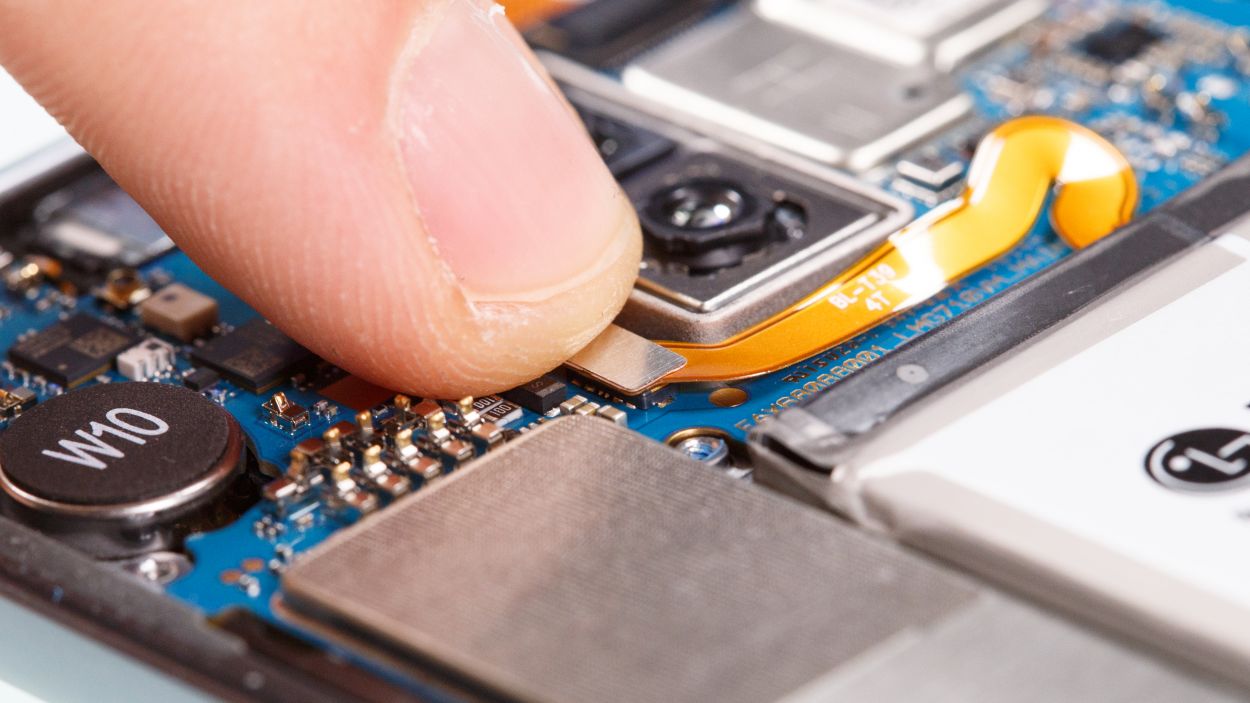
Step 5

7 × 3,5 mm Phillips
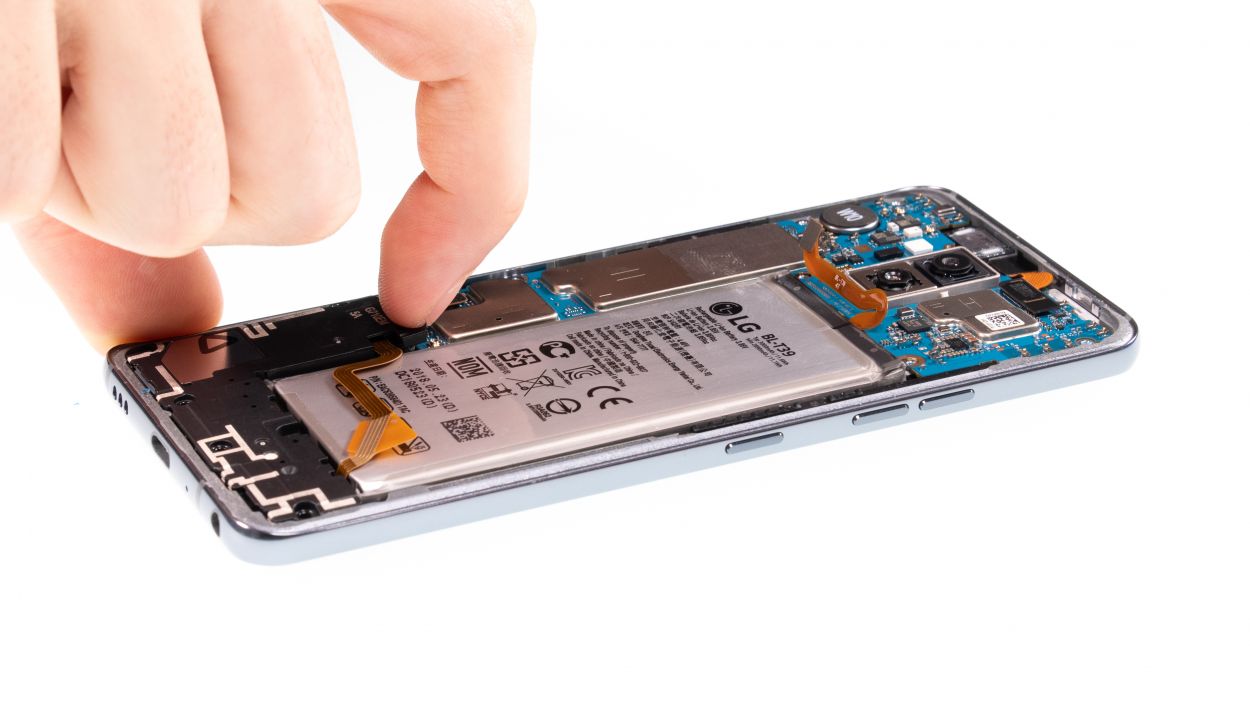
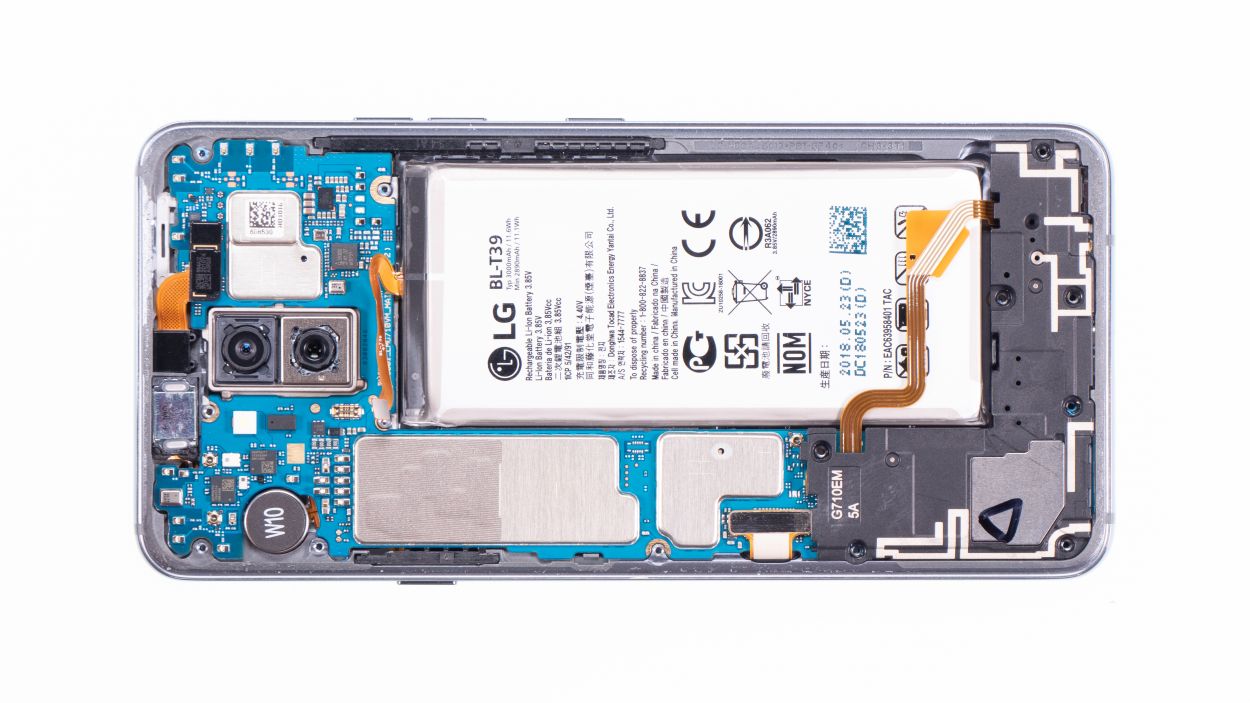
– Untighten those Phillips screws that keep your speaker secure, and then remove that speaker from its place!
– You can easily get your speaker out by using your fingernail to gently lift it from the top and free it from its home.
Step 6

7 × 3,5 mm Phillips
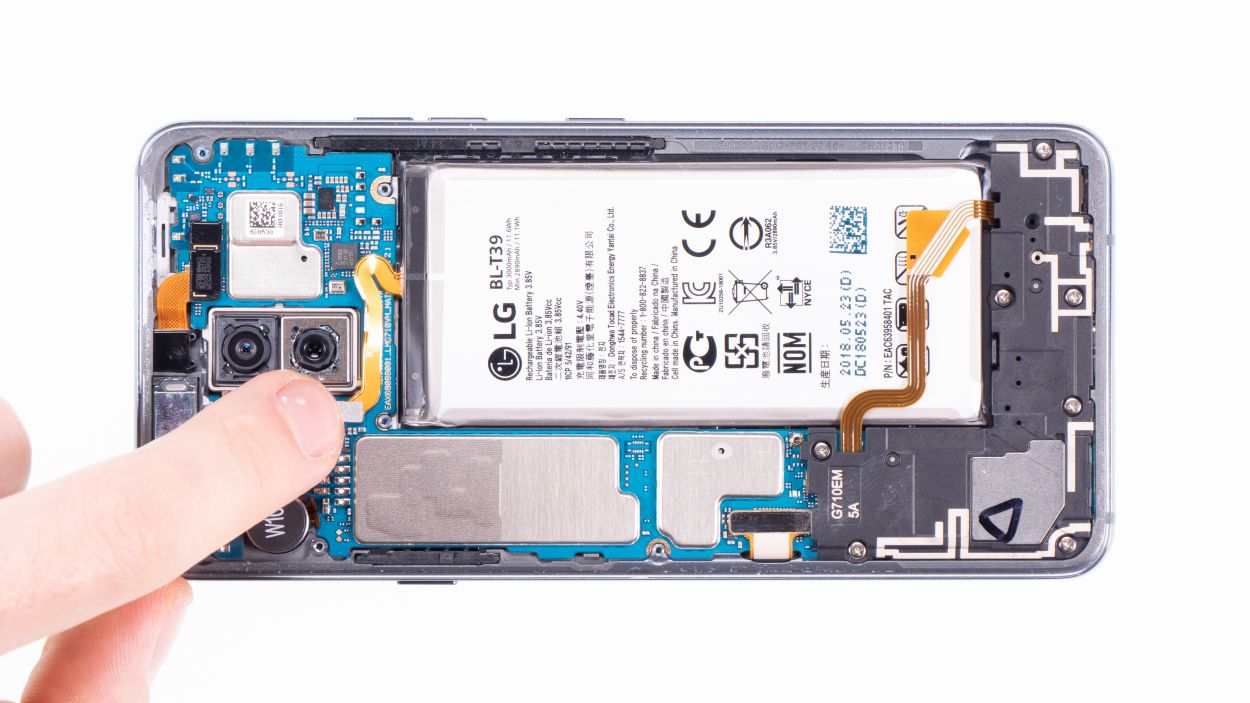
– Now, gently place the speaker back over the USB port, give it a little press to secure it, and tighten those screws like a pro!
– Don’t forget to check that it’s snugly latched in at the bottom.
Step 7

Battery Connector
– Connect the battery to the mainboard. Press the contact onto the
connection on the motherboard until you hear it click into place.
Step 8
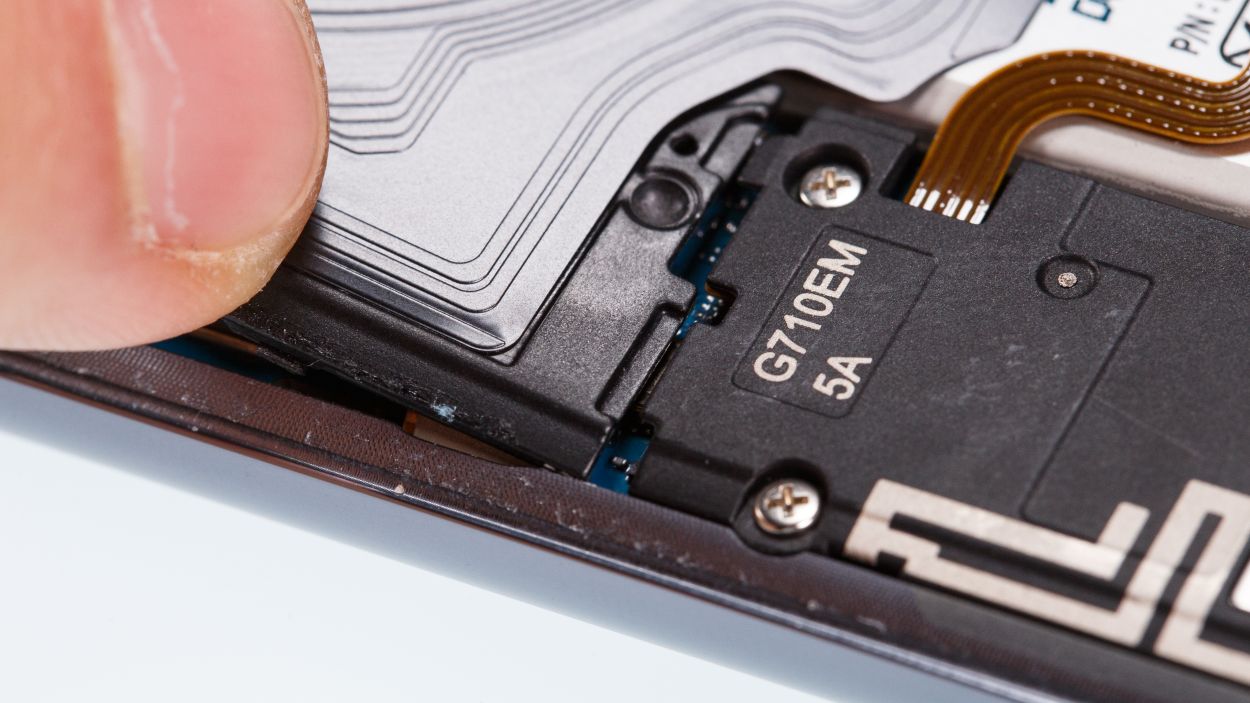
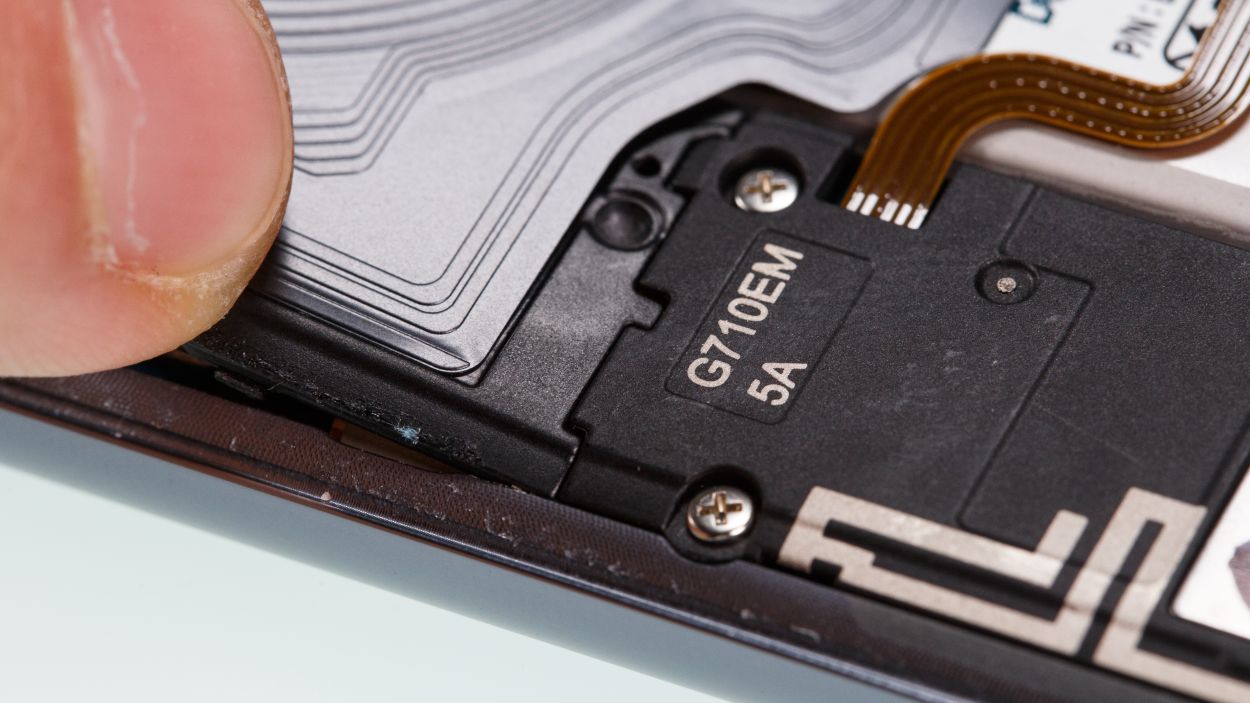
7 × 3,5 mm Phillips
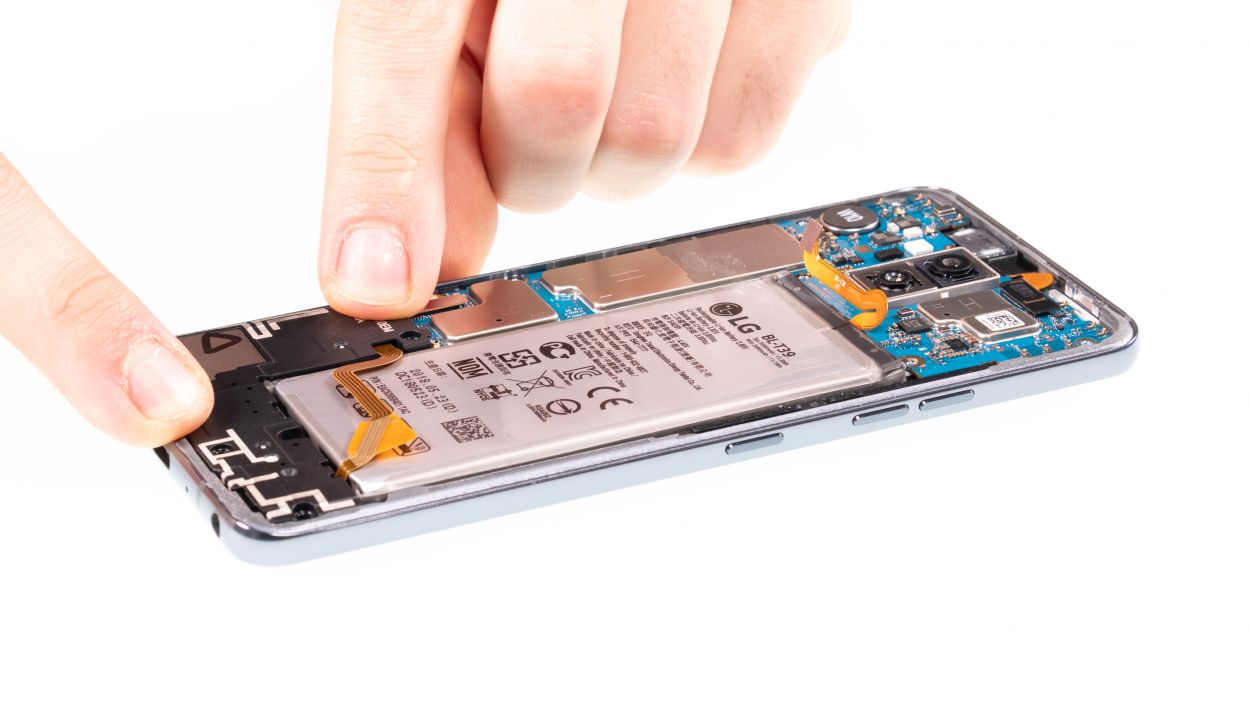
– Time to get that antenna cover back in the groove! Tuck it right under that speaker at the base of the phone.
– Show it who’s boss with your fancy fingers and gently press down until it’s all snug as a bug.
– Grab your trusty Phillips screws and make sure they’re nice and tight.
Step 9
Make sure everything is working as it should, particularly the part you just swapped out! If you need help, you can always schedule a repair
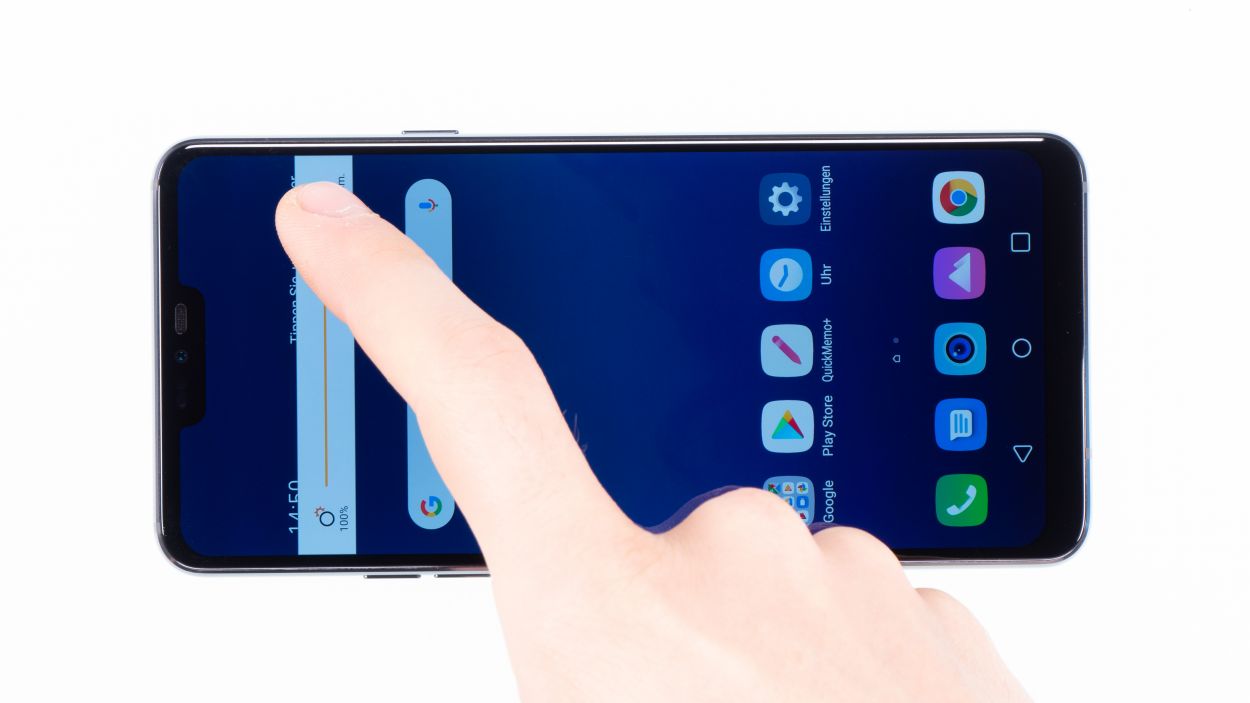
– Turn on your device and test it before you finally close it.
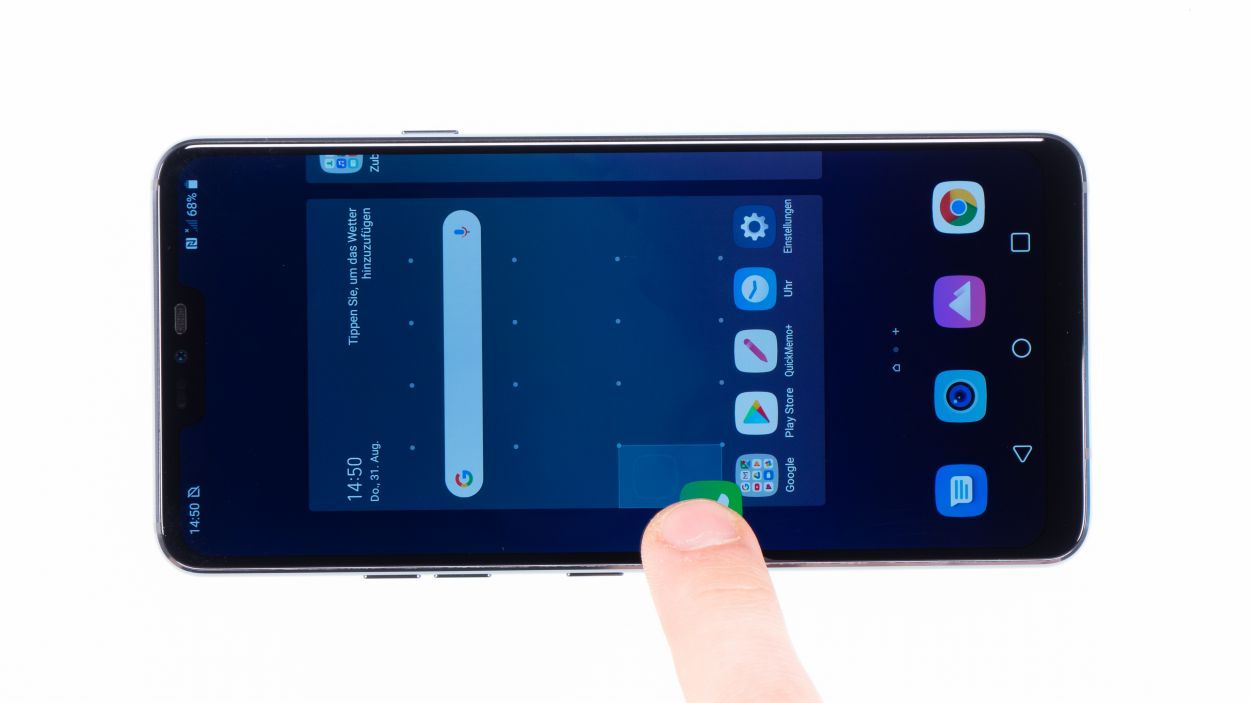
– Drag any app across the entire
screen. Drag the app once around the entire border and then in a zigzag
across the screen. The app should always follow your finger.
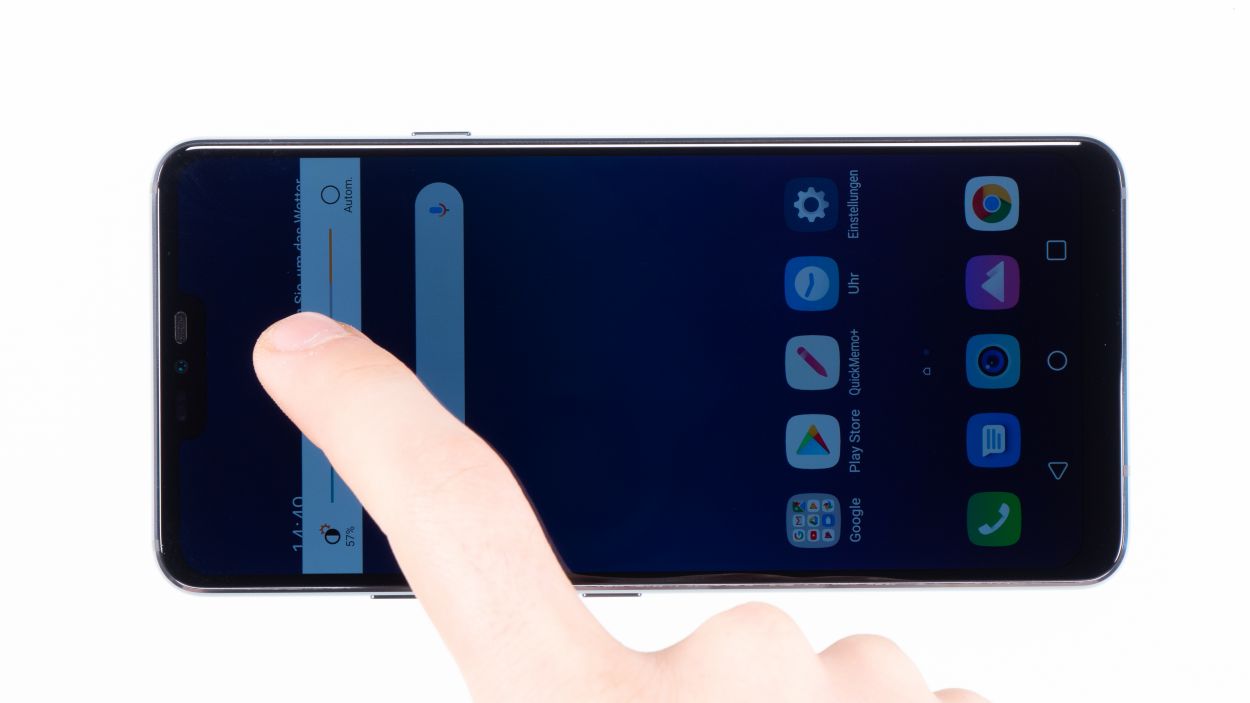
– Then test the display brightness by dragging the brightness slider to minimum and maximum.
Step 10
If your back cover’s adhesive is still going strong, no need to stress! You can seal your device snugly without the hassle of getting a new adhesive frame.
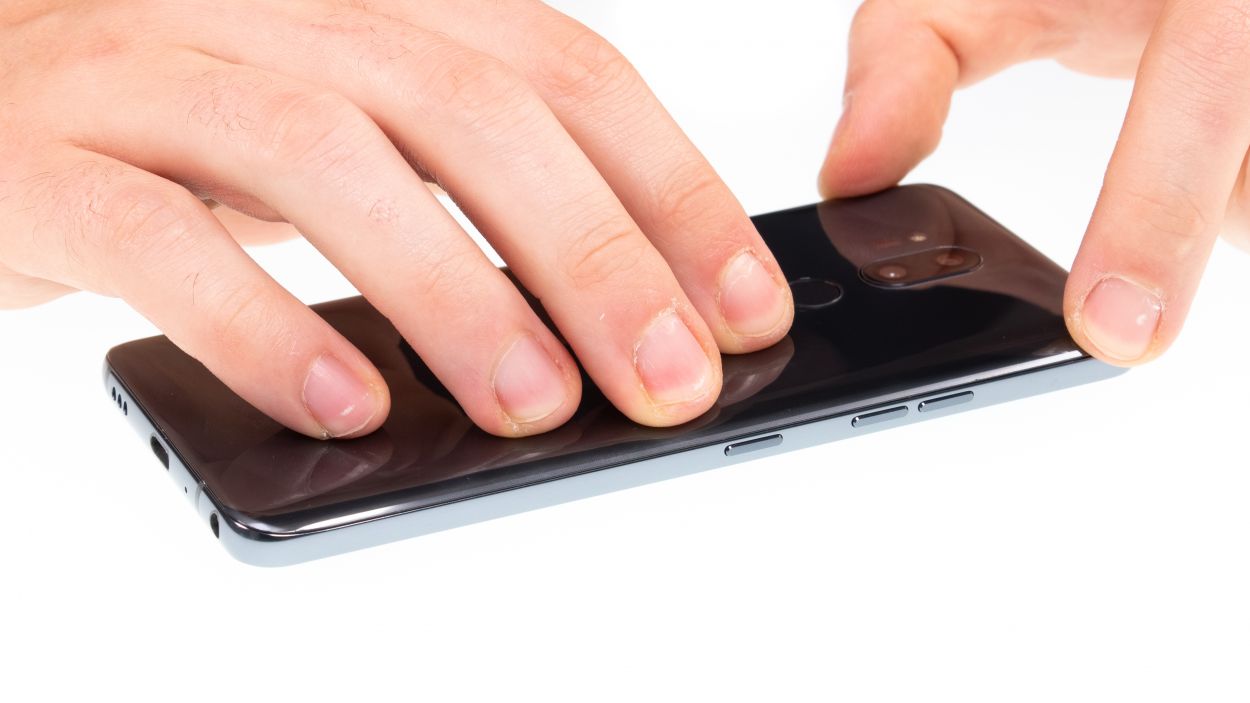
– Gently place the back cover back where it belongs.
– Give the back cover a little love by pressing down all around so the glue can do its magic.