
Linksys WRT54G Teardown
Duration: 45 minutes
Steps: 6 Steps
Let’s crack open this router together—I’ll show you how to take it apart, step by step, no sweat.
Step 1


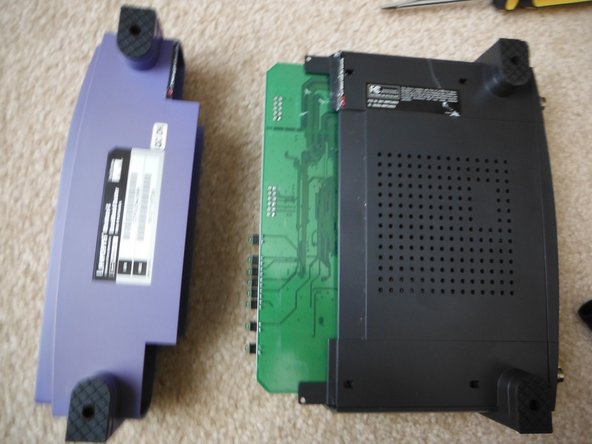
– The Linksys WRT54G series is a lineup of Wi-Fi routers made by Linksys, which is a part of Cisco Systems. If you’re tackling one of these, you’re on the right track. Follow this step-by-step guide to get your device back in action. Remember, if you need extra help, you can always schedule a repair.
Step 2


– Time to get this teardown rolling! Start by twisting off the antennas from the back of your router and put them somewhere safe.
Step 3


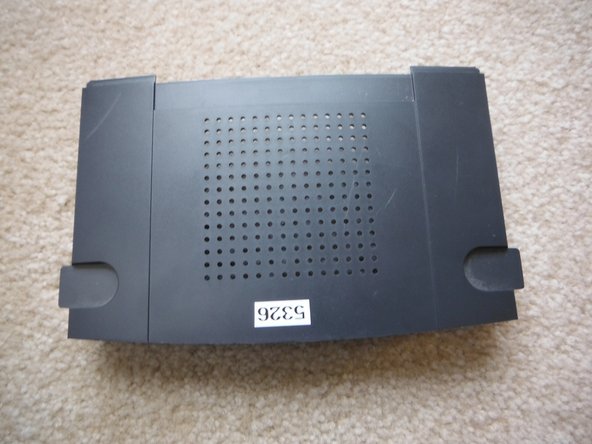
– Alright, let’s dive in! Flip your device over, grab a small flat-head screwdriver, and slip it between the warranty sticker and the front panel. Gently pry it open to get started.
Heads up! Gently prying the panel off might require some patience, so take your time. Watch out for the motherboard—you don’t want any accidental damage. If you need a hand, you can always schedule a repair.
Keep in mind, attempting this repair might void your warranty from 2002 onward, just in case you were curious. But don’t worry—if you need a hand, you can always schedule a repair with Salvation Repair to get professional assistance.
Step 4


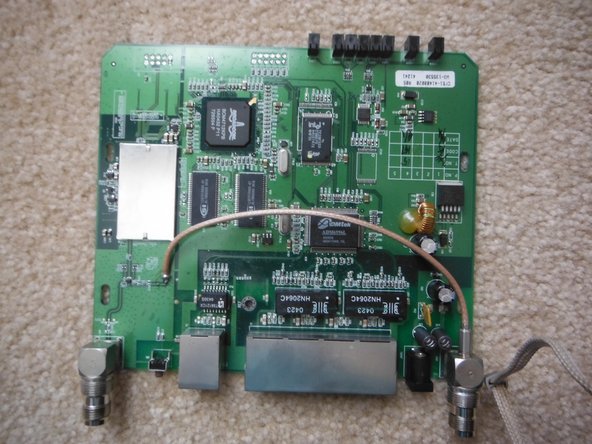
– Slide off the top plastic panel and set it aside. Now you’ve got a front-row seat to the motherboard action.
– Say hello to the Intel TE28F320 Flash Memory.
– Spot the Broadcom BCM4712KPB—pretty sure it’s the modem chip.
– Admtek ADM6996L Ethernet Controller is hanging out here too.
– Here are the activity LEDs, lighting up your progress.
– You’ll also see an Issi 42S16400-6T RAM chip (the exact amount is a bit of a mystery).
– And of course, a whole crew of other chips I couldn’t identify, but they’re definitely doing their thing.
Step 5
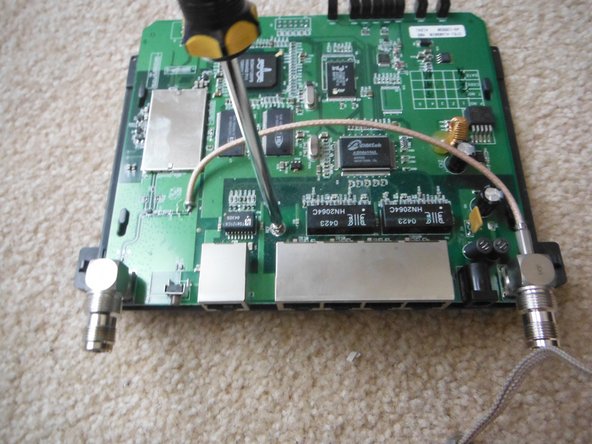

– Alright, it’s time to free the motherboard! Start by unscrewing that one Phillips screw, slide the motherboard out, and then gently lift it away.
– Phillips screw – just one, simple as that!
– There are a couple of plastic clips holding the motherboard in place, just give it a little nudge to loosen them up.
Step 6

– You’re all set! Thanks for hanging out through this teardown adventure!
– If you want to put everything back together, just follow these steps in reverse — unless you managed to break something, then maybe get some extra help. If you need a hand, you can always schedule a repair.
Success!