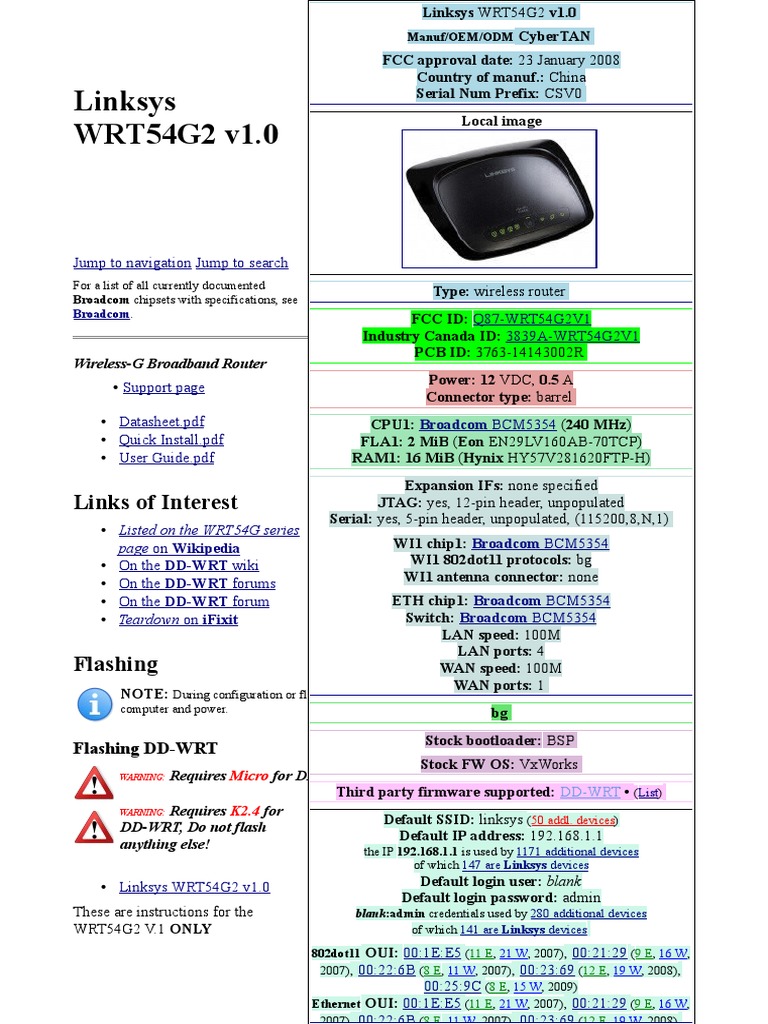
Linksys WRT54G2 V1 Teardown
Duration: 45 minutes
Steps: 14 Steps
Time to pop open this router and see what makes it tick! Grab your tools, let’s dive in and explore the techy guts inside.
Step 1


Hang tight, this might take a bit!
– Time to tidy up your workspace! Clearing the clutter makes any repair easier. Start by gathering all the tools and parts you’ll need, then organize your space so everything’s within reach. A clean desk helps keep track of small screws and components, preventing any mishaps. Once you’re set, follow the detailed steps to get your device back in tip-top shape. If you need extra help along the way, you can always schedule a repair.
Step 2


Avoid putting a minifigure in charge of holding a spudger—things could get wobbly, and we don’t want anyone to take a tumble!
– Looking sharp! Your lighting is on point, especially with that minifigure and spudger combo.
– You’re doing great! The minifigure and spudger are a winning team – keep it up!
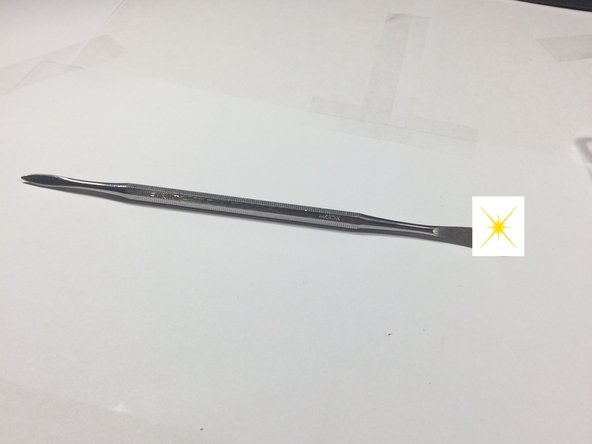
Step 3


– Meet the Linksys WRT54G2 V1 – it’s got all the right stuff!
– The internet cable goes into the Internet-in jack – pretty straightforward.
– Need to plug in some devices? There are 4 Ethernet out jacks for you to use.
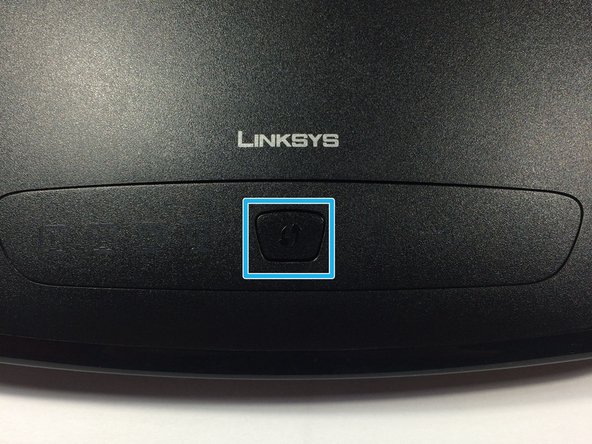
– One reset button, just in case you need to hit the ‘do-over’ button.
– Power up with the 12 Volt DC .5 amp inlet – it’s where the magic happens.
– Oh, and there’s a WPS button for easy Wi-Fi setup.
Step 4

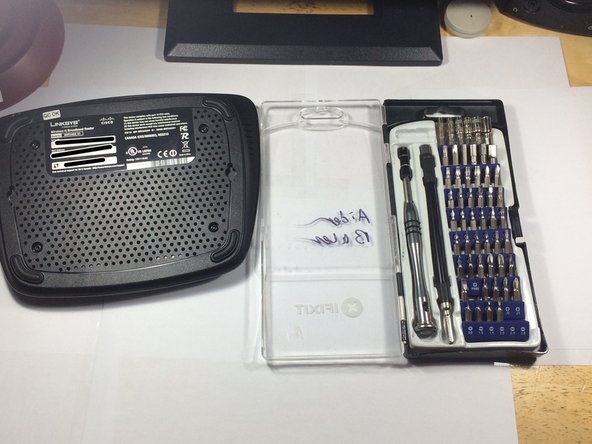
Time to break out the good gear! These tools have your back.
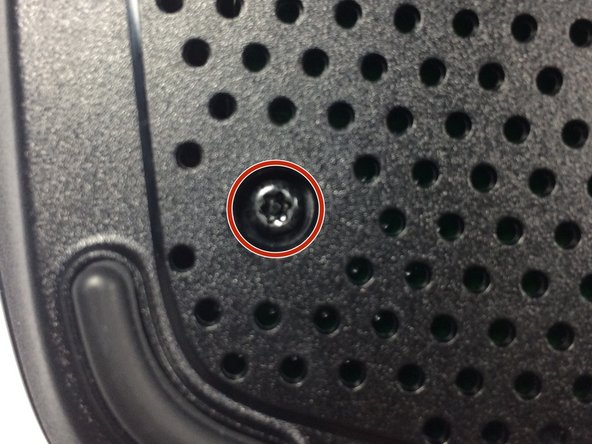
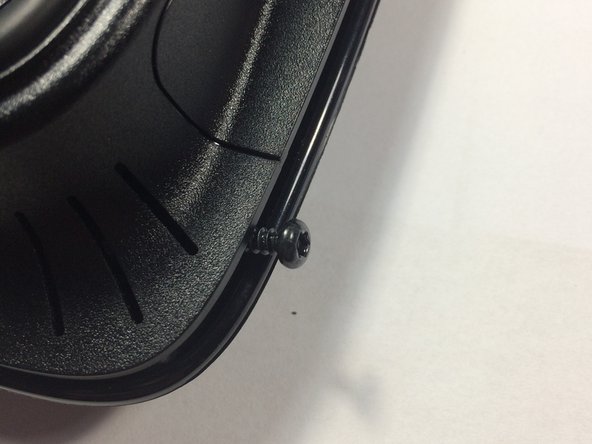
– Here’s a look at the back of your router—there are four screws holding things together that need to come out.
– Surprise! There’s a new screw waiting for you.
Step 5
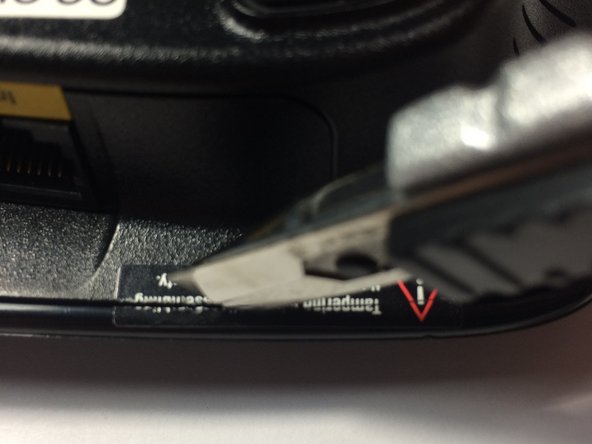
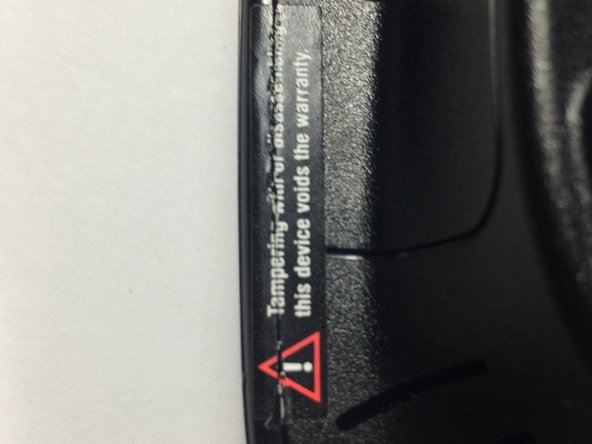

– Looks like we’ve encountered a little glitch in the repair process—no worries, we’ve got this! Time to rally and get back on track.
– Ah-ha! We’ve spotted a tricky obstacle—stay calm, and let’s tackle it together to keep the repair moving forward.
– The coast is clear, and we’re back in action! Keep going, and you’ll have this device fixed up in no time.
Step 6

Looks like the cover has a mind of its own and wants to pop off! To keep it in check, I snagged a screw from the router. Problem solved!
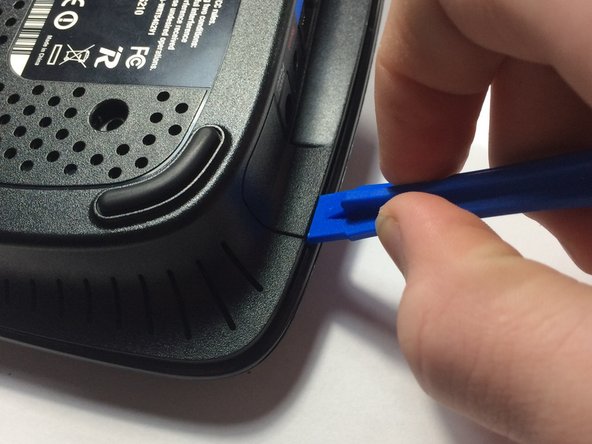
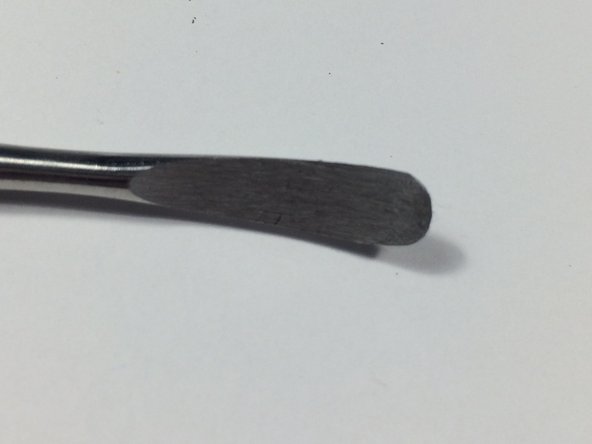
– Don’t be tempted to just rip it open – there’s a better way! Take a deep breath and let’s get started.
– Use an opening tool to carefully pry open the device, focusing on the back corners. If you’re not comfortable with this step, you can always schedule a repair
Tools Used

Step 7

Popping just the back corners might not do the trick on its own. For a smooth and successful repair, make sure to gently work around the edges to loosen the adhesive and clips. Patience and a steady hand will help you get the job done right. If you need help, you can always schedule a repair.
– The front section is putting up a fight, and my opening tool is feeling the pressure. Time to break out the heavy-duty tools!
Step 8

– Stamped with ‘IFIXIT’ to show it’s the real deal.
– Constructed with genuine metal for durability.
– Check out that shiny, unedited finish—no tricks here!
– Luckily, I’ve got one of these handy gadgets. If you want one, you can always schedule a repair.
Step 9


Pop! Pop! Pop! Sounds like you’re on the right track! Keep going and don’t stop now!
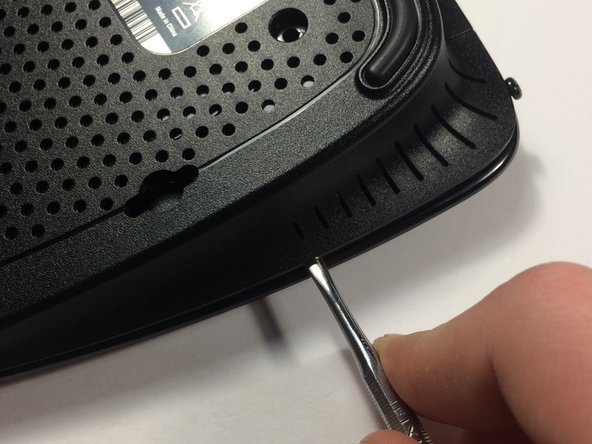
– Grab your trusty SPUDGENATOR 9000 and gently slide it into the gap until you hear those satisfying pops.
– Before you know it, it’ll be wide open!
Step 10


– Check out the back of the WPS button.
– Those tabs can be a bit stubborn for my fingers! Let’s bring in the SPUNGENATOR 9000 to help pry them open.
– And just like that, it’s out! (Okay, maybe we broke a tab, but that’s all part of the adventure!)
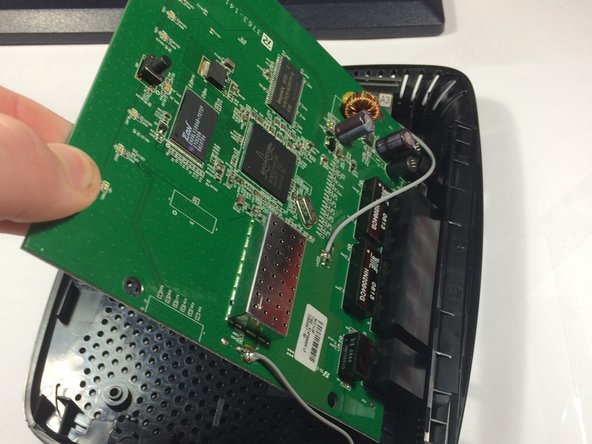
Step 11

– Two sleek antennas keeping the signal strong.
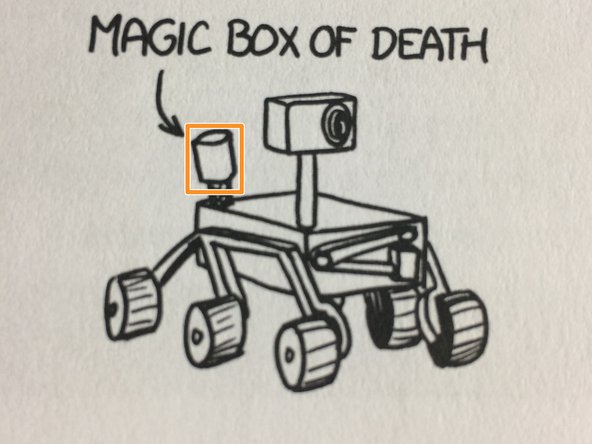
– Behold: the MAGIC BOX OF DEATH! (It’s less scary than it sounds—promise.)
– Broadcom 802.11 b/g chip: does your Wi-Fi heavy lifting.
– Flash Memory: where all your stuff hangs out.
– SDRAM: your device’s short-term memory wizard.
– Second image, straight from XKCD What If?—for those who love a good geeky reference.
Step 12
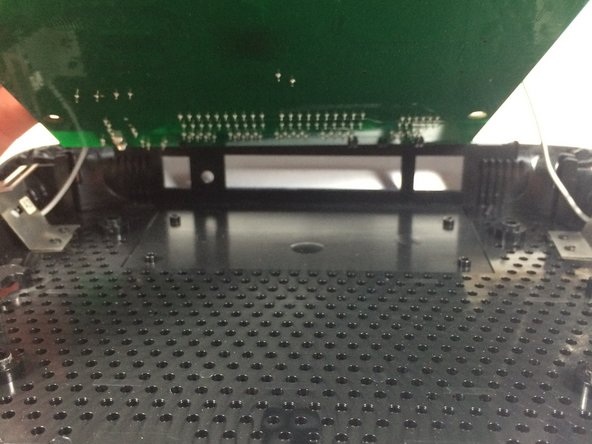

I’m saving the motherboard for later, so I won’t be removing it. Cutting the wires would make it too much work to repair, and I’d rather not deal with soldering today.
– Removing the logic board (motherboard) doesn’t involve any screws—just a gentle lift and a careful detachment. Keep your patience handy and follow each step slowly. If you need a hand, you can always schedule a repair to get expert help.
Step 13


No thumbs up included, but we believe in you!
– Gather every part you’ll need for this adventure.
Step 14


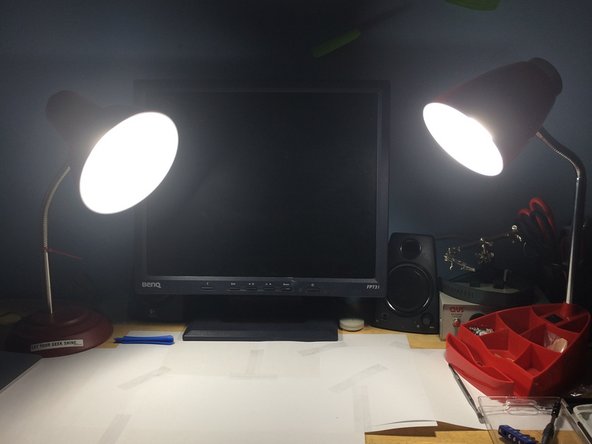
I set up with two Daylight LED lights to keep things bright and easy to see.
A few sheets of regular printer paper worked great for diffusing the light.
Success!