Linksys WRT54G2 V1 Teardown
Duration: 45 minutes
Steps: 14 Steps
Alright, let’s get this router into pieces! Time to carefully open it up and see what’s going on inside. Don’t rush, just take it step by step. You’ve got this!
Step 1


Hang tight—this step might take a little bit, but you’ve got this!
– Looks like it’s time for a tidy-up! Let’s get to work.
Step 2


Be careful not to make a tiny figure hold the spudger—he might wobble and take a tumble. Keep him steady to avoid any mishaps.
– Looking sharp! The lighting is spot on, and our minifigure is totally ready for action with that spudger.
Step 3


– Meet the trusty Linksys WRT54G2 V1 — your home network hero.
– Identify the Internet in jack, your gateway to the web universe.
– Locate the four Ethernet out jacks, your wired connection hubs.
– Find the reset button, the magic reset switch for a fresh start.
– Check out the 12 Volt DC .5 amp power inlet to keep things humming.
– Spot the WPS button, your quick connect buddy for wireless pairing.
Step 4

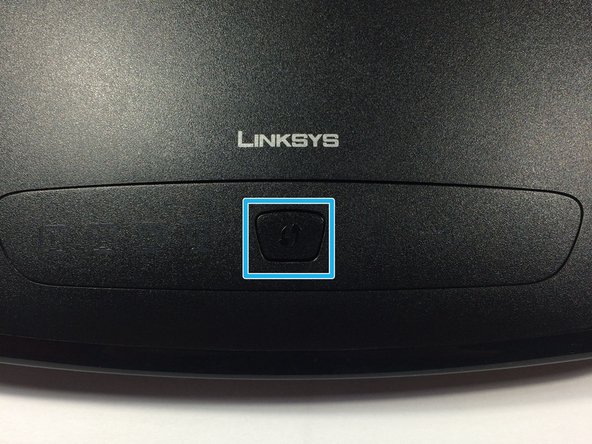
Only the finest tools will get the job done right! I was advised to use my tools more often – and now’s the time to do just that.
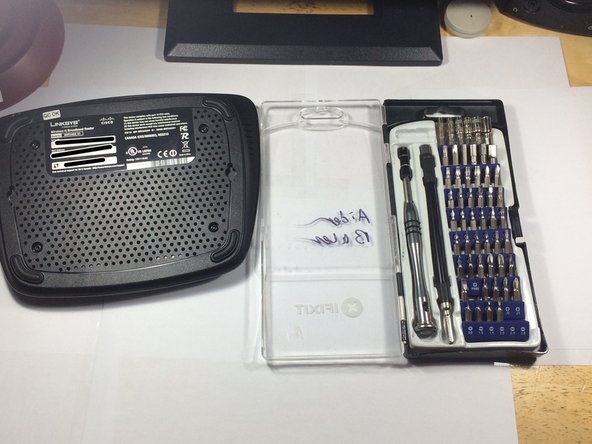
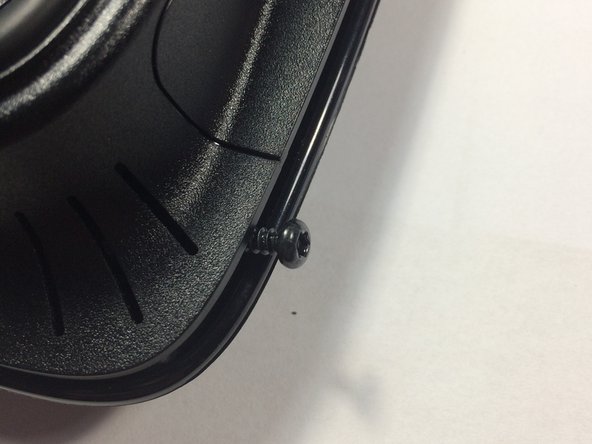
– Flip to the back of the router and spot those four screws—they’re coming out next.
– Wait, what’s this? A surprise screw joins the party!
Step 5

– Hold on tight, we’ve got a little interference in this repair mission… Let’s clear it up and get back on track.
– Watch out! There’s a sneaky troublemaker trying to cause chaos. Time to outsmart it and keep things smooth.
– All clear! Salvation Repair is back in action—victory is ours. Keep going, you’re doing great!
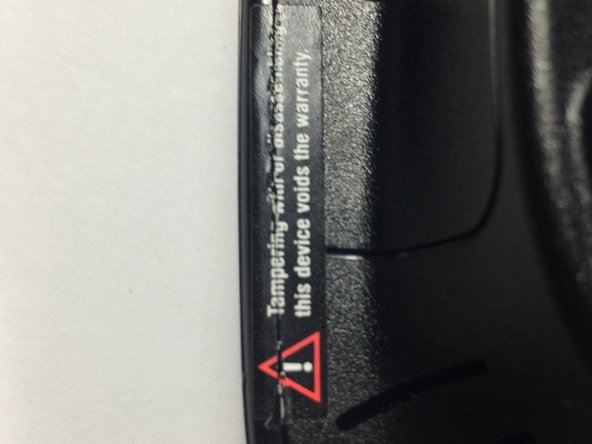
Step 6

The cover doesn’t stay put on its own, so I borrowed a screw from the router to keep it in place.
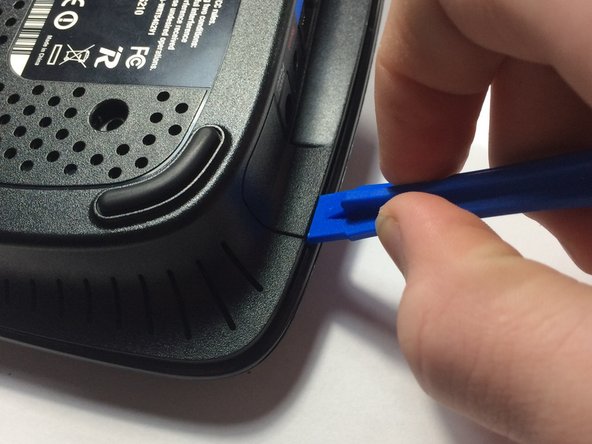
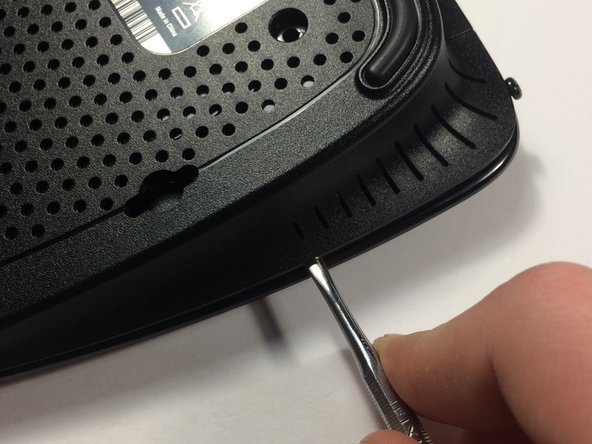
– Wondering how to get this thing open? No need to rip it apart—there’s usually a cleaner way. Let’s find the right approach to open it smoothly.
– Using the right tools makes all the difference. Grab an opening tool and gently work around the back corners to loosen the panels without damage. If you need help, you can always schedule a repair.
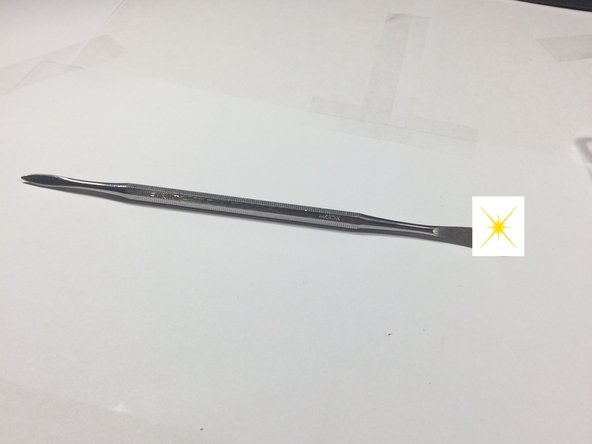
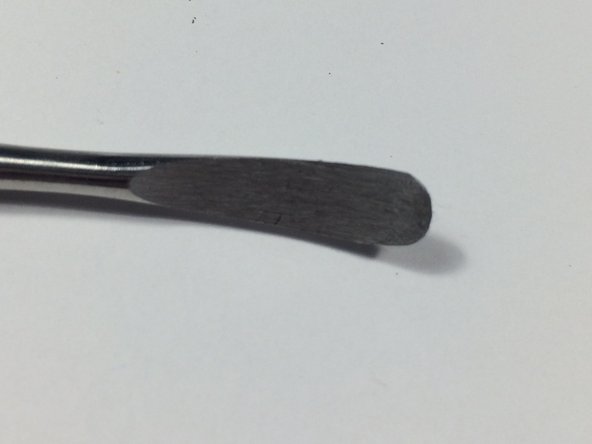
Tools Used

Step 7

Just popping the back corners isn’t quite enough—give the other sides some attention too!
– The front area feels pretty sturdy, and it’s starting to feel like my opening tool might not survive the task. Time to break out the big guns!
Step 8

– Sporting the engraved mark of authenticity – that’s right, it says real deal right here!
– Crafted from genuine metal, not some flimsy stuff.
– Check out that shine! No filters here, just pure brilliance!
– I’m lucky to have one of these gems in my toolkit. If you want to join the club, just remember, if you need help, you can always schedule a repair.
Step 9


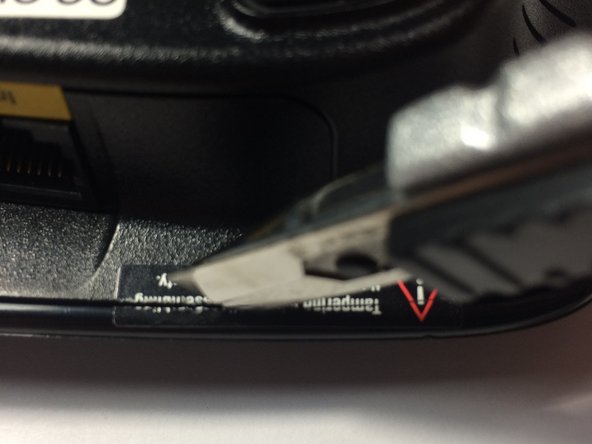
Pop, pop, pop! Time to take care of those little sounds, get ready to dig in and make it right.
– Grab your trusty SPUDGENATOR 9000 and gently slide it through the gap until you hear a satisfying pop.
– With a little patience, the device will eventually open up.
Step 10


– Here’s the back of the WPS button for you to see.
– Those tabs are pretty snug, and my fingers are just not enough to get them loose! Time to bring out the SPUNGENATOR 9000! Use it to gently pry those stubborn tabs open.
– And… they’re free! (though one tab might give a little, that’s normal).
Step 11


– Check out the 2 antennas—your device’s way of saying ‘I want all the Wi-Fi, please.’
– Meet the MAGIC BOX OF DEATH! (Don’t worry, it’s more dramatic than dangerous.)
– Say hello to the Broadcom 802.11 b/g MAC/PHY/Radio + Switch—basically the brains behind your wireless connection.
– Here’s the Flash Memory—think of it as your device’s long-term memory bank.
– And this is the SDRAM, where your device juggles all the stuff you’re doing right now.
– Second image courtesy of XKCD What If? because even repair guides need a little comic relief.
Step 12
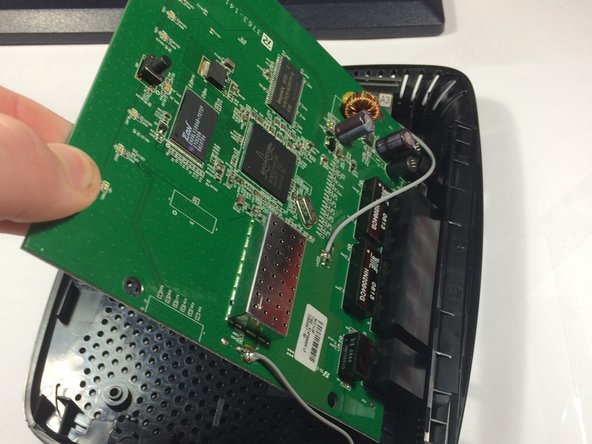

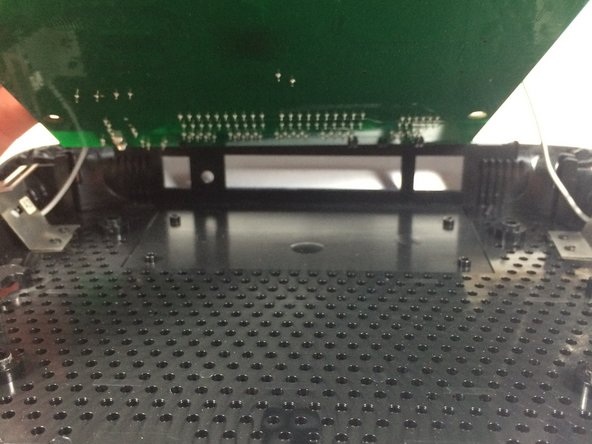
We’re leaving the motherboard in place—no wire cutting or soldering today! Planning to use it again later.
– Getting the logic board out? No screws needed here! Just some gentle prying and patience, and you’ll have that motherboard free in no time. If you run into any trouble, remember you can always schedule a repair with Salvation Repair to help you out.
Step 13


Sorry, thumbs not included—yours will do just fine!
– Grab every part you’ll need for this repair adventure.
Step 14
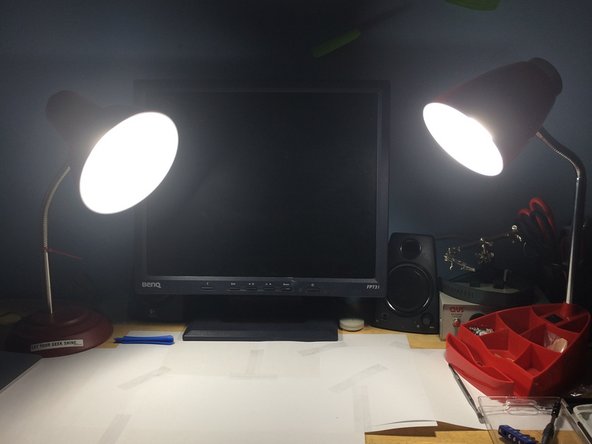


I used 2 Daylight LEDs to light up the area. That’s two handy lights, perfect for the job.
I also grabbed some plain old printer paper—no sign needed here, just simple paper for the task.
Success!