Mac Pro 2009-2012 Teardown (2009, 2010, 2011, 2012)
Duration: 45 minutes
Steps: 24 Steps
Step 1


– Flip up the clip on the Mac Pro’s back to get started with the case.
– Keep that clip popped open while you work—don’t close it until you’re totally done!
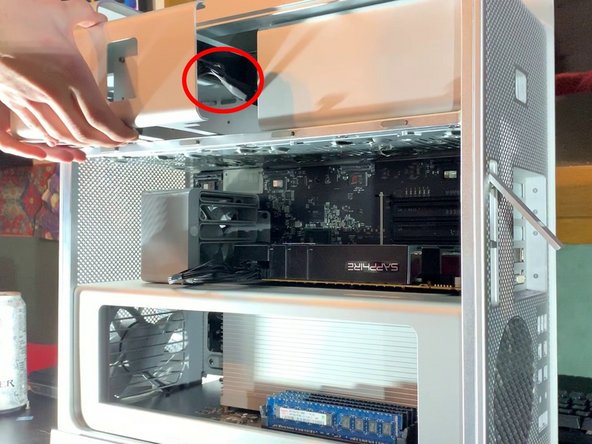
Step 2


– Gently lift the flap to unlock it. The panel should come off smoothly with no extra effort needed.
Step 3


– To take out the hard drives, gently pull them towards you with a bit of a tug. Don’t worry, they’ve been waiting for their big moment to come out!
Step 4


Unplug the power cable and SATA cable from each DVD drive—time to disconnect those sneaky little connectors!
– Gently pull the DVD drive bracket towards you, just like you did with the hard drives. A little finesse goes a long way!
Step 5
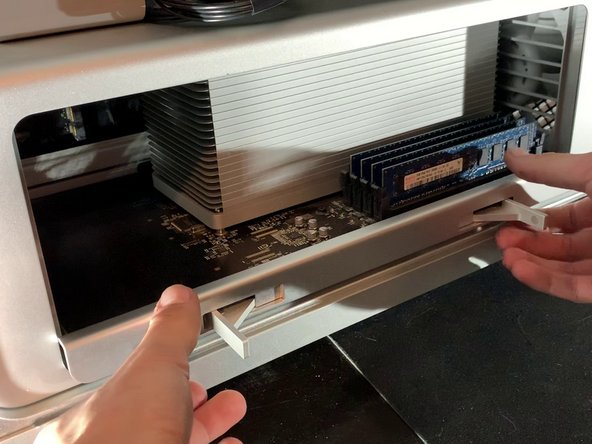


You shouldn’t have to yank or pull too hard—gentle is the way to go. If you need help, you can always schedule a repair.
– Give those latches a good press to unlock the bracket.
– Next, gently pull it towards you.
Step 6


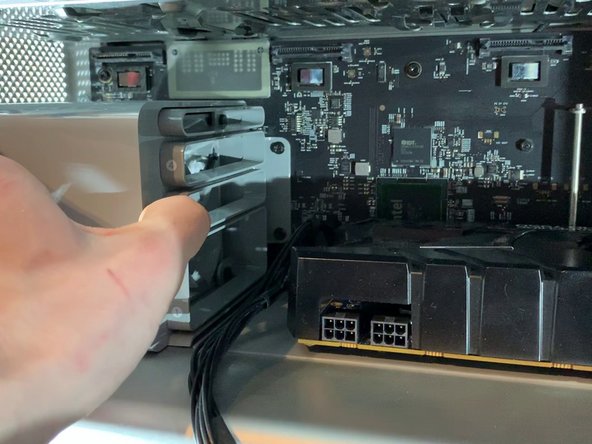
This step is optional and will depend on the graphics card you have in your Mac Pro. Just keep that in mind while you work your magic!
– Gently disconnect the 6 or 8 pin connector from your graphics card. A little wiggle, and it should come right off!
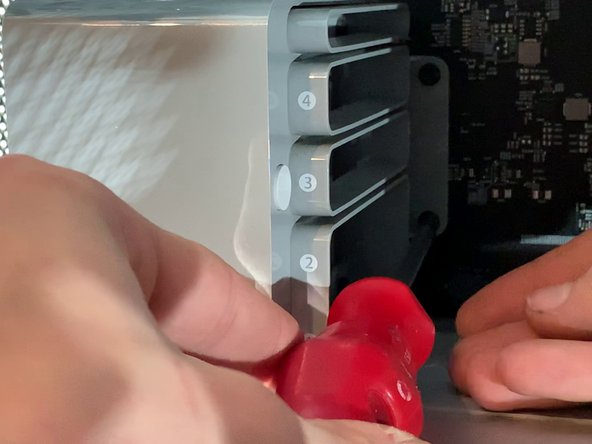
Step 7


This step is optional, depending on your Mac Pro’s GPU. If you’re not sure, take a quick peek at your specs or feel free to schedule a repair if you need a hand!
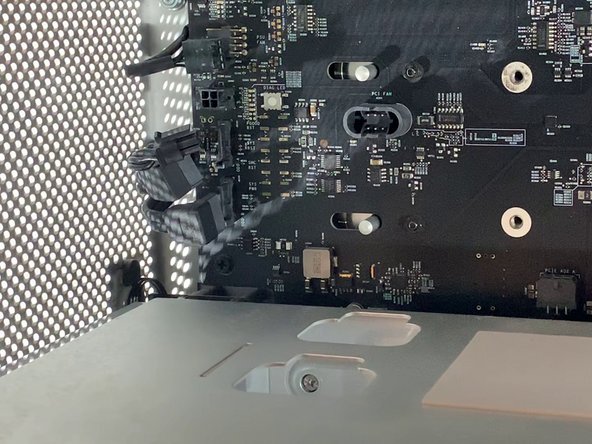
– Locate the button-like feature on the fan bracket. Give it a press to shift the support to the left (check the picture for guidance). Then, gently pull the graphics card towards you to remove it from the case. If you need help, you can always schedule a repair.
Step 8


This step is optional and depends on the GPU in your Mac Pro—if your graphics card is a bit different, you might want to skip or revisit this part. If you need help, you can always schedule a repair.
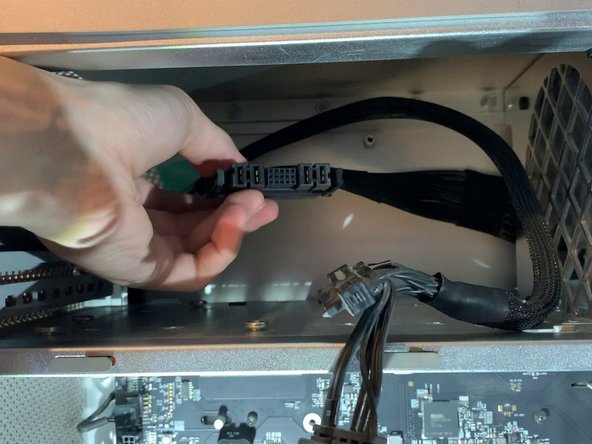
– Gently unplug the PCI-e cables from the motherboard. Take your time, no rush—these connections can be a little stubborn, but a little patience goes a long way.
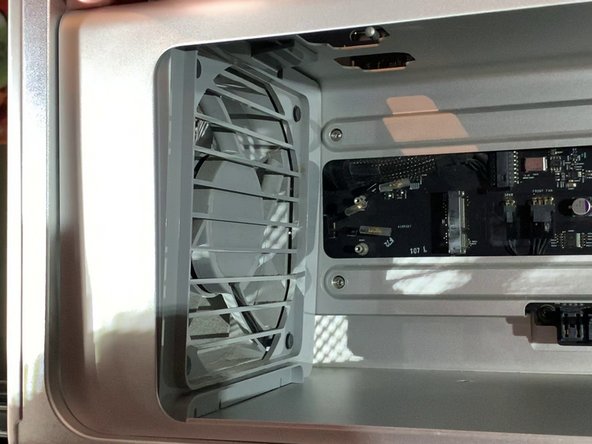
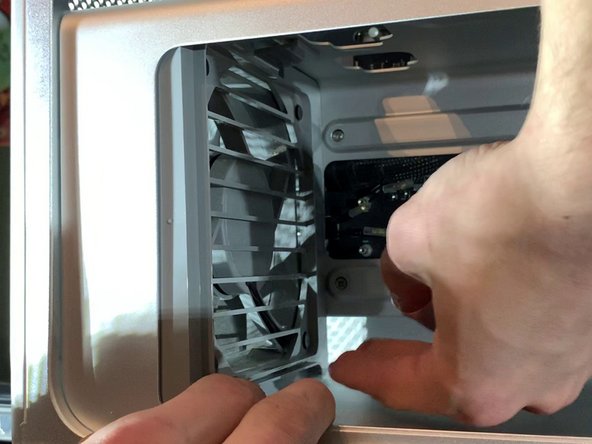
Step 9


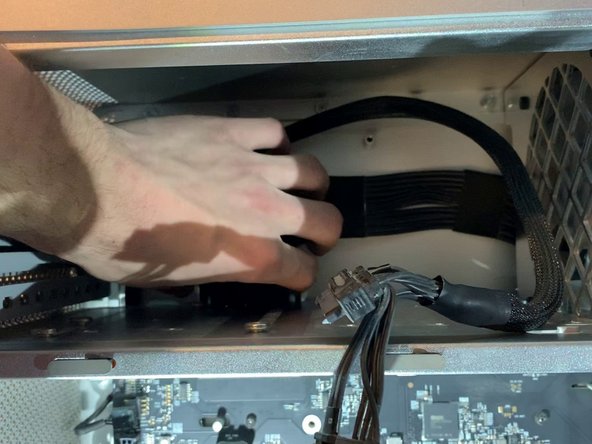
– With a screwdriver, unscrew the two screws that hold the fan bracket to the board
– Pull the fan towards you (to move it away from the case)
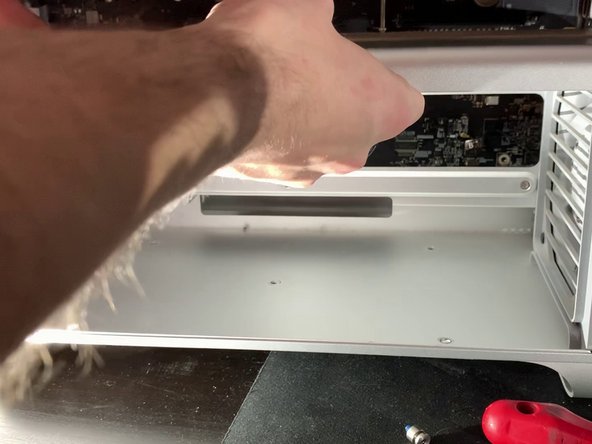
Step 10

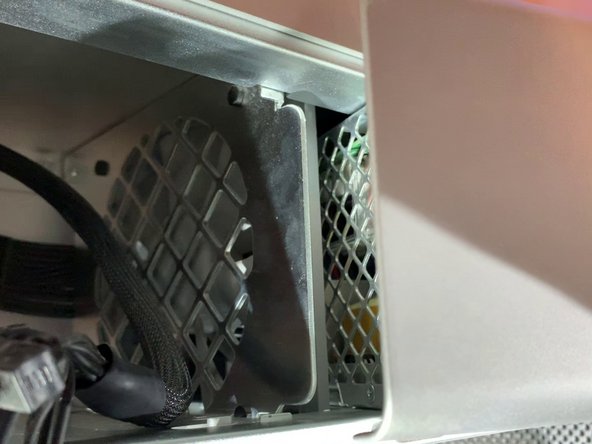
– Behind the fan bracket, you’ll find two SATA cables, a 4-pin mini power supply, and a 4-pin fan. Just make sure to take note of their placement before moving anything around. If you’re feeling unsure or need an extra set of hands, you can always schedule a repair.
Step 11

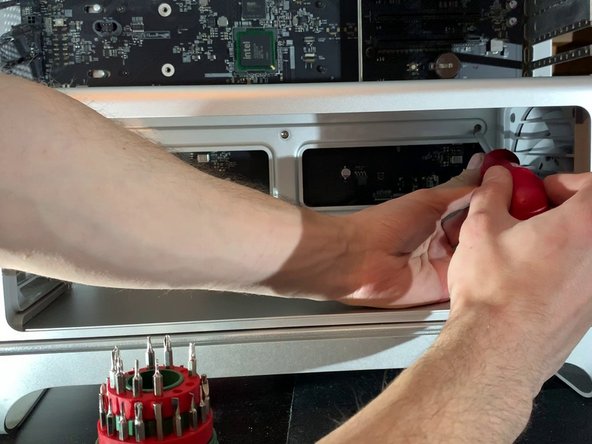
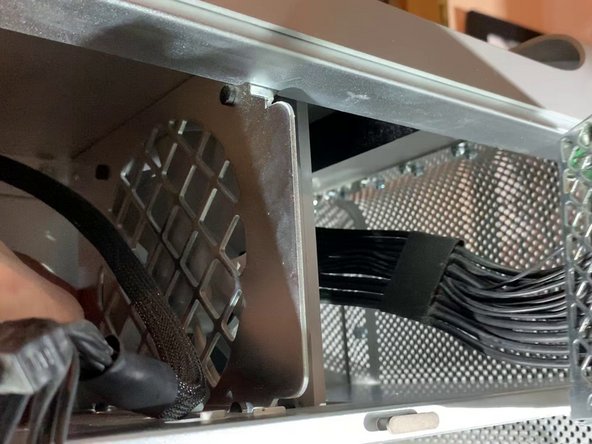
– Grab your H2.5 screwdriver and loosen those screws on the bottom of the bracket (see photo 2).
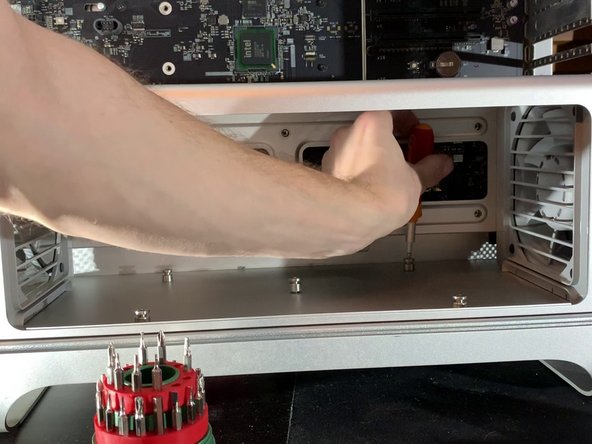
– Switch to a Phillips screwdriver and unscrew the screws on the bottom of the case (check out photo 3).
Step 12
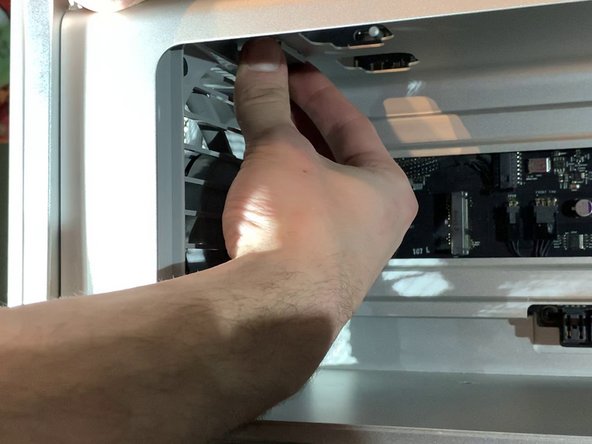

– Pop off the clip at the top of the fan to get things started.
– Gently lift the top of the fan to loosen it up a bit.
Step 13

– Just like the top, gently pop off the clip at the bottom and pull out the fan. It’s easy, no stress.
Step 14


Remember this step, or you might end up damaging the motherboard connectors and rendering your fans and speakers useless! Keep it safe and steady, and if you need help, you can always schedule a repair.
– Alright, time to unplug those fan cables! Gently disconnect the 2 x 4 pin fan cables and the 1 x 2 pin speaker cable. It’s like a mini reset for your device. Take your time, and keep it smooth!
Step 15

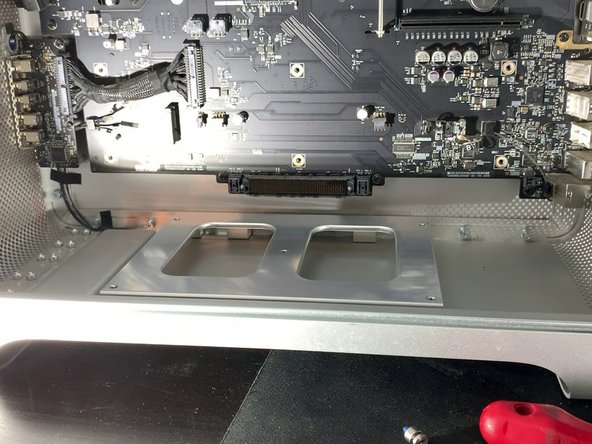
No need to muscle it out! If it’s not budging, double-check that the fans aren’t in the way.
– Gently pull the CPU support toward you—nice and easy!
Step 16

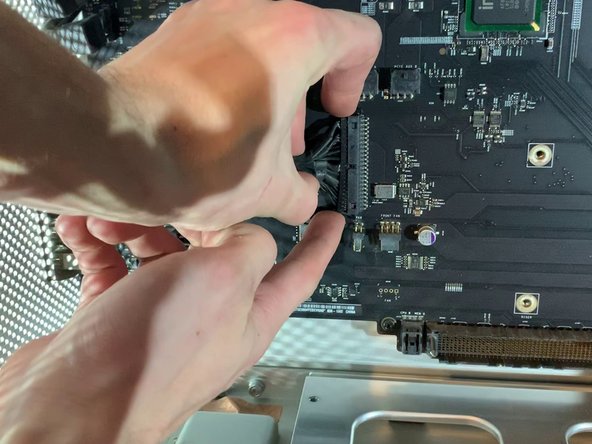

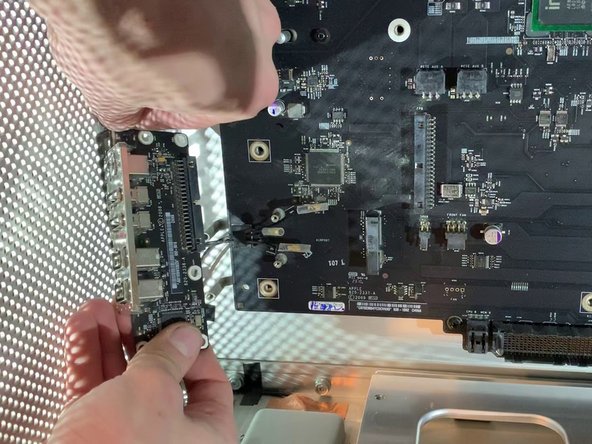
Gently unplug that cable! You don’t want to put any pressure on those delicate pins in the motherboard connector—handle with care!
– Gently detach the ribbon that links the motherboard to the expansion card (USB, Jack, Power Off, etc.). Take your time and make sure it’s done carefully to avoid any damage. If you need help, you can always schedule a repair.
Step 17


Remember to disconnect the power button of the card before you dive in!
– Grab your screwdriver and loosen the 5 screws holding the card in place. Take your time, and don’t rush – we’re almost there!
Step 18

– Twist off those two screws like a pro and gently lift off the cover!
Step 19

No need to wrestle with it—if things aren’t clicking into place, make sure you’re giving those clips a proper squeeze.
– Gently press both knobs to release the power connector. It’s like giving it a little nudge, just enough to get things moving.
Step 20


– Remove the 4 screws that are keeping the power supply in place.
Step 21

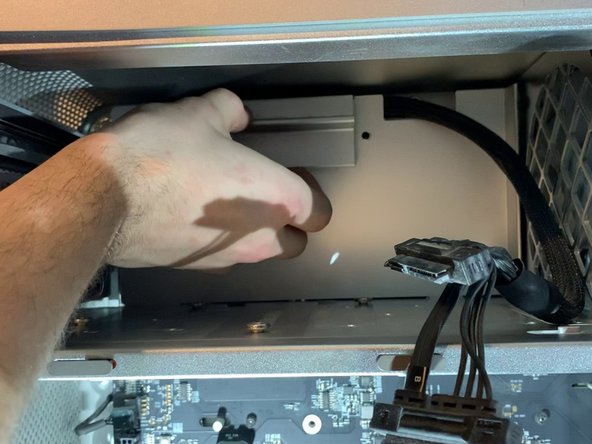
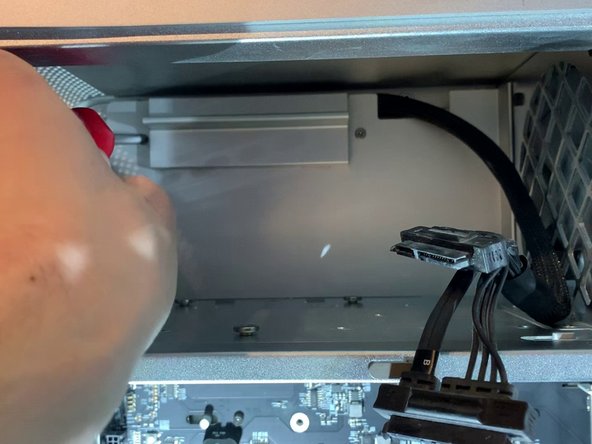
Make sure to gently pull the connector forward while keeping an eye on those cables!
– Gently slide the power supply towards you. Give it a little nudge and it should come right out!
Step 22
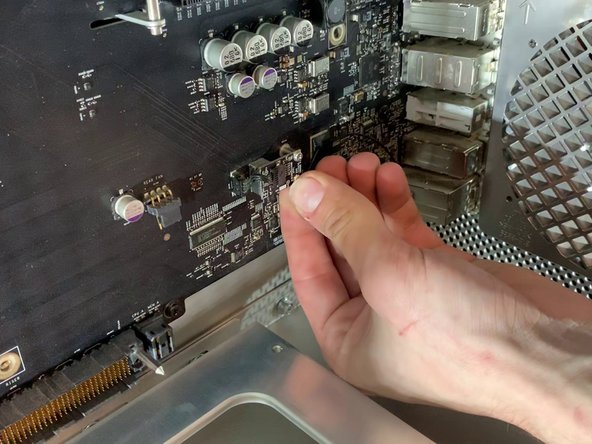

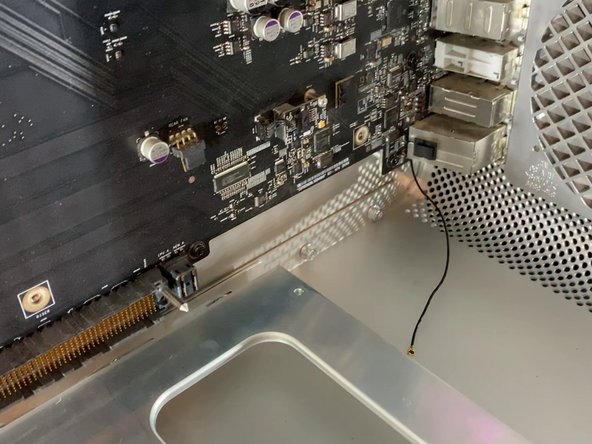
– Pop the bluetooth antenna out of its clip. A little gentle pressure should do the trick, but be careful not to yank it too hard.
Step 23
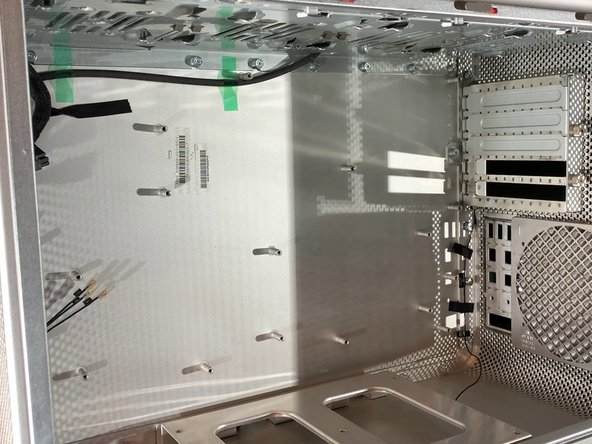


– Grab your screwdriver and carefully remove all 10 screws holding the motherboard in place. Keep track of them so you can put everything back together smoothly. If you need help along the way, you can always schedule a repair.
Step 24

– Now, it’s time to put everything back together! Just retrace your steps in reverse and make sure everything clicks into place. If something feels off or tricky, no worries! You can always schedule a repair for expert help.
Success!
