MacBook Pro 13″ Unibody Early 2011 AirPort/Bluetooth Board Replacement
Duration: 45 minutes
Steps: 17 Steps
Heads up! If you encounter any tricky spots during your repair journey, don’t hesitate to schedule a repair. We’re here to help you every step of the way!
Get ready to swap out that pesky broken AirPort/Bluetooth board! We’ve got a simple guide to help you breeze through the process. If you need help, you can always schedule a repair.
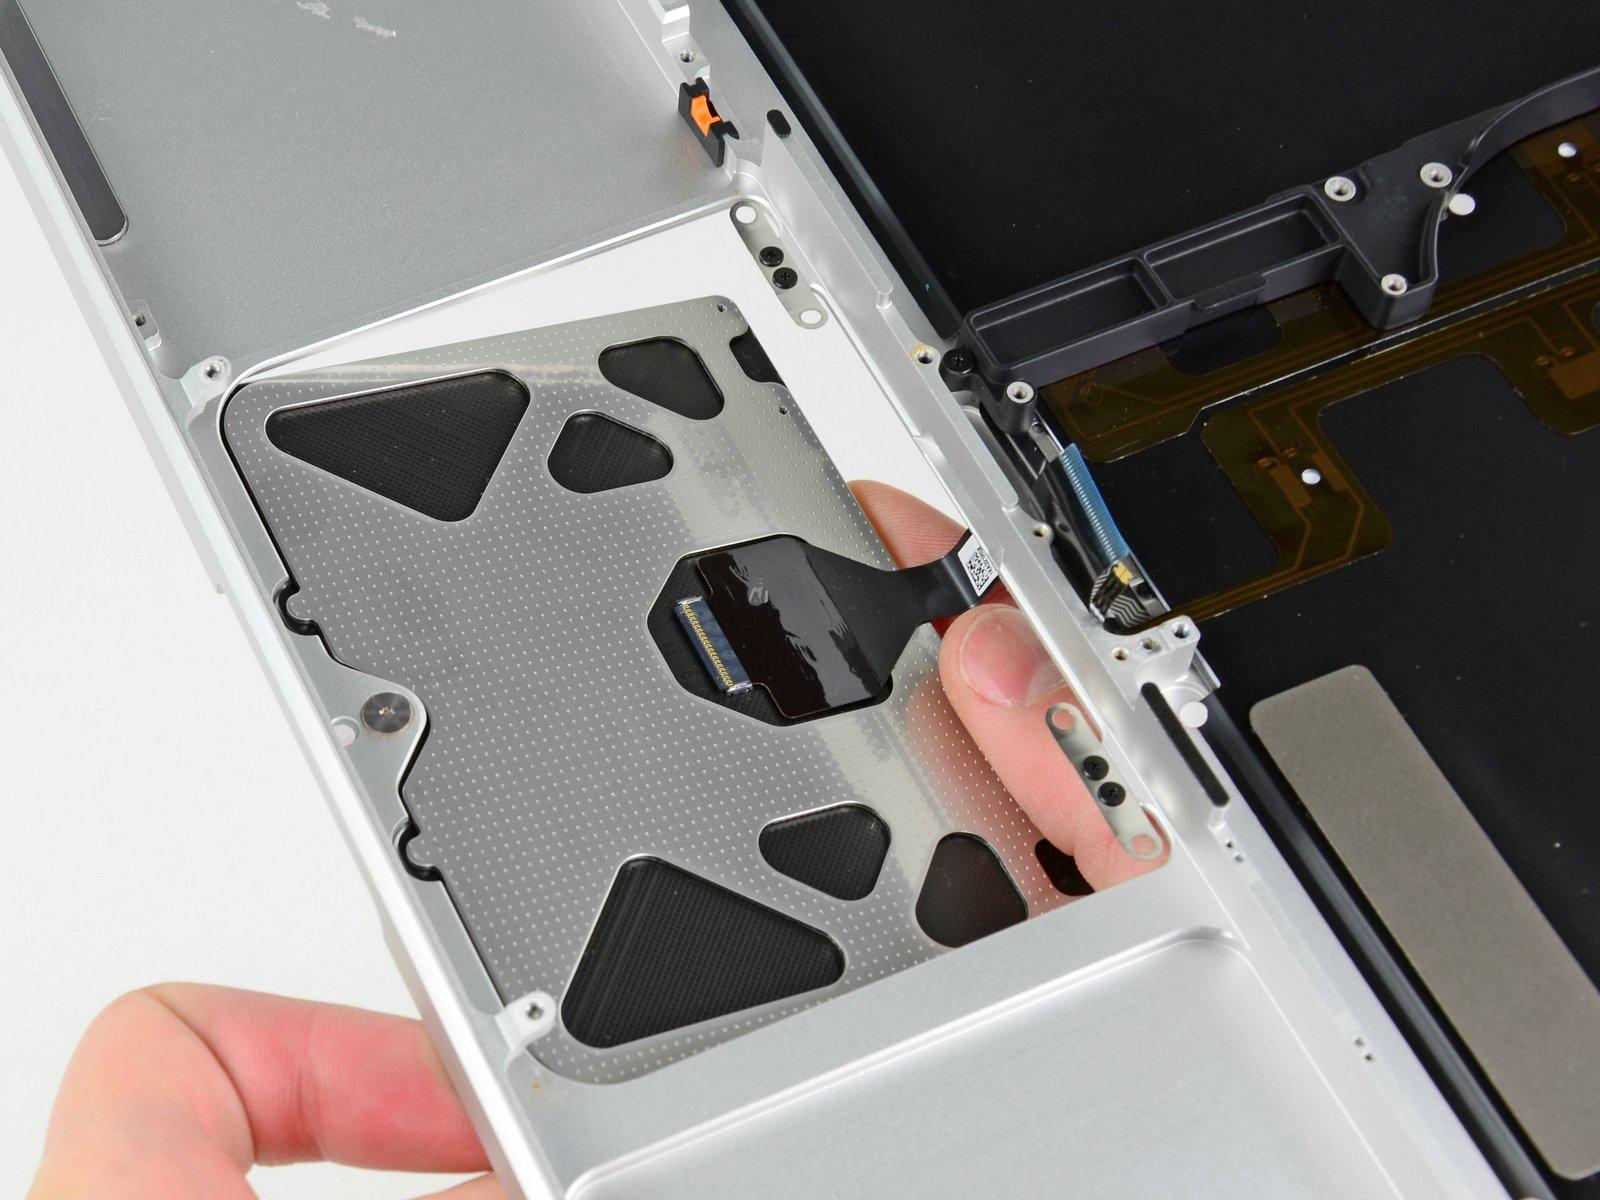
Step 1

– Time to get those screws out! Let’s tackle these ten screws together:
Step 2


– Gently use your fingers to lift the lower case away from the MacBook’s body near the vent. It’s like giving your laptop a little hug!
– Now, go ahead and remove the lower case. You’re on the right track!
Step 3


It is useful to pry upward on both short sides of the connector to “walk” it out of its socket. Be careful with the corners of the connectors, they can be easily broken off.
– Gently slide the edge of your trusty spudger under the battery connector and give it a little lift to pop it free from the logic board. You’ve got this!
Tools Used
 “Spudger
Step 4

– Gently nudge the battery cable away from its socket on the logic board to keep it from reconnecting while you’re busy working your magic.
Step 5

– Gently use the flat end of a spudger to lift the AirPort/Bluetooth ribbon cable connector out of its cozy spot on the logic board.
Tools Used
Step 6

Pull the cable parallel to the face of the logic board. Pulling it upward may damage the logic board or the cable itself.
– Gently wiggle the camera cable and coax it out of its cozy home on the logic board. You’ve got this!
Step 7


– Gently nudge the AirPort/Bluetooth ribbon cable aside while you carefully peel the camera cable away from the sticky adhesive that’s holding it to the subwoofer and the AirPort/Bluetooth bracket. No need to rush, take it slow!
– Now, let’s guide that camera cable out from under the snug little retaining finger that’s molded into the AirPort/Bluetooth bracket. You’re doing great!
Step 8


– Gently slide the spudger tip under the antenna connector that’s nearest to the logic board and lift it up from the AirPort/Bluetooth board socket.
– Carefully guide the antenna cable out from underneath the molded finger on the AirPort/Bluetooth bracket.
Tools Used
Step 9


– Now, let’s get those last three antenna connectors unplugged! Just follow the technique from the previous step.
– Once they’re free, gently guide their cables out from the slots in the AirPort/Bluetooth bracket.
Step 10

– Time to get those screws out! Let’s tackle the five screws waiting for you.
Step 11

– Gently lift the AirPort/Bluetooth assembly and the Subwoofer upwards towards the center of the optical drive until they gracefully pass each other by.
Step 12

– Carefully take out the AirPort/Bluetooth assembly, and watch out for that delicate antenna contact hanging out by the corner of the upper case. It’s a little shy, so be gentle!
Step 13

– Time to get started! Begin by carefully peeling back the piece of EMI tape that’s covering the AirPort/Bluetooth cable connector. If you need help, you can always schedule a repair
Step 14


– Grab your trusty spudger and gently coax the AirPort/Bluetooth cable connector out of its cozy little home on the AirPort/Bluetooth board.
– Once it’s free, go ahead and detach the AirPort/Bluetooth cable like a pro.
Tools Used
Step 15

– Keep peeling away that pesky EMI tape from the bottom of the AirPort/Bluetooth bracket and gently lift it off the assembly. You’ve got this!
Step 16

– Let’s get those three 3 mm Phillips screws off that AirPort/Bluetooth board! Grab your screwdriver and remove them from their cozy bracket home.
Tools Used
 “Phillips #00 Screwdriver
Step 17

Be careful not to damage the pink thermal pad attached to the bracket.
– Gently detach the AirPort/Bluetooth board from its cozy bracket.