Microsoft Kinect Case Replacement Guide: Step-by-Step DIY Tutorial
Duration: 45 minutes
Steps: 6 Steps
Get ready to crack open your Kinect and give it some TLC. Removing the casing is a crucial step to access and replace any damaged components. Don’t worry, we’ve got you covered with this step-by-step guide. If you’re not feeling confident, you can always schedule a repair with Salvation Repair.
Step 1


Hey, be careful with the heat! It can be a bit rough on the delicate inner workings. Keep it cool and you’ll be golden!
This adhesive can be a little stubborn! A bit of heat can help loosen its grip.
– Grab your trusty metal spudger and gently pry off the two plastic strips from the bottom of the main Kinect housing. Use the sharper edge for a smooth removal!
– Now, let’s reveal those sneaky hidden screws! Carefully peel off the two Xbox 360 stickers located at the bottom of the case. They won’t know what hit them!
Tools Used

Step 2

– Let’s get started by removing the six 12mm T10 Torx screws – simply unscrew them to begin the process.
Step 3


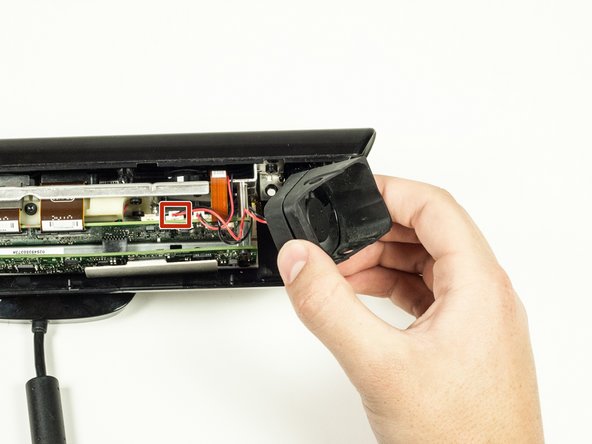
When it’s time to unplug the fan, grab the white connector at the end of the wire and give it a gentle pull. We want to keep it in one piece, so go easy on it!
– Start by gently prying off the top part of the case—like lifting the lid off a treasure chest! Keep it steady.
– Next, work on disconnecting the side parts of the case from the main body. A little wiggle here and there should do the trick!
– Now, let’s free the fan component from its cozy spot on the side. Don’t forget to unplug it from the logic board; we want it completely free to keep the fun rolling!
Step 4

Removing the bottom of the case can be a bit tricky if there’s some stubborn adhesive hanging around. If you find yourself wrestling with it, try giving it a little gentle heat and some wiggling magic to free it up. Remember, patience is part of the process! If you need help, you can always schedule a repair.
– Gently slide the bottom part of the case out from underneath the main body to free it up.
Step 5

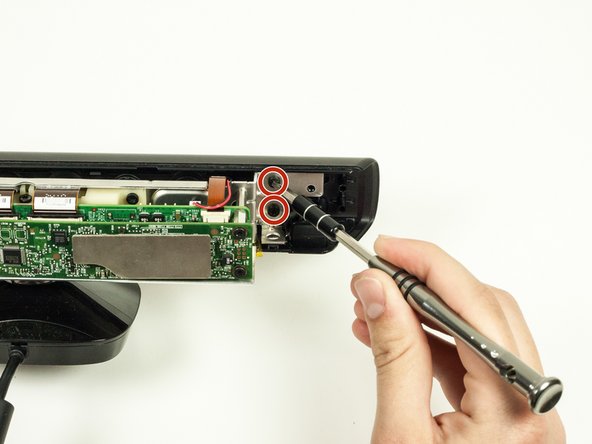
– Take out those four 7mm T10 Torx screws—two on each side of that shiny metal body! You’ve got this!
Step 6


– Now put your device back together – it’s like a puzzle, but with more cool tech! Just reverse the steps you did, and you’ll be good to go.
– Cancel: You didn’t quite finish this guide, but hey, that’s cool – we all have our off days.
– If you need help, you can always schedule a repair.
Success!
