Microsoft Surface 2 Volume Control Replacement
Duration: 45 minutes
Steps: 7 Steps
If your volume button is sticking or acting up, chances are it’s ready for a swap. Here’s your easy, step-by-step guide to getting it working like new. No more silent jams or sudden blasts—let’s get your sound under control!
Step 1


Keep the heat gun a little bit away from the Microsoft Surface 2 to prevent any warping. And remember, don’t touch the metal tip of the gun — it gets really hot and can give you a burn. Stay safe out there! If you need help, you can always schedule a repair.
– Grab your heat gun or the iOpener (if you’re not in a rush) and warm up the adhesive all the way around the screen’s edge.
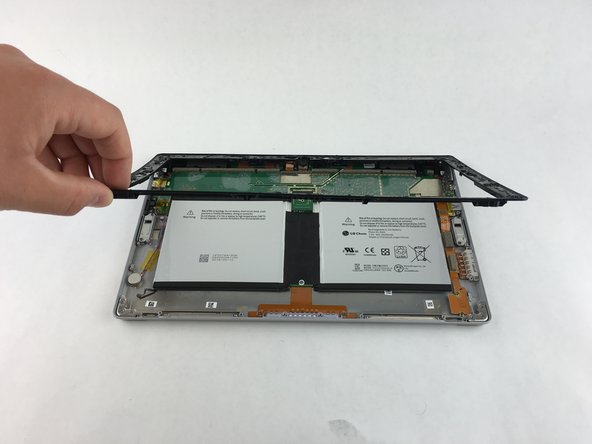
– Slide those opening picks right under the screen and the black trim—keep things balanced by placing picks on each side.
– With the picks holding things open, carefully work a plastic opening tool into the gap and gently lift the screen off the Surface 2. Try to keep your prying nice and even all the way around.
Step 2


Now that the screen is detached, you’ll notice a single ribbon cable still connecting it to the motherboard. Don’t worry, it’s just a little link holding it all together!
The ribbon cable might be glued to the motherboard, so you might need a bit of gentle persuasion to get it free. Take your time, it’ll come off with a little patience.
– Grab a plastic spudger and gently work the retaining clip away from the display cable. It’ll pop right off with a little nudge!
– Now, carefully wiggle the ribbon cable free from its cozy home on the motherboard. Just a smooth pull and you’re good to go!
Tools Used

Step 3

– Keep those screws in check by working near your Magnetic Project Map.
– Take out ten 3.45 mm T3 screws chilling in the corners of the black plastic bezel.
– Next up, remove the seventeen 4.4 mm T5 screws hanging out around the edge of the bezel.
– With every screw out of the picture, lift off the bezel and set it aside like a pro.
Step 4

– Carefully peel away the yellow plastic tape with a pair of tweezers. Take your time and be gentle to avoid tearing the tape or damaging surrounding components. If you need help, you can always schedule a repair.
Step 5

– Unscrew the two 1.70 mm T3 screws from the volume control switch. A little twist and they’ll be out in no time.
– Keep those screws close! Try to work near your Magnetic Project Map to avoid the classic screw disappearance act.
Step 6

Double check that you’re flipping up the tiny retaining flap—don’t go prying at the connector itself!
– Grab your spudger and gently lift up the retaining flap on the volume control cable ZIF connector. Easy does it!
Tools Used
Step 7

The ribbon cable slides in and out with ease—no muscle required!
– With the volume control switch now free, carefully wiggle it away from the motherboard. Take your time so everything stays in one piece!
Success!