Microsoft Surface 3 Speaker Replacement
Duration: 45 minutes
Steps: 9 Steps
To swap out the Surface 3 tablet’s speakers, start by removing the casing, peeling off the adhesive that’s holding the speakers in place, and then disconnect the speakers from the motherboard. It’s a straightforward job, just take your time and follow the steps carefully. If you need help, you can always schedule a repair.
Step 1
– Heat up an iOpener according to the guide’s instructions—it’s your go-to warm-up chef here!
– Gently lay the warmed-up iOpener along the edges of the screen. The heat will help loosen up that stubborn adhesive holding the display and body together. Time for some separation magic!
Step 2
Be careful when pressing near the edge – you might accidentally poke through the speaker mesh and cause some damage. Instead, try to approach it at a shallower angle for a safer, smoother process.
This might take a bit of elbow grease—don’t be shy! Try using your fingernail to get things started; it can often do the trick.
– Grab your trusty opening picks and slide one under the screen edge near the speaker port—like a pro slicing into a fresh avocado.
Step 3
Broken glass may not look intimidating, but it’s still broken—handle it gently and keep those fingers safe!
If the glass breaks on one side, why not flip it around and start fresh from the other? A clean, unbroken edge can make things way easier.
– Gently work your way around the device with the picks, some reheating of the iOpener, and a bit of patience—it’s all part of the adventure!
Step 4
Hey there! Just a friendly reminder: don’t yank out the display just yet—it’s still hanging out with the motherboard!
If you’re swapping out the display or just want to keep it out of your way, follow the steps in the display replacement guide.
– Flip the display over carefully so the hidden components underneath are easy to reach and work with.
Step 5
– You’re about to dive into the Surface 3 to swap out the speakers. Focus on these specific areas for a smooth repair process.
Step 6
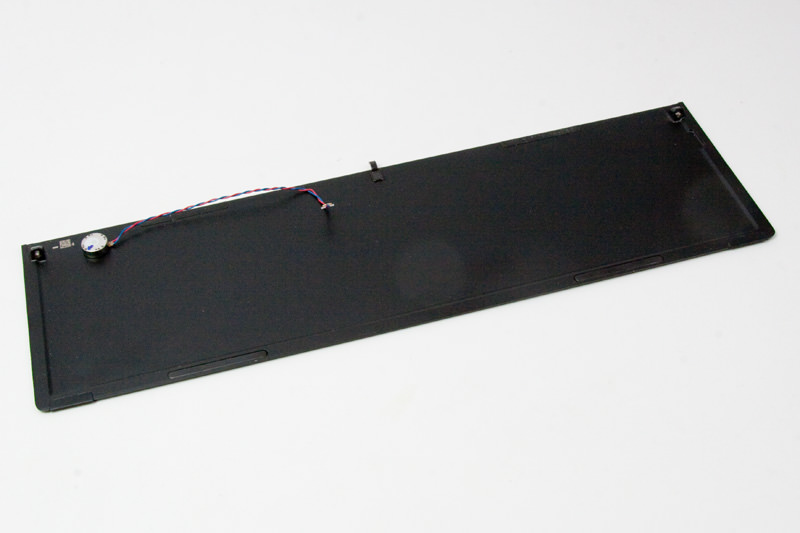
– Time to get this repair started! Use a pick to carefully pry under the speaker component and gently release the adhesive that’s holding it in place on the back casing.
Step 7
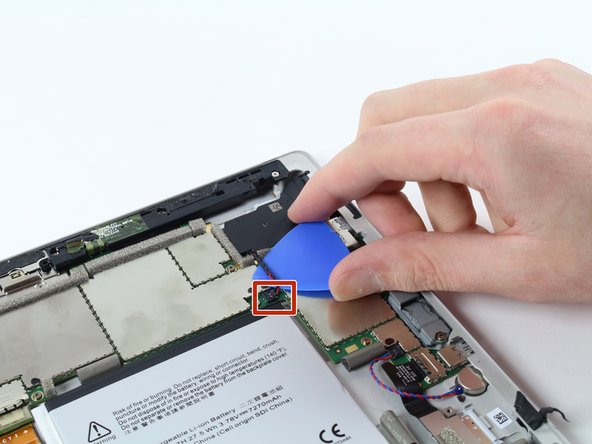
– Gently use the pick to lift up on the red and black wire, just enough to free the connection between the speaker wire and the motherboard. Take it slow and steady!
Step 8
– Just rinse and repeat those steps for the second speaker, and you’ll be all set!
Step 9
– Just pop out those old speakers and click in the new ones! Don’t forget to connect the red and black wires to the motherboard for a perfect sound experience.
Success!


