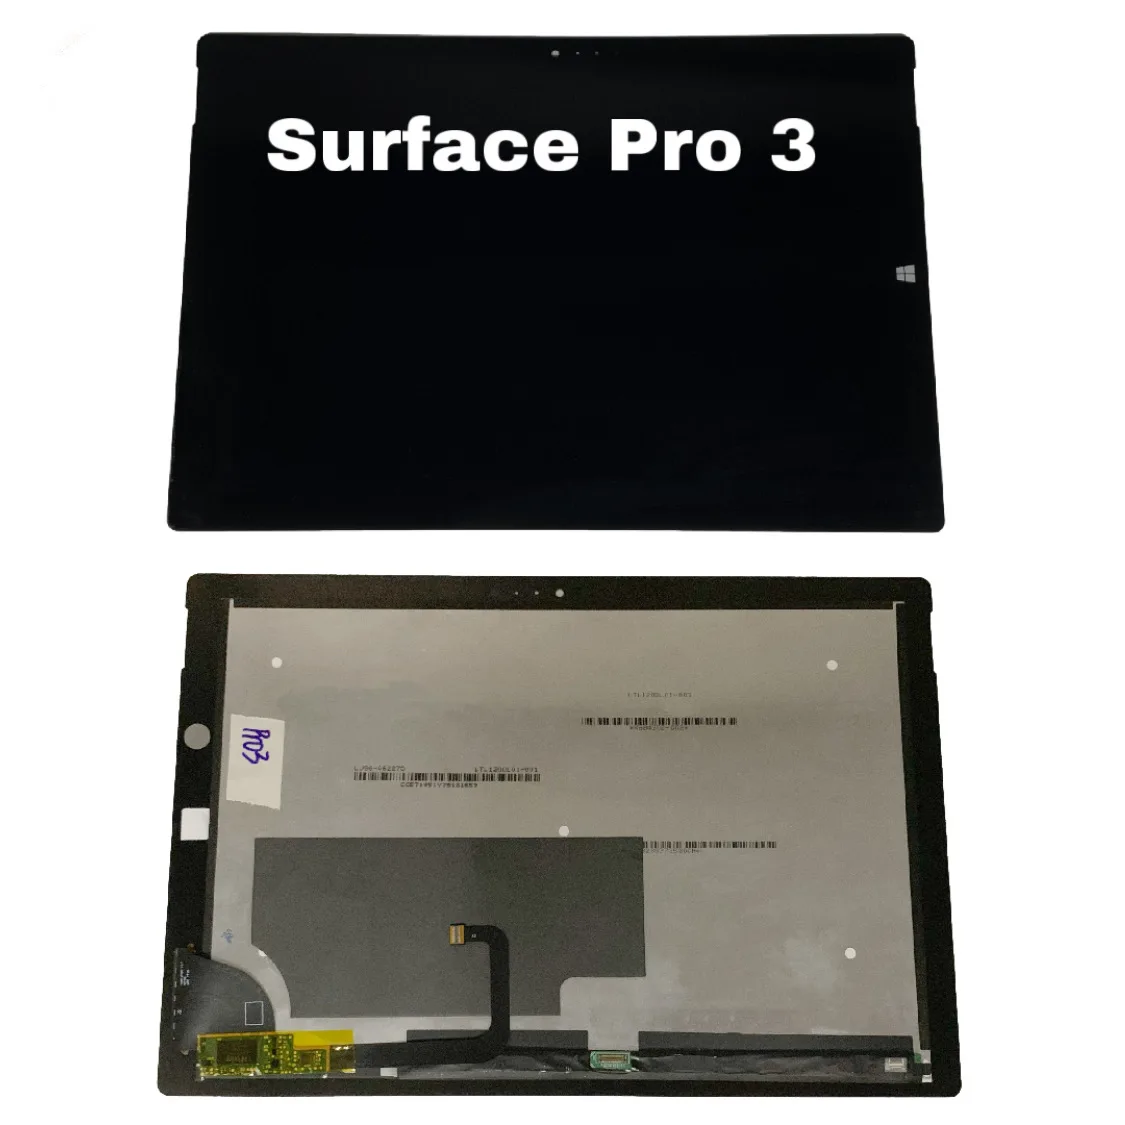
Microsoft Surface Pro 3 Display Replacement
Duration: 45 minutes
Steps: 7 Steps
Heads up before you start: – This is a pretty tough repair. If you’re not feeling super confident in your DIY chops, it might be worth considering a pro, or maybe even… Microsoft. – Make sure you’re using the correct screen version! Most devices come with the V1.1 screen/digitizer, and using the wrong one could lead to unexpected results. – Check that the metal casing isn’t bent at all. Even a tiny bend can prevent the new screen from fitting since the tolerances are incredibly tight. Gently straighten it out, or let a professional handle it if needed.
Step 1


Pro tip: Drain your Surface Pro’s battery below 25% before diving in—the last thing you want is a fireworks show if the battery gets roughed up during the repair.
Heads-up! Heat guns are handy but have a gentle hand—too much heat could turn your display or battery into toast.
The screen is stuck to the frame nice and tight with some mighty adhesive.
– To get that display off, let’s start by loosening up the adhesive with some heat. You can use a heat pad, heat gun, or iOpener for this. In a pinch, a hair dryer will do the trick too!
– Now, carefully warm up the edges of the display until it feels too hot to touch. Keep that temperature steady for a few minutes to make sure it’s nice and ready to come off.


Step 2


Handle with care—this glass is delicate and can crack if you apply too much pressure.
The wi-fi antennas are snugly glued beneath the screen border at the top edge (on either side of the camera), so be gentle when separating the top edge. If things get tricky, don’t hesitate to add a little more heat!
If your screen looks like it’s been through a rock concert mosh pit, your suction cup might not stick. Try giving the display a quick makeover with some packing tape—it’s like a spa treatment for your phone! Or, for a more permanent solution, superglue your suction cup directly to the display. Just be gentle—you’ve got this!
– Grab a suction cup or an iSclack and gently pull up on the glass, just enough to create a tiny gap between the screen and the frame.
– Carefully slide an opening pick into that gap to start cutting through the adhesive. Take it slow, no need to rush!
– Work the pick around the sides and bottom of the screen to slice through the rest of the adhesive. Feel free to apply more heat if things get tricky.
Step 3


The screen is super thin and delicate—handle it like it’s a butterfly made of glass! Watch out for those sharp edges, too.
– Keep warming up sections of the screen with the heat gun—you’re doing great!
– As you work your way around the screen with the heat gun, grab your trusty plastic opening tool and those handy opening picks to gently pry the screen loose. Take it slow and steady!
Tools Used
Step 4


– Gently lift the screen up, making sure to avoid any wire mishaps along the way!
Step 5


Watch out for that little rectangular bridge connector hiding underneath! It’s a sneaky one, so keep an eye on it!
– Unscrew the 3 mm T3 Torx screw that’s keeping the battery connector in place, then gently unplug that battery connector like a pro!
Step 6


Watch out for that tiny, rectangular bridge connector hiding underneath! It’s easy to misplace, so keep an eye on it.
– Take out the lone 4 mm T3 Torx screw holding the display cable in place. No need to overthink it—just unscrew it!
– Gently lift the connector up to unplug the display cable. Easy does it—you’re doing great!
Step 7


– Pop your device back together by following these steps in reverse order. Once everything’s snug and secure, there might be a bit more to do, like updating firmware, refreshing drivers, or even doing a factory reset to get things running smoothly again.
– If you need help, you can always schedule a repair.
Success!