Microsoft Surface Pro Charging Port Replacement
Duration: 45 minutes
Steps: 12 Steps
Ready to give your Microsoft Surface Pro some new juice? Follow these steps to swap out the charging port and keep your device powered up and happy.
Step 1

If you’re using an iOpener, you might need to reheat and apply it a few times to loosen up that stubborn adhesive. Each round, let the iOpener chill on the screen for at least a minute before you warm it up again. Patience pays off—the glue gets softer every time!
– Grab your heated iOpener or heat gun and gently warm up the edges of the display to loosen that stubborn adhesive. It’s like giving your phone a little spa treatment!
Tools Used

Step 2


Handle with care, we don’t want any accidents! When using your tools, take your time and be gentle – that display is fragile and can crack under too much force. If things get stuck, try applying a bit more heat to loosen up the adhesive.
Be careful not to push the opening pick too far into the display, or you might damage it beyond repair. Stay within the bezel to avoid any mishaps.
When working on the bottom edge, remember that the bezel is super thin, so don’t poke around too much with the opening pick – we want to keep that display looking brand new. If you need help, you can always schedule a repair
– Place the suction cup as close to the display edge as you can manage. The closer, the better!
– Gently use the suction cup to lift the edge of the display just enough to slide an opening pick under it.
– Now, carefully move the opening pick all around the display’s edge, cutting through the adhesive holding the bezel in place.
– Be mindful! The ribbon cables and a circuit board are only about 0.6 cm from the glass edge, so go slow and steady.
Step 3


If you hit some resistance, don’t fret—use a bit of heat and an opening pick to gently slide through any stubborn adhesive. Keep it cool and steady, and you’ll be back in business in no time.
– Start by gently lifting the display from the top edge to get it started.
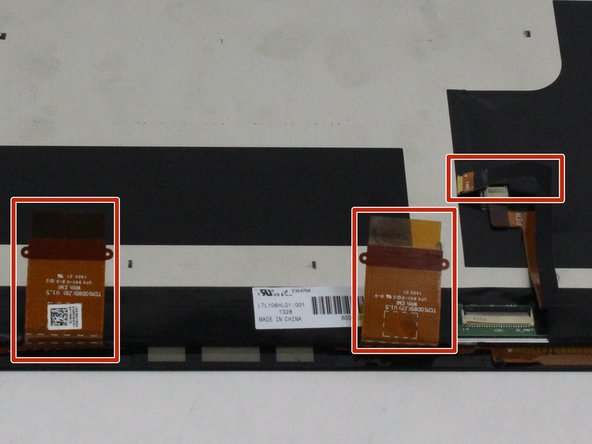
– Before pulling the display all the way out:
– Carefully disconnect the three display cables attached to it.
– Then, gently peel away the two orange ribbon cables glued to the frame, making sure they stay with the display. You might find a thin plastic card helpful for prying them loose.
Step 4

– Gently lift and remove the display from the device, taking care not to damage any cables or connectors. If you run into any trouble, remember you can always schedule a repair for expert help.
Step 5

– Grab your trusty T5 Torx screwdriver and get ready to unscrew all 23 screws hanging out on the Surface Pro’s outer panel. Take your time and keep those tiny screws safe for reassembly!
Tools Used

Step 6

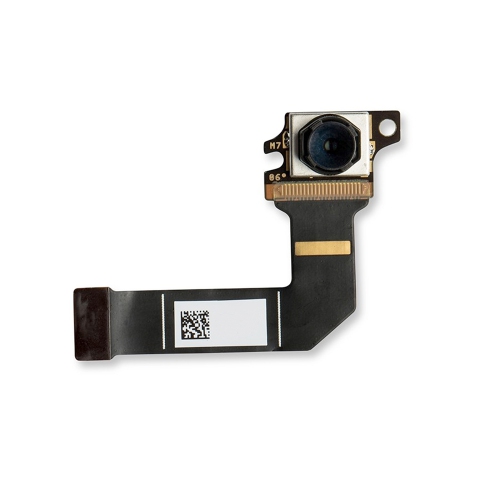
– Gently use your plastic opening tool or just your fingers to pop out the front camera. Easy does it!
Step 7

– Gently pop off the outer panel of the Surface Pro, like you’re peeling off a sticker – but way more satisfying.
Step 8

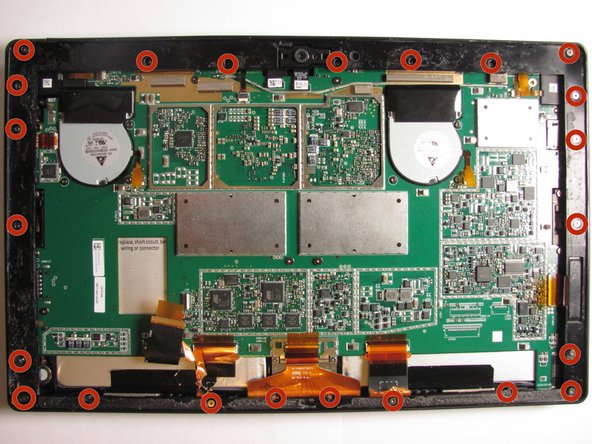
– Grab your T5 torx screwdriver and carefully unscrew the six T5 screws securing the metal panels on the left and right sides.
– Switch to your T2 torx screwdriver and remove the 23 T2 screws holding down the outer metal panels on both sides.
Step 9

– Gently pull out the left and right metal panels with your hands, giving them a firm but friendly tug to loosen them up.
Step 10

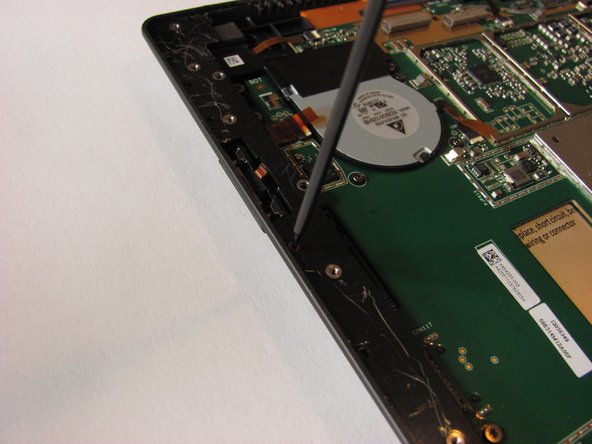
– Gently grab that orange charging port strip with some tweezers and pull it out. Easy does it—you’re making space for the new parts! If you need a hand along the way, remember you can always schedule a repair to get professional help.
Tools Used

Step 11

– Grab your T5 Torx screwdriver and remove the two little screws sitting on each side of the charging port—just like you’re opening a tiny treasure chest.
Step 12

– With the screws out of the way, gently wiggle the charging port and pull it out with your fingers. Easy does it—no need to rush!