Mid F900 Microphone Replacement
Duration: 45 minutes
Steps: 6 Steps
Get ready to swap out that microphone in your device! Just follow these steps carefully and handle everything with a gentle touch. You’ve got this!
Step 1

These screws measure 5mm long and 1mm wide—tiny, but mighty!
– Grab your trusty J00 Phillips-head screwdriver and get ready to dive in! Remove the two screws at the bottom of the device – it’s time to get this repair started!
Step 2


– Let’s get this repair started! Use your trusty plastic opening tool to carefully pry off the white back-plate of the device. Take your time and work your way around the edges until it comes loose.
Step 3

These tiny screws measure 4mm long and 1mm wide—keep an eye on them so they don’t roll off!
– Grab your trusty +00 Phillips head screwdriver and carefully remove the screws that hold the motherboard in place within the device housing.
Step 4

Need a hand with soldering? Check out our How to Solder and Desolder Connections guide for some awesome tips and tricks!
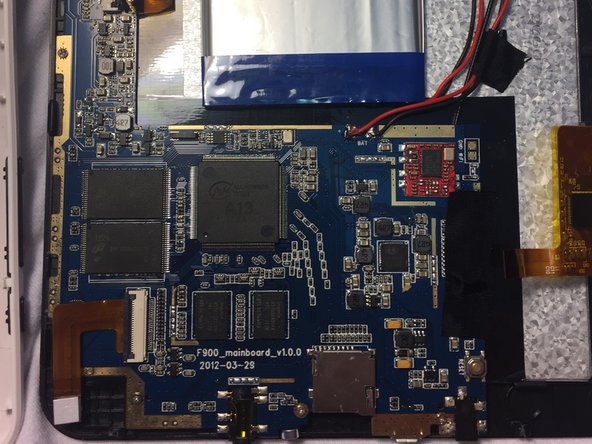
– Carefully melt away the solder on those black and red wires connected to the motherboard—give them a gentle wiggle free.
– Gently unclip and slide out the ribbon cables from the motherboard. Take your time, and those cables will pop right out.
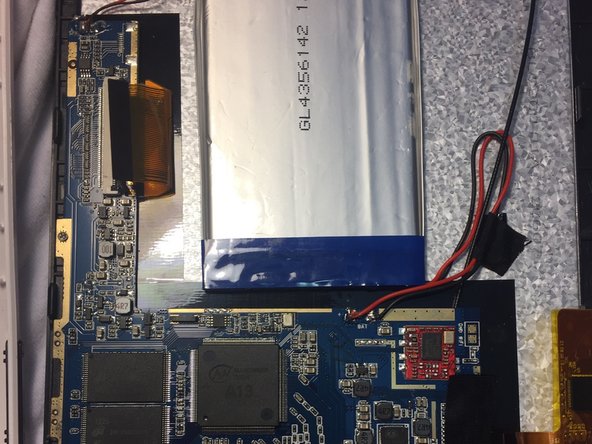
Step 5

– Gently lift the motherboard out of the device housing like you’re uncovering a hidden treasure!
Step 6

Need a hand with soldering? Dive into our How to Solder and Desolder Connections guide for some handy tips!
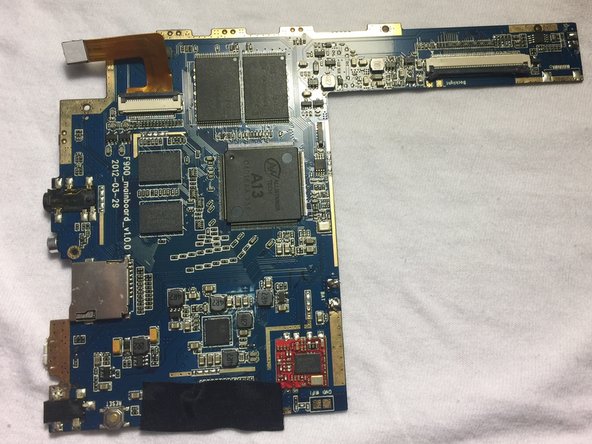
– Gently flip the motherboard so you can see the bottom side.
– Spot the microphone hanging out near the lower end. Warm up your soldering iron, carefully desolder the old microphone, and lift it out.
– Place the shiny new microphone in the same spot, solder it in, and you’re good to go!
Success!