Motorola Moto G 1st Generation Headphone Jack Replacement
Duration: 45 minutes
Steps: 7 Steps
Ready to get that headphone jack replaced? We’ve got you covered with just a few simple steps to make it happen smoothly and confidently.
Step 1


– Pop off the outer back cover of your phone using a trusty plastic opening tool—it might feel like you’re cracking into Fort Knox at first, but don’t sweat it, you got this! Once off, the inner back cover will be revealed in all its glory.
– This step can be reasonably tricky, especially if this is your debut dance with phone deconstruction, but it’s all part of the journey. Patience is your best buddy here!
– It might take a few attempts, but hang in there! The cover bends like it’s made for yoga stretches, but don’t go all Hulk on it—gentle force wins the race.
Step 2

Some versions of this phone let you pop in a microSD card for extra memory. If yours does, make sure to take that little card out before diving in.
– First, shut down your phone—give it a rest, it’s earned a break!
– Next, gently press on the SIM card until it pops out like a tiny spring-loaded surprise.
– Carefully remove the SIM card—don’t rush, it’s delicate like a soft songbird.
– Now, keep cool when handling that microSD card. Remember, it might not do the fancy eject thing like the SIM card, so be gentle and cautious.
– If there’s no spring eject magic, no worries! Check if your microSD card has a raised edge or ridge. Use your fingernail or a small plastic tool to softly push it out (no stabbing or intense force, okay?). Patience is key. Take your time to avoid damage—after all, we’re safeguarding your data here!
Step 3


– Grab your trusty T5 Torx screwdriver and remove all 14 screws (3.5 mm wide and 5 mm long) that are keeping the back plate securely in place. It’s like unscrewing a treasure chest, so let’s get to it!
– Keep those screws safe and sound—those tiny guys have a sneaky way of disappearing when you’re not looking! Trust me, you don’t want to go on a screw scavenger hunt.
– Pro tip: Use a magnetic project mat or any small container to hold all the screws and metal pieces together. It’s a lot better than playing hide-and-seek with your parts later!
Step 4

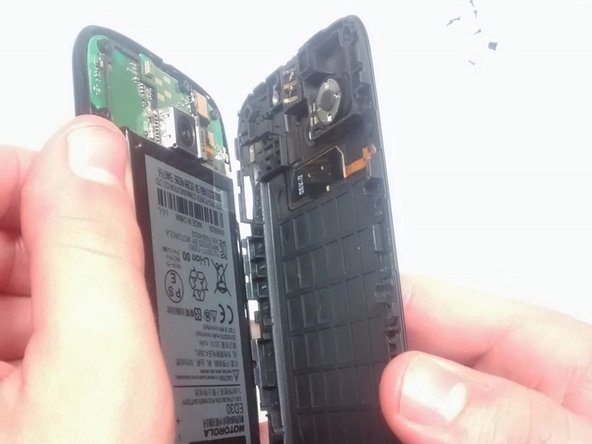

– Grab your trusty plastic opening tool and carefully pop off the inner back cover once the screws are out. Voilà, the motherboard and battery are ready for their big reveal!
– While you’re at it, keep an eye on those volume and power buttons on the side—they’ve got a tendency to play hide-and-seek once the cover is removed. Stay sharp!
Step 5

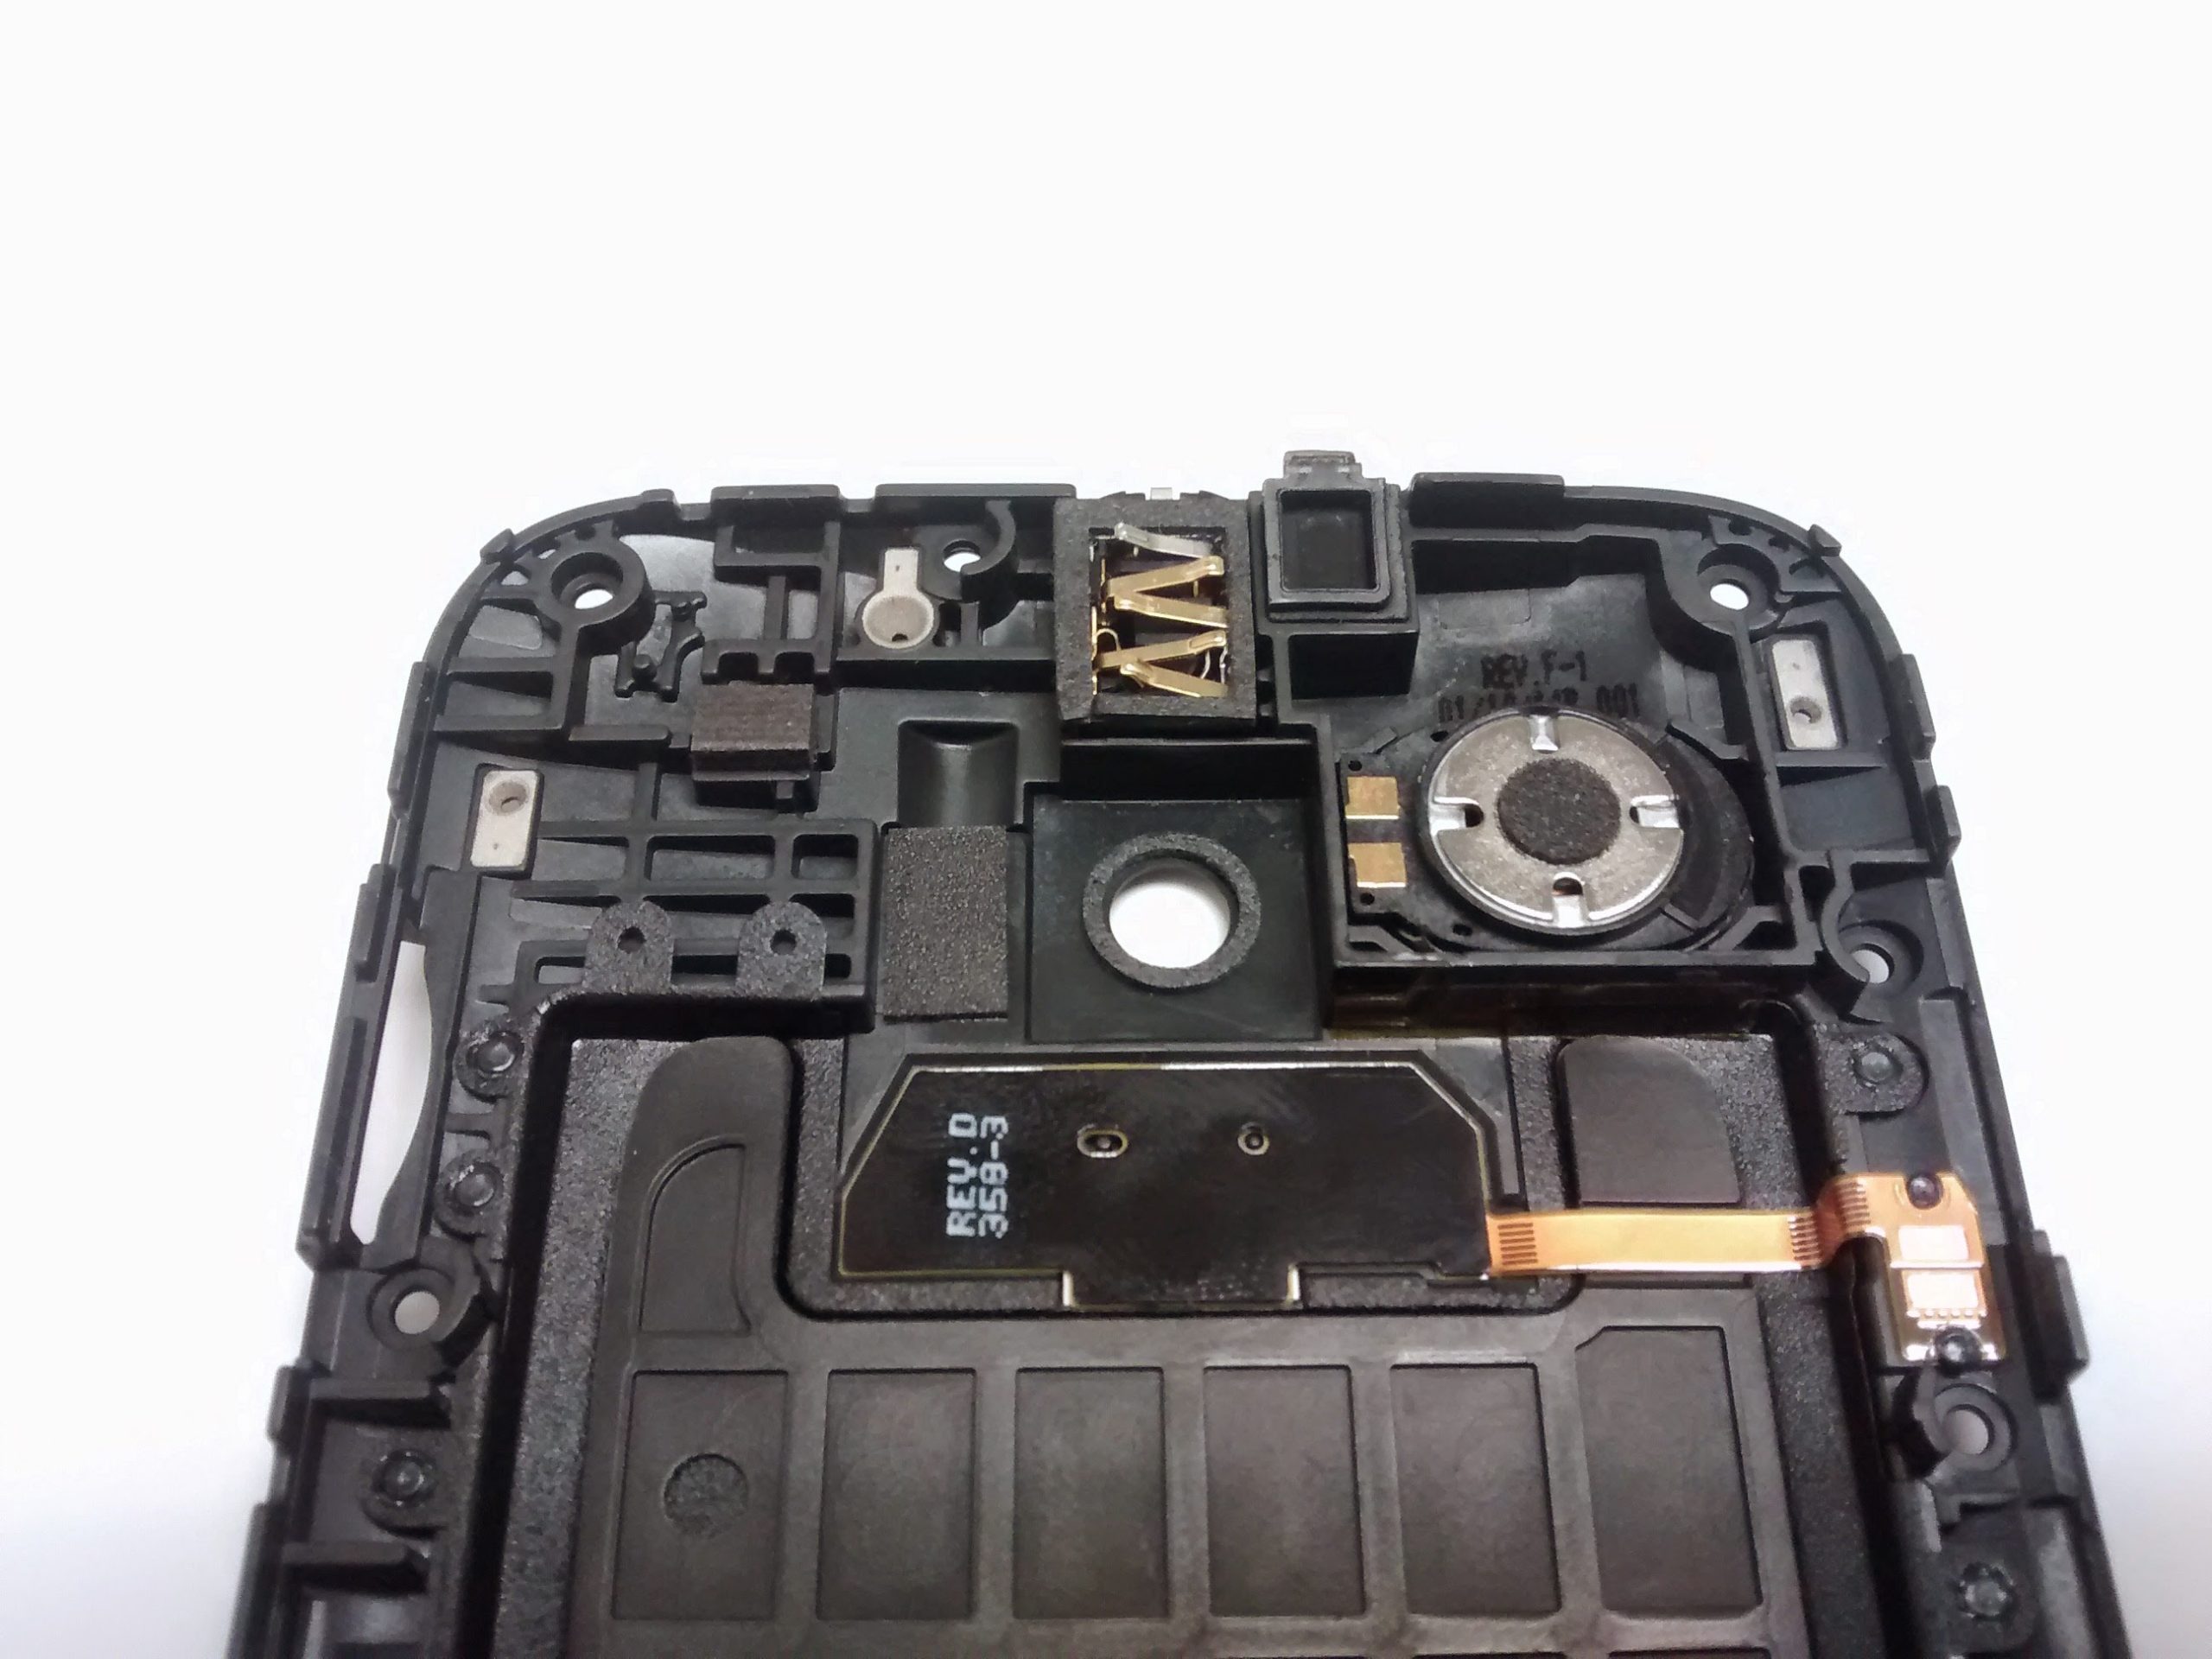
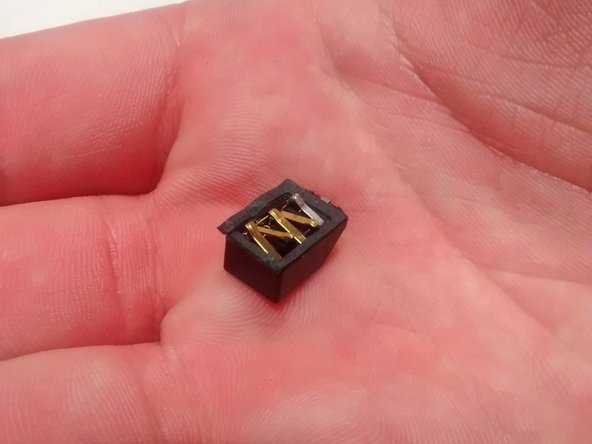
– The headphone jack is tucked inside the inner back case, right in the sweet spot at the center. You’ll spot it sporting about 5 shiny gold strips, flaunting their brilliance. Look for the green highlighted circle—they’re chilling there.
– Handle those gold strips with caution! They’re like the VIPs of the repair world—delicate, classy, and definitely not into rough treatment. Easy does it, or they might end up busted.
Step 6
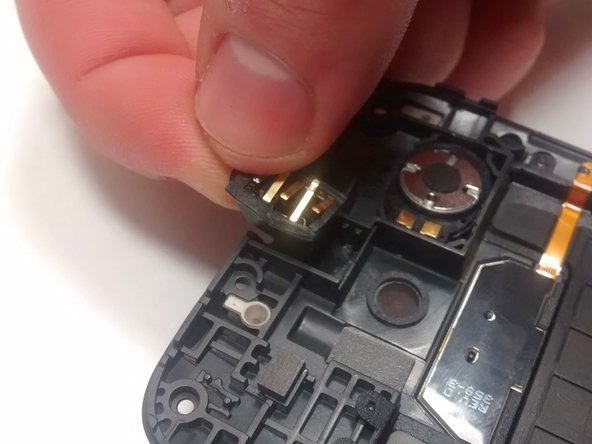

– Alright, time to get that headphone jack out! You can use a plastic opening tool, spudger, or even your fingers—whatever works for you. In the image, a plastic opening tool is used to make the process clear. Easy peasy, right?
– Look at the top of the headphone jack—see that little hole? That’s your target. Go ahead and slide your tool in there to get ready to pop it loose.
– Now, give it a gentle pry, like you’re coaxing it out of hiding. It should come loose with minimal effort. No sweat!
Step 7

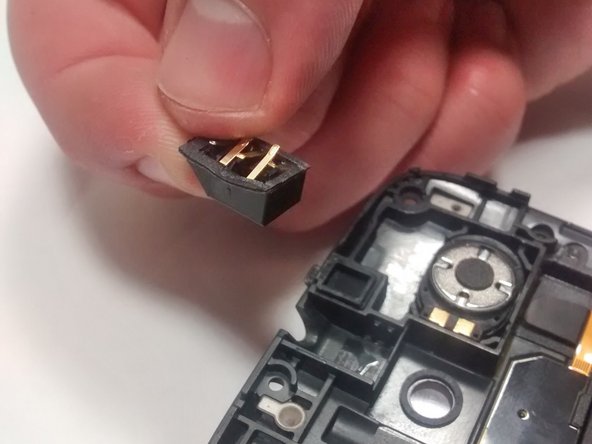
– Here’s what you’ll end up with—nice and tidy, just like new!
– Grab your new headphone jack, line it up with the hole, and press gently but firmly. Slide it in until it’s snug and steady with no wiggle action when you shake things up.
Success!