Motorola Moto G4 Plus Headphone Jack Replacement
Duration: 45 minutes
Steps: 19 Steps
Ready to tackle that pesky headphone jack issue on your Motorola Moto G4 Plus? This guide is here to cheer you on as you navigate the replacement process! Before diving in, make sure to grab the Rescue and Smart Assistant app to back up your device and figure out if your hiccup is a software or hardware problem. Let’s get started!
Step 1


– Gently slide your fingernail or a spudger into the little notch at the bottom edge of the phone, right by the charging port.
– Carefully lift the back cover away from the phone’s body.
Tools Used

Step 2


– Gently lift the back cover, working your way around until all the plastic clips have been released. Take it slow—no need to rush!
– Once the clips are free, go ahead and remove the back cover with ease.
– To put the back cover back on, simply line it up over the body and press gently all around the edges. You’ll hear those clips snap back into place, and you’re all set!
Step 3


– Gently slide out the SIM card — it’s like giving your device a little breather. Take it out smoothly and keep it somewhere safe.
Step 4

– Take out the nineteen 3.1 mm T3 screws holding the midframe—it’s like unlocking the next level of your repair journey!
Step 5


– Gently rock the spudger point and sneak it under the rubber cover by the camera flash connector—it’s like you’re opening a treasure chest, but for tech!
– Pop that rubber cover off and set it aside like a pro.
Tools Used
Step 6


– Time to get that camera flash working again! Use the point of a spudger to carefully pry up and disconnect the camera flash connector.
Tools Used
Step 7


– Gently unsnap the midframe bit by bit along the edges, then lift it up like you’re opening a treasure chest.
– Take off the midframe like you’re setting it free.
Step 8


Handle with care—no stabs or pokes at the battery, pal. Those lithium-ion batteries can get fiery or boom-tastic if damaged. Let’s keep it safe and steady!
– Gently peel away the tape holding the battery wires in place. Take it slow—no need to rush!
– Now, peel off the black tape connecting the battery to the phone. It’s not holding anything crucial, but it’s still good to remove with care.
– Both pieces of tape are purely optional for the phone’s performance, but if they’re in decent shape, save them for later when it’s time to put everything back together.
Step 9


Don’t yank the plug out or you’ll risk ripping the board socket loose. Stay chill and watch where you pry—avoid prying against the board socket itself.
– Take the spudger and slide its tip under the red and black battery wires, then shimmy them upwards with a gentle pop!
– When it’s time to put everything back together, line up the connector nice and snug in its socket, then press straight down to click it back in place. Easy as pie!
Tools Used
Step 10


– Grab some tweezers or your fingers and carefully unthread those battery wires from the plastic brackets—they’re not staying there any longer!
Tools Used

Step 11


Hey there! Remember, don’t squish or poke that battery—it’s like a tiny firecracker that can go off if it gets hurt!
And if your battery looks a bit off or has been through the wringer, don’t try to put it back in. Just swap it out for a new one!
A few drops of highly concentrated (90% or higher) isopropyl alcohol along each edge will loosen that stubborn adhesive like a charm.
If the pull tab snaps, don’t panic! Grab your trusty spudger to gently wiggle and nudge around the battery edges until it says goodbye to its sticky grip.
– Gently grab that black pull tab on the battery, and with steady, even pressure, peel it away from the battery. Then, give it a slow but confident tug to separate the battery from the frame. You’ve got this!
Tools Used
Step 12

– First, carefully remove the battery from your device.
– Now it’s time to install the new battery. Make sure it’s oriented correctly, with the wires pointing towards the bottom of the phone and the connector facing the motherboard.
– Get rid of any leftover adhesive residue that might be sticking around – it’s time for a fresh start! Use the adhesive strips that came with the battery kit or some double-sided tape to secure the new battery snugly to the frame.
Step 13


– Grab those trusty tweezers and gently pick up the black silicon piece connecting the motherboard to the front casing. Take it easy, it’s all about finesse!
– Now, switch gears and use the tweezers to disconnect the red and black cable that’s connecting the motherboard to the front casing. Slow and steady wins the race!
Tools Used
Step 14


– Grab that spudger and gently pry off the two metal bits that are holding the motherboard to the front casing. You’re doing great—keep it steady and smooth!
Tools Used
Step 15

The adhesive holding the film in place might put up a bit of a fight—stay patient and keep wiggling until it lets go.
– With a trusty pair of tweezers in hand, gently peel away the yellow film that’s holding the rear camera to the motherboard. You’ve got this!
Tools Used
Step 16

– Let’s get started by removing two 4.0 mm T3 Torx screws that connect the motherboard to the front casing. Take your time and make sure they’re completely out before moving on to the next step.
Step 17

– Grab your trusty spudger and gently pry up the motherboard—it’s like giving it a little lift to freedom! Carefully remove it and set it aside.
Tools Used
Step 18

– Grab your trusty tweezers and gently lift the black silicone piece that’s covering the audio jack. You’ve got this!
Tools Used
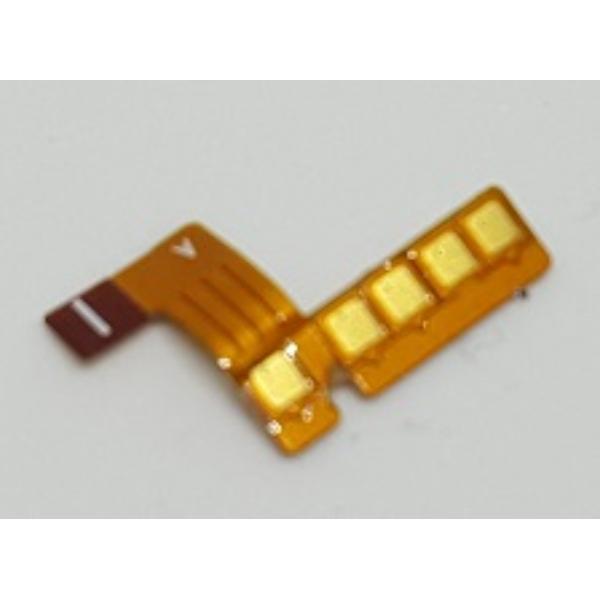
Step 19

– Gently grab the audio jack with your tweezers and carefully lift it out.
Tools Used
Success!