
Motorola Xoom Wifi Earphone Port Replacement
Duration: 45 minutes
Steps: 4 Steps
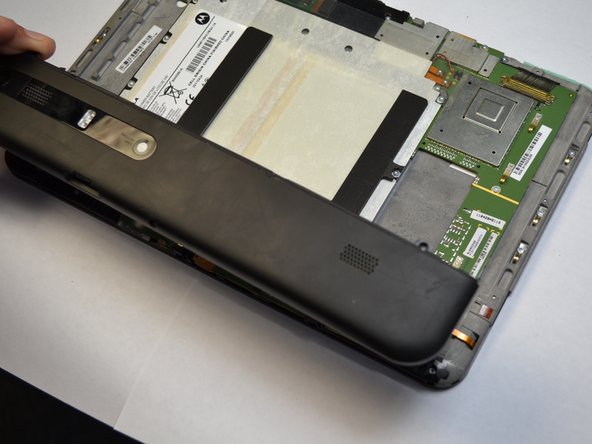
Before diving into this internal Xoom Wifi component swap, make sure you’ve already handled the earlier steps to take off the outer parts. Onward to the good stuff!
Step 1


– Grab your T5 Torx screwdriver—those two 6.6 mm screws holding the ports and back panel in place are begging to be removed. Let’s set them free!
Tools Used

Step 2


– Gently press down with your hand and slide that back plate until it finds its comfy spot.
– You’ll notice there’s a flex clip on each side that needs a little push to let the plate slide off completely. Grab a plastic opening tool to help you release those clips, which are chilling under the back cover near the sides.
– Once the clips are free, the back should glide right off!
Step 3
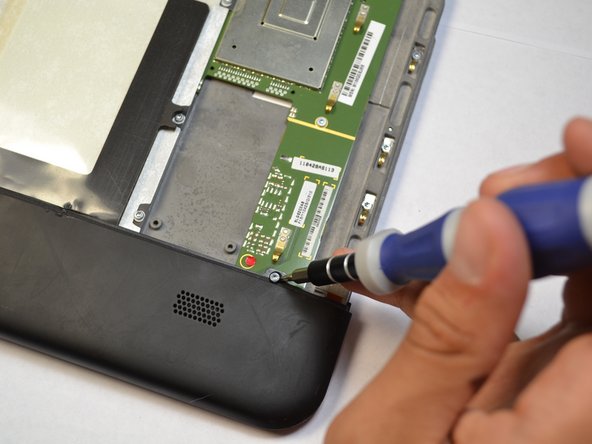

– Time to get that back piece off! Use a T5 Torx screwdriver to remove the last two 4.2 mm screws. You’re almost there!
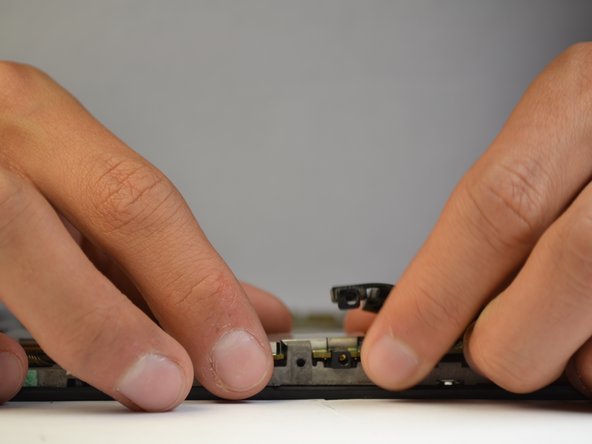
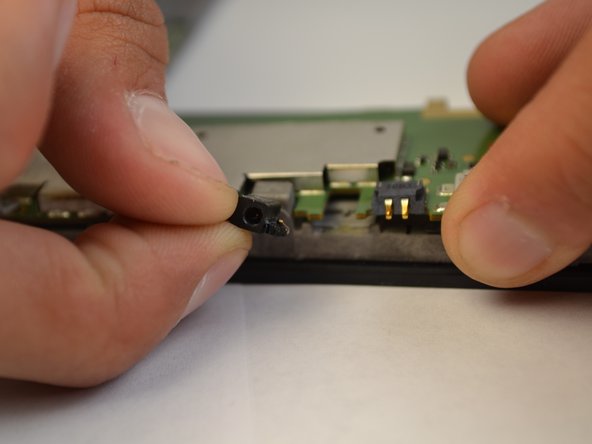
– Screws out, now it’s time to lift the rest of the backing out of the way. Easy does it, you got this!
Tools Used
Step 4

– To wrap things up, simply reverse the steps you followed to take your device apart. Easy peasy!
– If you need help or have any questions, you can always schedule a repair with Salvation Repair.
Success!