Nabi DreamTab HD8 Battery Replacement
Duration: 45 minutes
Steps: 12 Steps
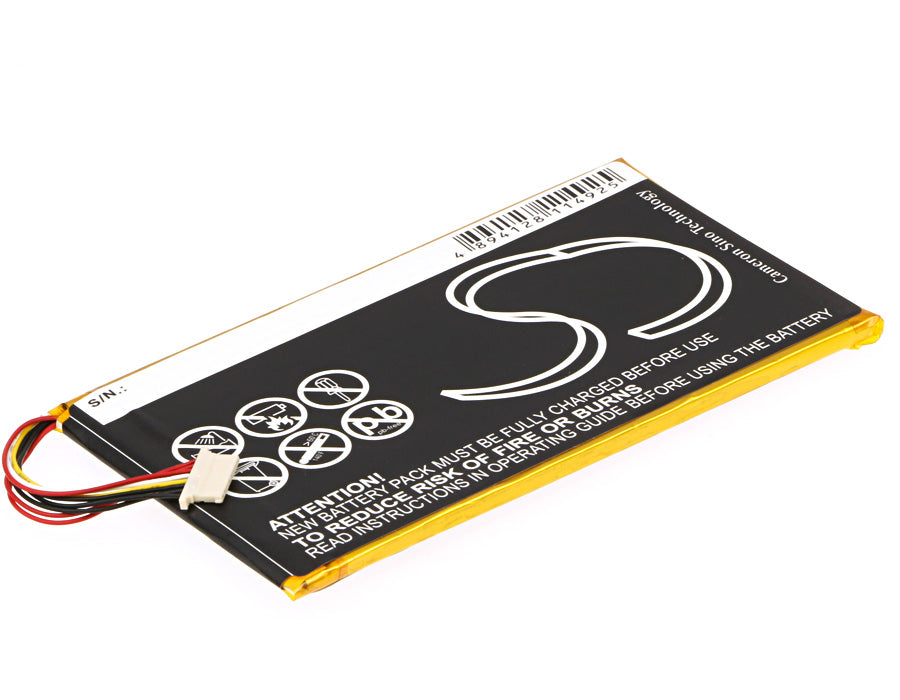
The battery is the heart of your DreamTab—without it, your device is just a fancy paperweight. This battery looks a bit like a chocolate bar wrapped in shiny foil and is pretty flexible, so be gentle. It’s stuck down with some seriously strong adhesive, so go easy when prying it up. Start with plastic opening tools for a safer lift, and only reach for metal tools if you need extra muscle. Take your time to avoid bending or damaging the battery.
Step 1


Got a different case on your device? No worries, these steps are tailored for the manufacturer’s case, so be sure to check your case’s manual for specific removal instructions if it’s not the same.
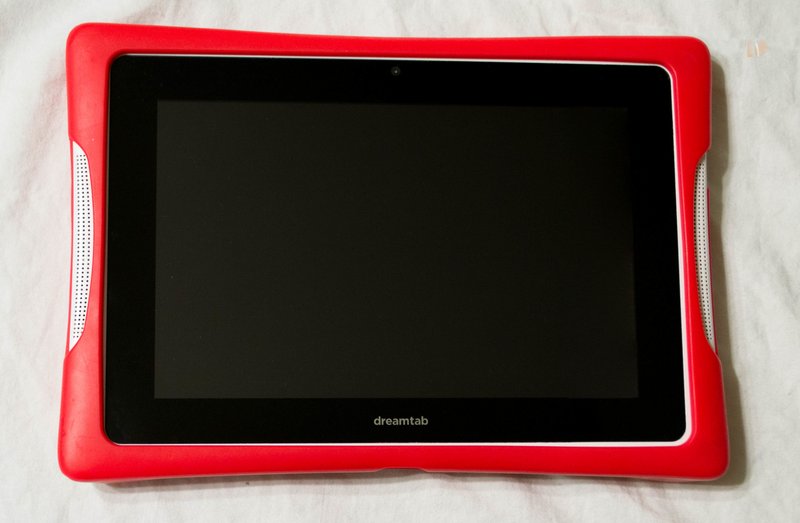
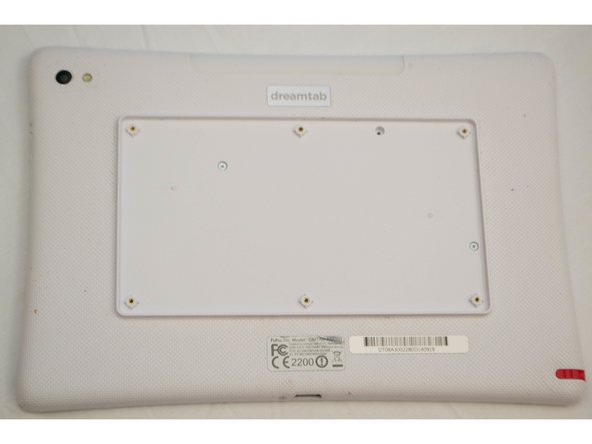
– Set the Nabi DreamTab on a non-metallic surface with the screen facing up to the sky and the DreamTab logo nearest to you—you’re set up for success!
– Slide off the red silicone case from the Nabi DreamTab HD8—it’s like giving the tablet a quick wardrobe change!
Step 2

Heads up! Moving forward will cancel your manufacturer’s warranty. If you’re ready to keep going, take your time and follow the steps closely.
– Flip it over so the small black circular camera is sitting pretty in the upper left corner.
Step 3
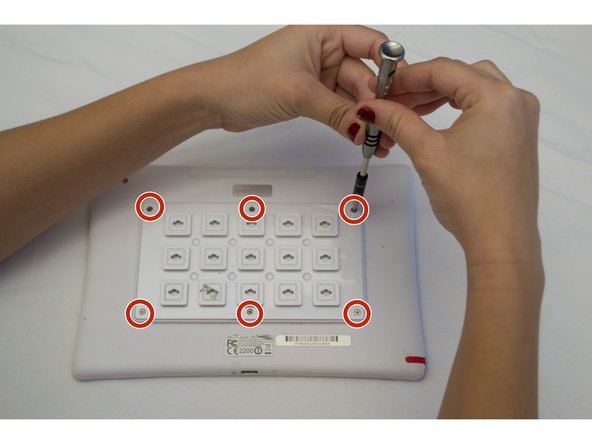
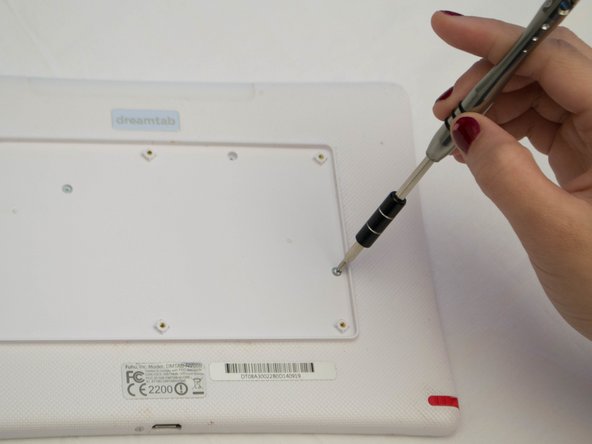
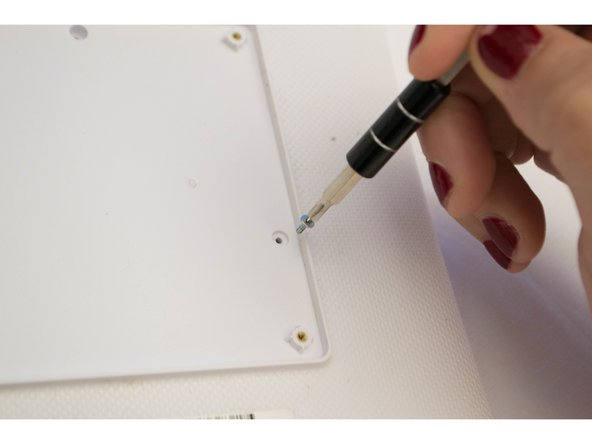
– Unscrew the six 2.5 mm JIS #000 screws holding the custom grid to the back panel.
Step 4

This part should slide off without a hitch! If you’re having a tough time, double-check that all screws are fully removed. Take a peek and carry on!
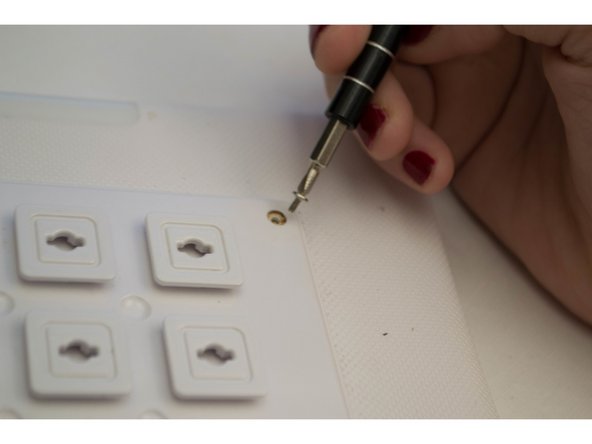
Remember, those shiny golden threads are not screws. Don’t get them mixed up!
– Grab one of the protruding squares and carefully pry off the back plate. Set it aside for now, we’ll get back to it later.
Step 5

– Grab that J-0 screwdriver and unscrew the three 3.5mm screws holding the back panel in place—no need to wrestle with it, just keep it steady and you’ll ace this step!
Step 6


As you tackle this step, keep in mind that some parts of the case might get a little cracked. Take it easy and gently work around the speakers, audio jack, and charging cable ports to minimize any damage.
Look for the audio jack, which is marked by a cute little headphone symbol right next to a tiny 3.5mm hole. You’re almost there!
– First, flip the top of the device towards you so the audio jack is on the right side – easy peasy!
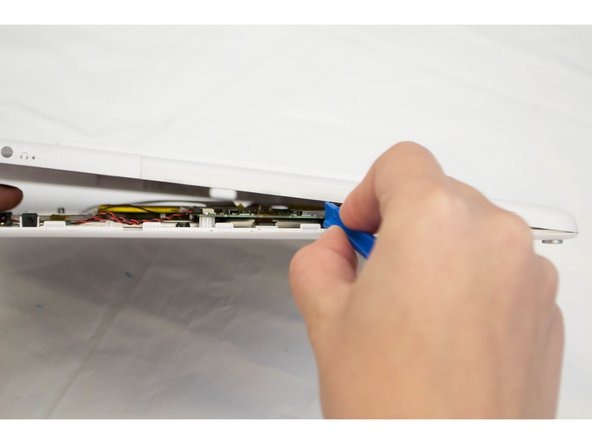
– Next, sneak the plastic opening tool into the gap where the front and back case panels meet, right by the audio jack. It’s like finding the secret door!
– Now, gently pry the device open with a moderate amount of force. You’ll know you’re doing it right when you hear that satisfying click – it’s like music to your ears! That’s the sound of the clips unlocking.
– Keep moving around the edges of the device, using that same prying motion to carefully separate the front and back panels. Take your time, you got this!
– Once you’ve opened up the edges, head back to where you started, near the audio jack. You’re doing great!
Step 7
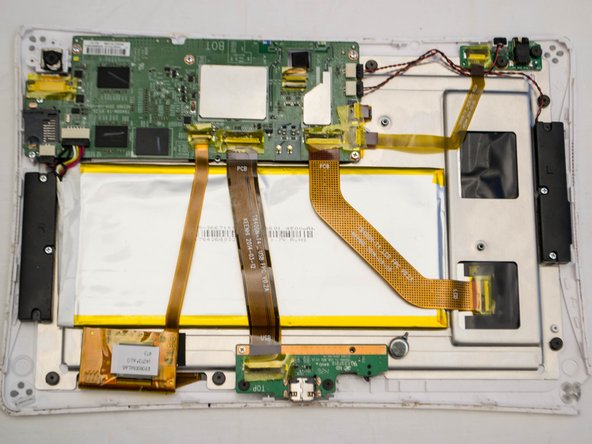
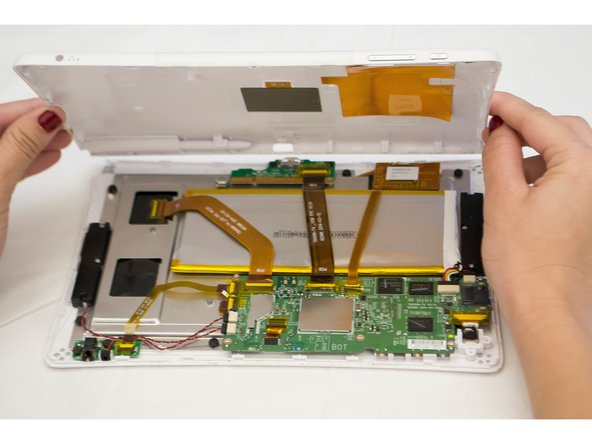

– After prying apart the front and back panels, set your device on the table with the screen facing down and the camera chilling in the top left corner.
– Gently lift off the back panel, then give the device a 180-degree spin—keep that screen facing down the whole time.
Step 8

Hey there! Before you dive into battery removal, just a heads up: it’s stuck in there pretty tightly with some serious adhesive. This battery is a bit of a softie, so treat it gently and with care. You’ve got this!
Step 9
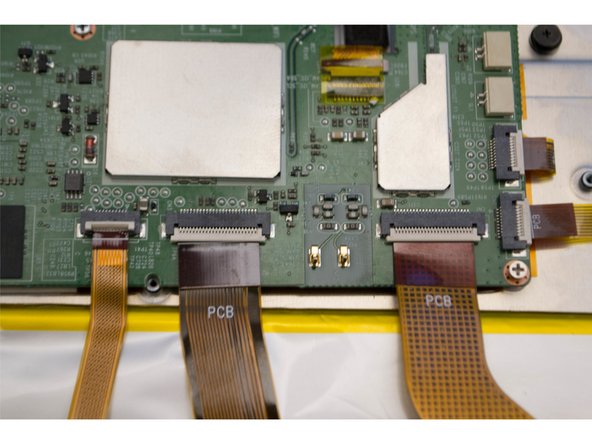

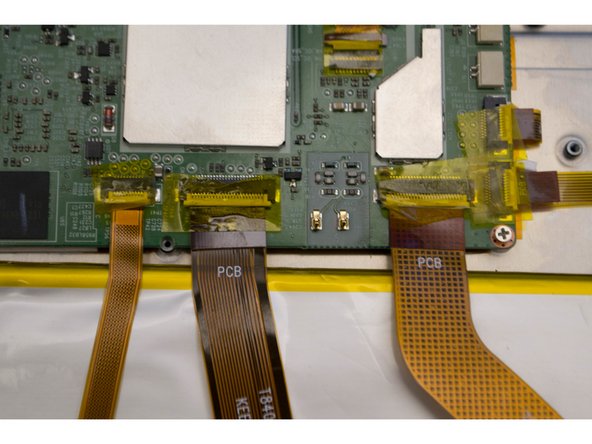
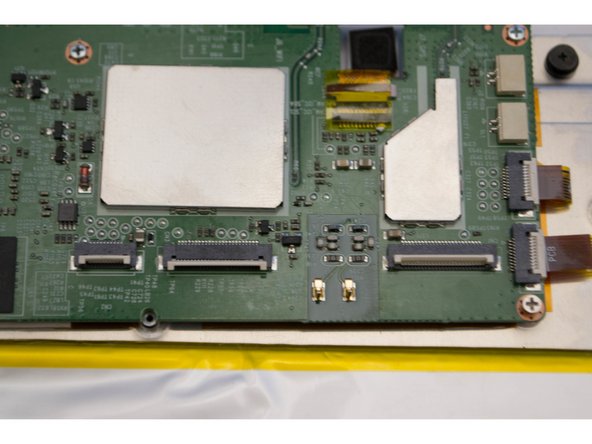
– Peel off the last bit of yellow plastic film from the connectors around the battery. This will make it easier to lift the battery out. Simple, right?
Step 10
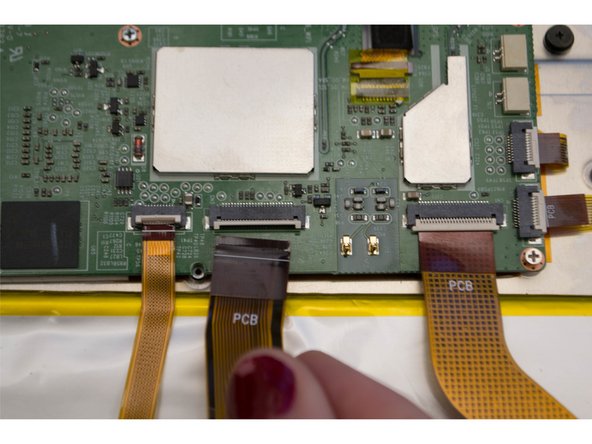

– Pop off the two overlapping plastic connectors that are sitting on the battery and connected to the motherboard.
Step 11


Be careful when using a metal spudger – it’s better to use a plastic card or opening pick to avoid damaging the battery. Let’s keep that battery safe and get your device fixed with ease!
– Take a plastic card or an opening pick and slide it carefully between the battery and the case. Gently work your way around and pop that battery out of its cozy home.
Step 12
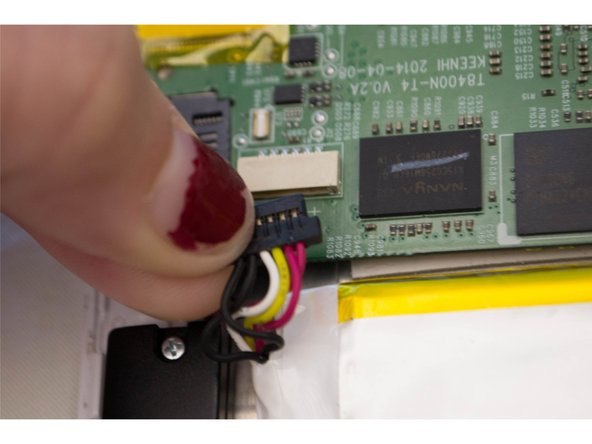

– Gently unplug the last battery connector from the motherboard—it’s like a friendly goodbye handshake!
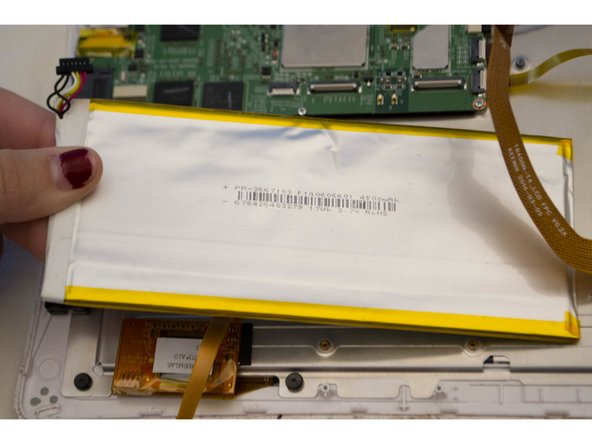
– Lift out the battery with care, and voilà—it’s ready for a smooth exit.
Success!