
Neo3Do Back Panel Replacement
Duration: 45 minutes
Steps: 4 Steps
This guide is your starting point for all other Neo3DO repair walkthroughs. To get to any internal parts for repair or replacement, you'll first need to take off the back panel. Avoid trying to pry off the front screen—it’s part of the device’s case and removing it will cause damage. Before you dive into any other guides, double-check your tools are ready and your workspace is clean and organized. Let’s keep it smooth and simple!
Step 1


- Flip your Neo3DO over so the logo is looking right at you, ready for action!
- Gently slide the plastic opening tool between the shiny metal frame and the cozy plastic back panel, just like that!
Step 2


Make sure that your tool stays in control and doesn't slip into the device, or you might end up causing some unintentional chaos inside!
- Carefully lift the back panel up, like you’re unveiling a secret.
Step 3

- After you’ve skillfully pried the back panel away from the bottom and sides of the Neo3DO, gently lift it up and away from the tablet. You're almost there!
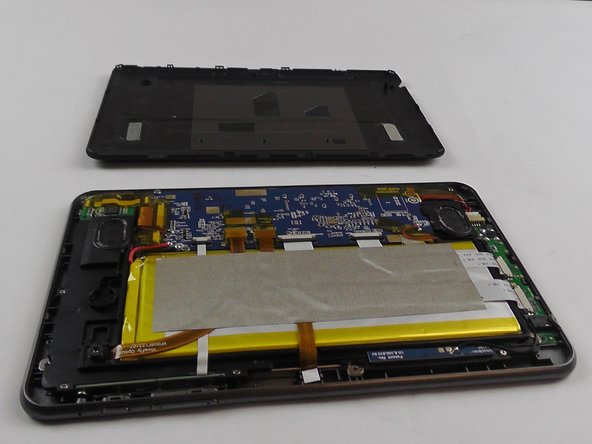
Step 4

The top edge of your device is the one that's closest to the camera. So, if you're looking at the back panel, the top part is where you'll spot the camera hole poking through.
- When putting the back panel back on, line up the top edge of the panel with the top edge of the Neo3DO, just like in the picture.