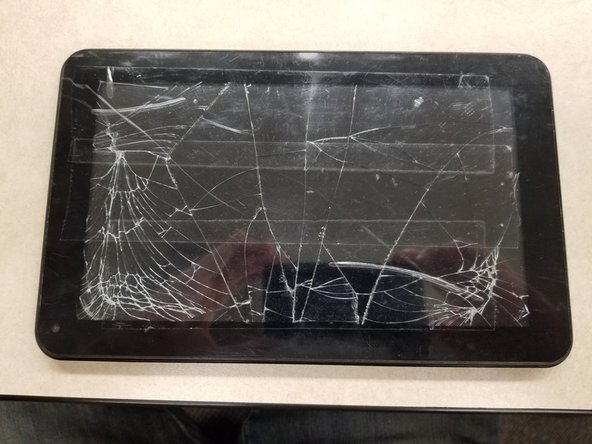
NeuTab N9 Motherboard Replacement
Duration: 45 minutes
Steps: 4 Steps
Get ready to breathe new life into your Neutab N9 by replacing the motherboard. This step-by-step guide will walk you through the process, and before you know it, your device will be up and running like new. If you’re not feeling confident, don’t worry – Salvation Repair is here to help. Follow along carefully, and you’ll be a pro in no time.
Step 1
Before diving into these steps, make sure to power down your device. It’s like giving it a little nap before the fun begins!
– Gently slide the plastic opening tool into the groove between the tablet’s screen and its back. Glide the tool along the seam until the back pops off, revealing the inner workings of your device.
Step 2
Need to brush up on your soldering skills? Check out this step-by-step guide to get the hang of it.
– Grab your soldering gun and gently detach all those soldered wires from the motherboard like a pro.
Step 3
– Grab a spudger and gently pop open the tabs on the three ZIF connectors holding the ribbon cables to the motherboard. Don’t rush, we want this to be smooth!
– Once those tabs are free, carefully slide the ribbons out like you’re handling a delicate piece of treasure.
Step 4
– To put your device back together, just follow the steps backward. You’ve got this!
–
Tools Used
Success!


