Nextbook Ares 8″ Tablet Teardown
Duration: 45 minutes
Steps: 9 Steps
Step 1

– Gently slide an isesamo tool between the frame and the back cover, and pop out all the little clips holding it in place.
Step 2


– The connector slides out towards the outer edge of the device, and heads up—mine was pretty sticky, so take it slow and steady.
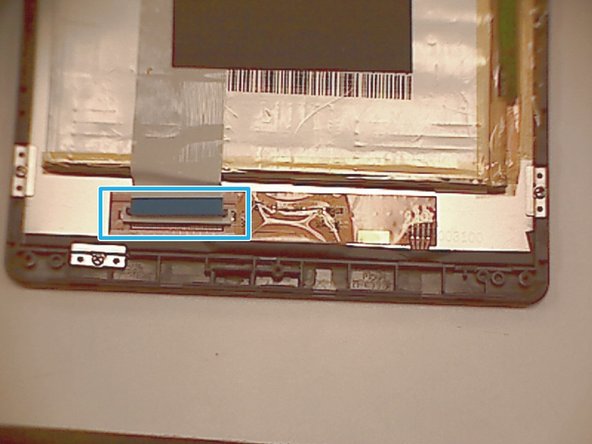
Step 3

– Unplug the LCD ribbon cable from both the top and bottom of the battery. No need to separate it from the battery itself, keep it cozy.
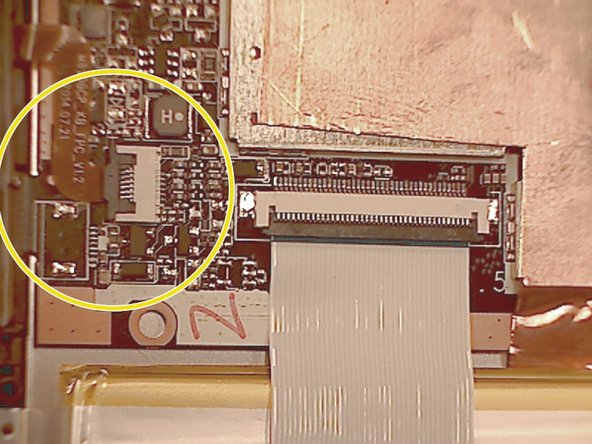
– Detach the digi cable from the top right corner of the device’s back. You’re doing great!
Step 4

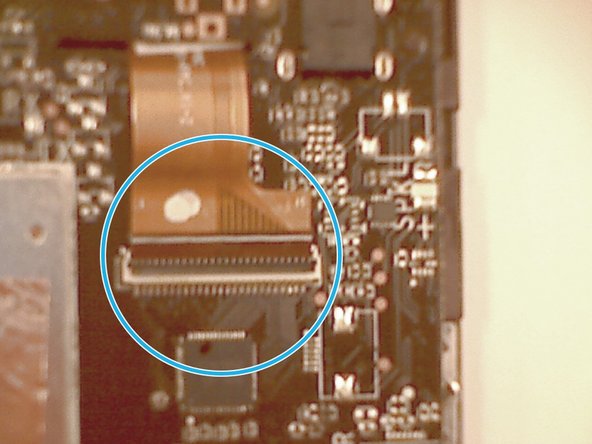
– Time to unplug the camera flex and give it a little break!
– Now, let’s disconnect the power, volume, and home flex. They’re ready to chill for a bit!
Step 5

– Start by taking out those 5 screws that hold the speaker assembly in place, and then gently pry it off. You’re doing great!
– Now’s a good time to give the battery a little nudge away from the back of the LCD. Don’t worry, it’s not glued down too firmly!
Step 6

– Time to tackle those 5 motherboard screws! Carefully remove them and gently detach the motherboard from the back of the LCD. You’ve got this!
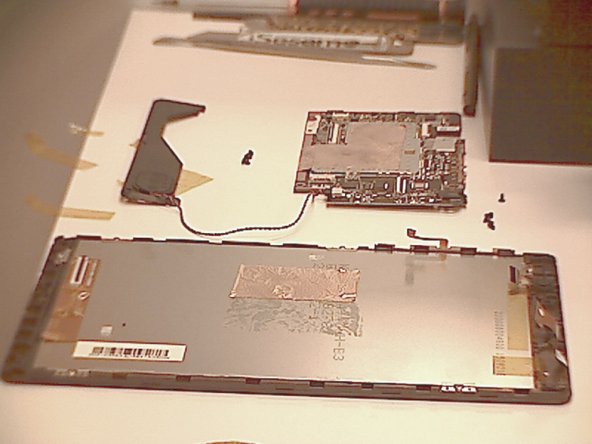
– Now, if all went smoothly, the display assembly should be the only thing hanging around. Great job!
Step 7

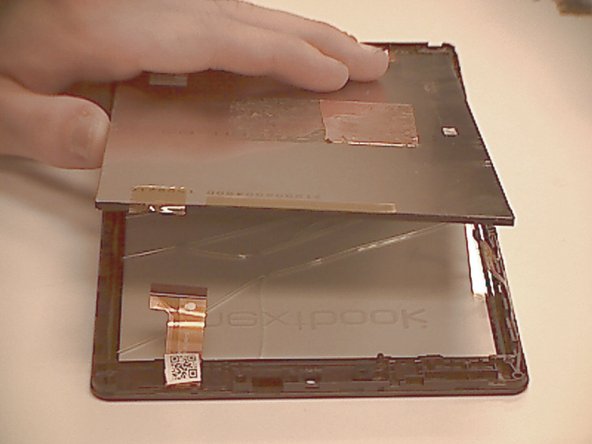
– Take out those 6 LCD screws and brackets like a pro!
– Carefully wiggle the LCD away from the frame, we’re almost there!
Step 8

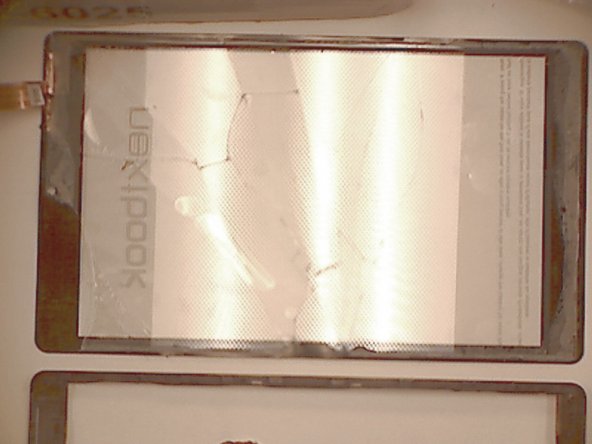
– Grab a heat gun or hot plate to gently loosen the digitizer and glass from the frame—slow and steady wins this race.
– Before you bring the heat, make sure to pop the camera out of the frame to keep it safe and sound.
Tools Used

Step 9

– Time to put on your repair hat and get this fixed! Follow each step carefully, and don’t worry—we’ve got your back every twist and turn.
Success!