Nextbook NXA8QC116B Earphone Jack Replacement
Duration: 45 minutes
Steps: 31 Steps
Earphone jacks sometimes need a bit of TLC—or a total swap! This guide will break it down step by step, starting with removing the battery, then the motherboard, and finally tackling the art of de-soldering. The toughest part? De-soldering can be tricky, so be sure to check out the link to Soldering Skills before diving into that part. The whole process is anywhere from moderately challenging to pretty demanding and should take you about 50 minutes to get through. If it feels overwhelming, you can always schedule a repair and let the pros handle it.
Step 1


Whoa there! If you spot any leaks coming from your tablet, keep that back cover shut tight!
And remember, prying around those buttons is a no-go. It could lead to some serious damage and leave them out of commission.
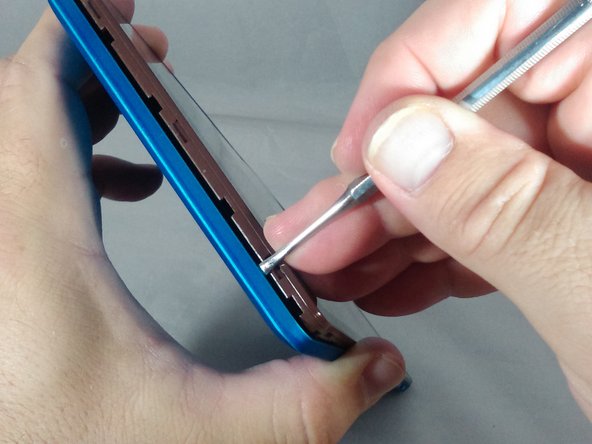
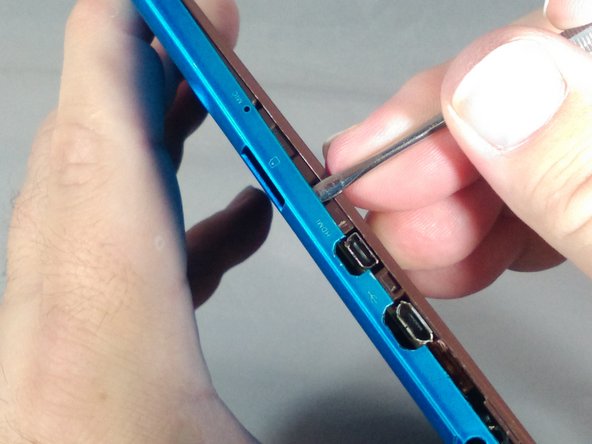
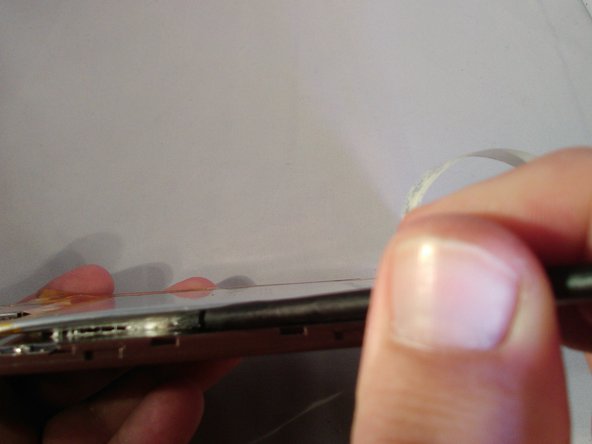
– Place the tip of the thin metal spudger carefully, then gently pry it down the side and towards the corner of the device. Take it slow, and don’t rush—you’re doing great!
Tools Used


Step 2


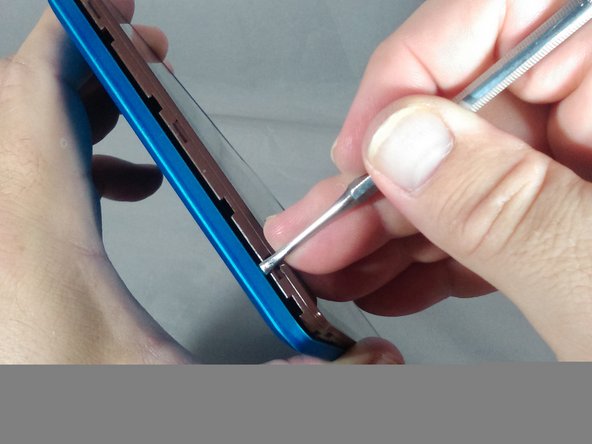
– Keep pushing that spudger down and gently pry away until you reach the bottom left corner of your tablet. You’ve got this!
Tools Used
Step 3


– Along the bottom of the tablet, continue gently working the spudger with a prying motion to loosen the cover. Keep it steady, and don’t be afraid to take your time. You got this!
Tools Used
Step 4

– Keep up that steady prying motion until you make it to the bottom right-hand corner of the tablet. Almost there!
Step 5

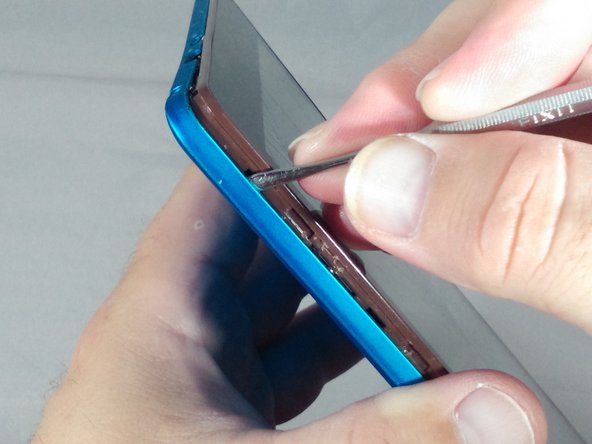
– Gently guide the spudger to the upper left-hand corner of the tablet like a pro!
Tools Used
Step 6
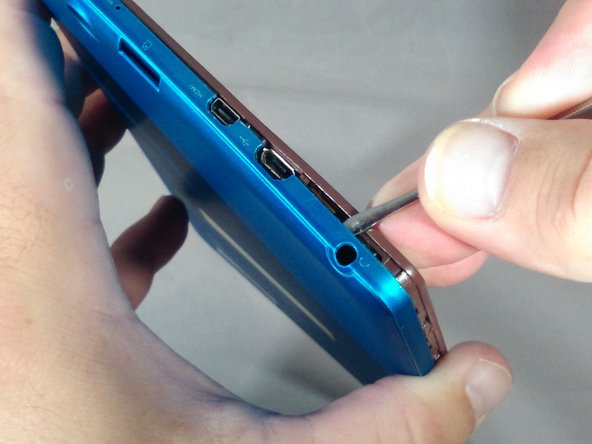

Take it slow and steady as you work your way to the top of the tablet with the spudger—watch out for the headphone jack and other ports, so they stay in perfect shape!
As you work your magic along the top of the tablet, aim to keep that spudger at a cool angle between 70 to 85 degrees—almost standing tall and proud against the screen. You’ve got this!
– Keep gently working the spudger around the tablet’s edges until the cover pops off. Take your time—this part can be a little tricky, but you’re doing great!
Tools Used
Step 7

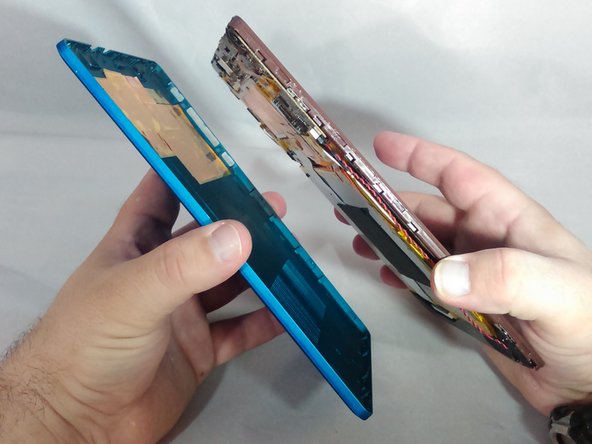
– Carefully detach the cover from your tablet.
Step 8
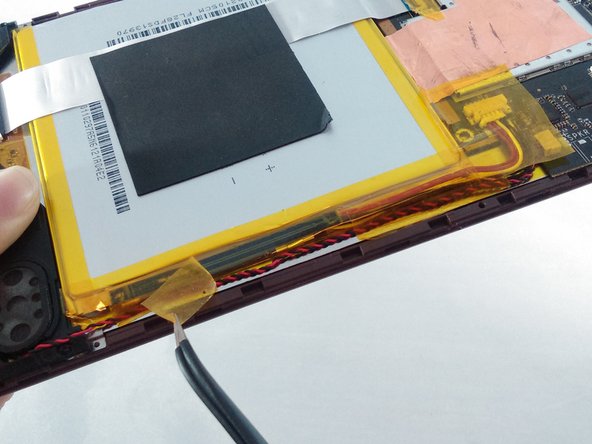


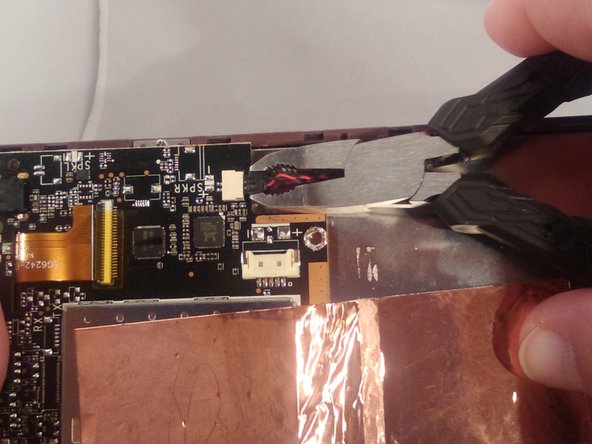
– Gently peel off the yellow cellophane tape from the red and black speaker wires that are connecting the speaker to the edge of the motherboard. Take your time, this part is a breeze.
Step 9


– With a steady hand and a pair of tweezers, gently peel away the yellow cellophane tape from the battery connector and the black and red speaker wires nestled along the edge of the motherboard. You’ve got this!
Tools Used

Step 10

If you’re just swapping out the front camera, feel free to jump straight to step 17 in the camera replacement guide and keep on going!
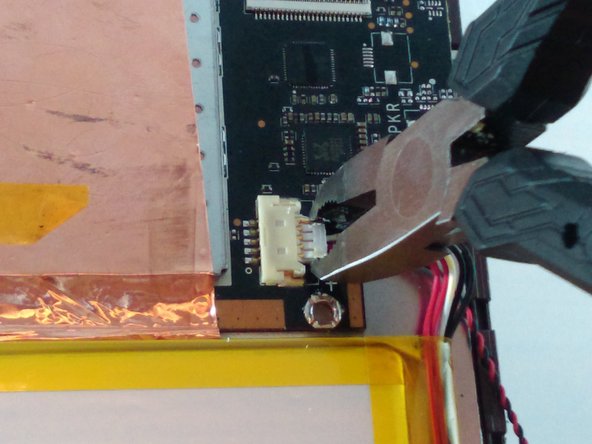
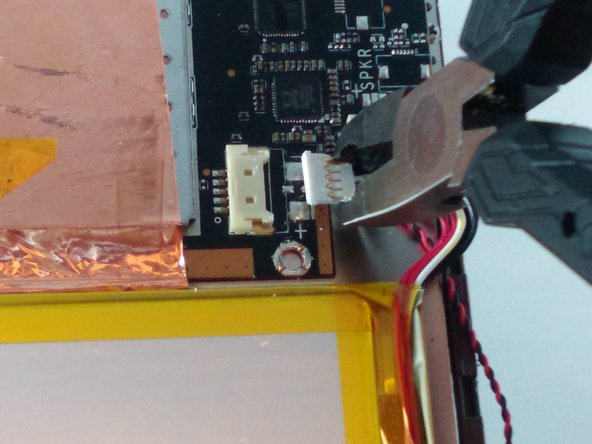
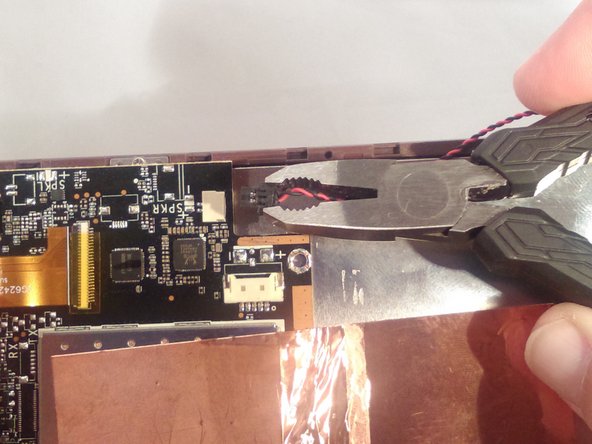
– Grab your trusty small pliers and gently wiggle that male battery connector free from the motherboard. You’ve got this!
Step 11

If the battery is leaking or puffing up like a balloon, it’s time to hit pause and back away. Stay safe!
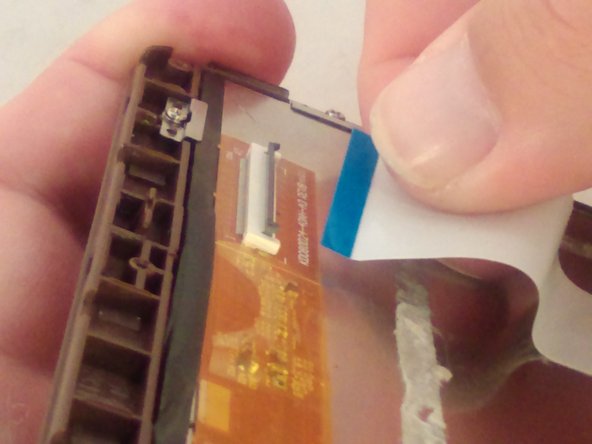
– Gently peel away the gray square pad that’s stuck to both the white ribbon cable and the battery. Take your time and pull slowly; you’ve got this!
Step 12

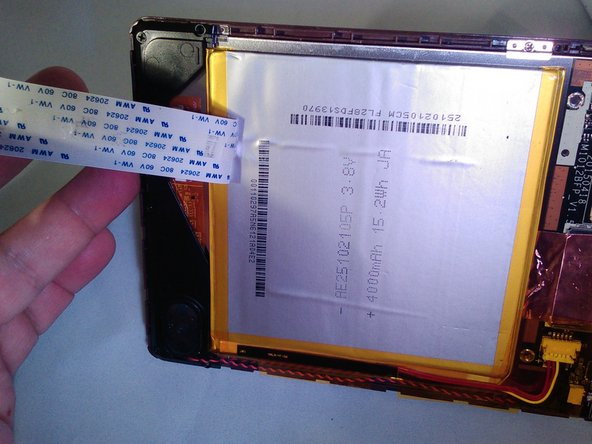
– Find the white ribbon cable Zero Insertion Force (ZIF) connector that’s hanging out between the battery and the motherboard. Once you’ve spotted it, gently peel away that sneaky yellow cellophane tape that’s holding it down.
Step 13


– Gently lift the gray retainer clip on the white ribbon cable ZIF connector on the motherboard using your fingernail. If your nails aren’t quite up for the task, no worries—just grab a black plastic spudger and carefully do the job. Easy peasy!
Tools Used
Step 14
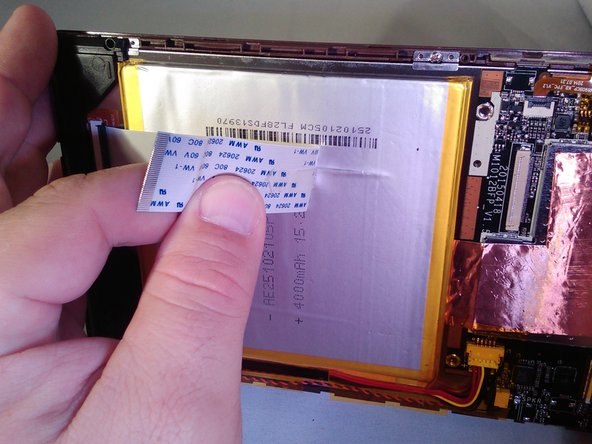

– Gently unplug the white ribbon cable and peel it away from the battery—take it slow and steady!
Step 15

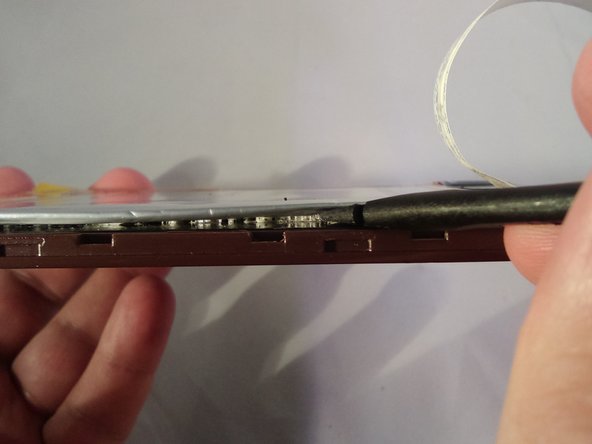
– Work that spudger back and forth like you’re slicing into a gooey grilled cheese—left to right—to loosen up the adhesive. Keep at it until the battery finally lets go of the tablet!
Tools Used
Step 16

– Pop out that battery like a champ!
Step 17


– Find that pesky yellow cellophane tape hanging out near the display assembly ribbon cable ZIF connector and give it a gentle tug to remove it. You’ve got this!
Step 18

– Find the ribbon cable ZIF connector for the volume, power, and home buttons. It’s tucked away, but don’t worry—just take a deep breath and look carefully. You’ll spot it soon enough!
Step 19
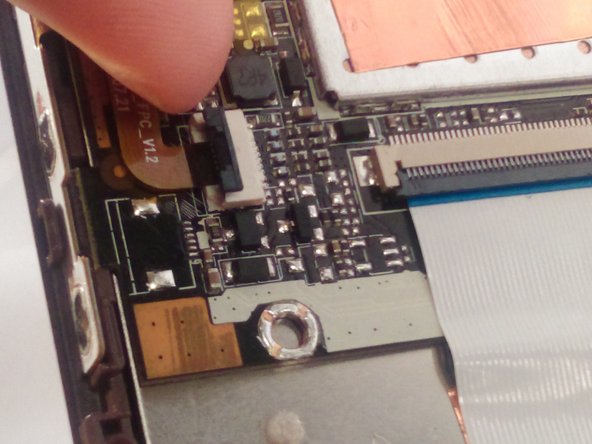

– Gently lift the ZIF connector retainer using your fingernail. If your nails aren’t quite up to the task, no worries! Just grab that trusty black plastic spudger and give it a careful nudge.
Tools Used
Step 20

– Carefully disconnect the ribbon cable by giving it a gentle tug.
Step 21

– Spot the ZIF connector for the Display Assembly ribbon cable, and with some trusty tweezers, peel off that yellow cellophane tape like a pro.
Tools Used
Step 22
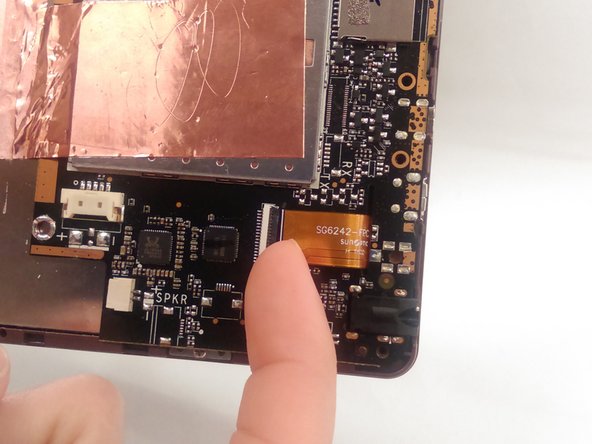

– Slide your fingernail under the gray ZIF connector clip and pop it open like a pro. Short on fingernail power? No worries—grab a black plastic spudger and carefully lift it up.
Tools Used
Step 23

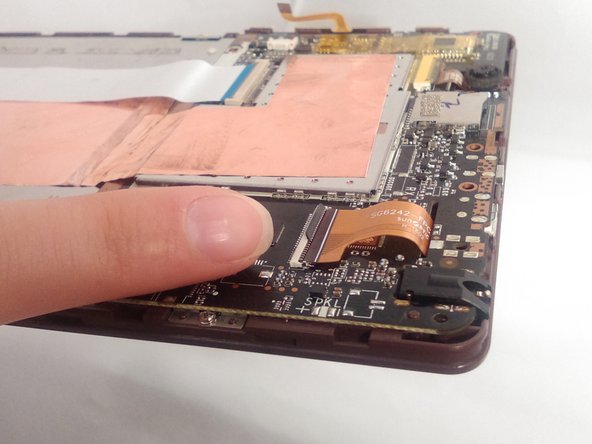
– Gently disconnect the Display Assembly ribbon cable—think of it like unplugging your phone charger, but with a little extra finesse.
Step 24

– Grab those small pliers and give the connector a gentle tug, giving it a little wiggle as you ease it out from its spot.
Step 25
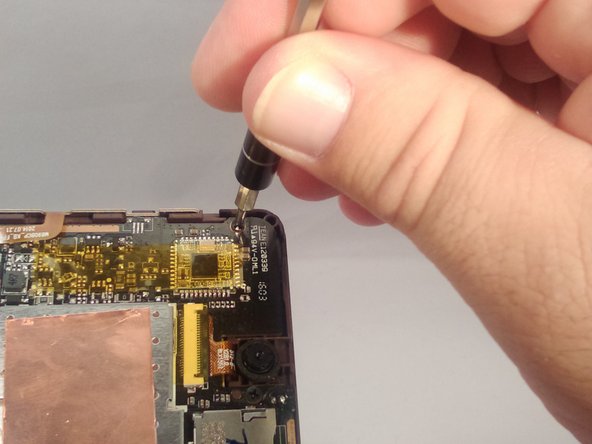

– Grab your trusty J00 screwdriver and go ahead and unscrew those 4 black 4.0 mm screws like a pro!
– Oops! Looks like there’s no screw hanging out here. Keep going!
Step 26

– Find the ZIF connector so you can gently detach the white ribbon cable.
Step 27


– To detach the white ribbon cable, gently slide your fingernail beneath the gray ZIF connector retainer and lift it up with a little flair.
Step 28
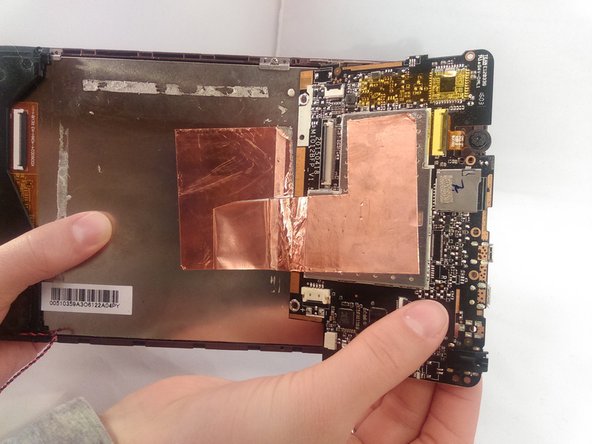


Watch out for that ribbon cable while you’re lifting the motherboard! If it gets snagged, you might end up with a damaged cable, and nobody wants that. Stay sharp!
– Gently pull the motherboard over the copper tape—don’t be shy, give it a good tug to tear the tape and pop that motherboard out.
Step 29

– Peel off any leftover copper tape from the back of the display assembly and the motherboard. It’s like a little tape party! 🎉
– When putting everything back together, don’t forget to add some fresh tape. It’s an upgrade you won’t want to miss!
Step 30
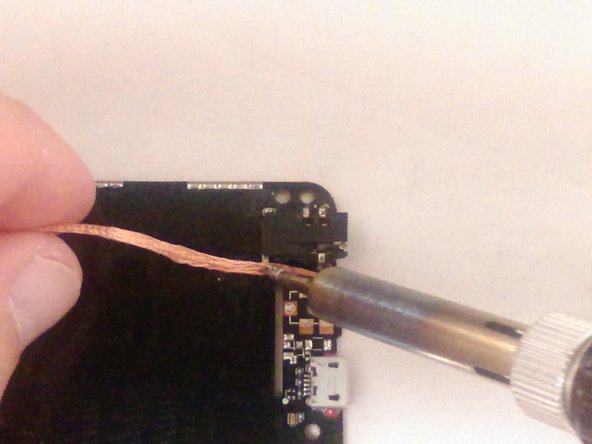

Before you start de-soldering like a pro, check out this guide on how to handle your soldering gear the right way: Soldering Skills.
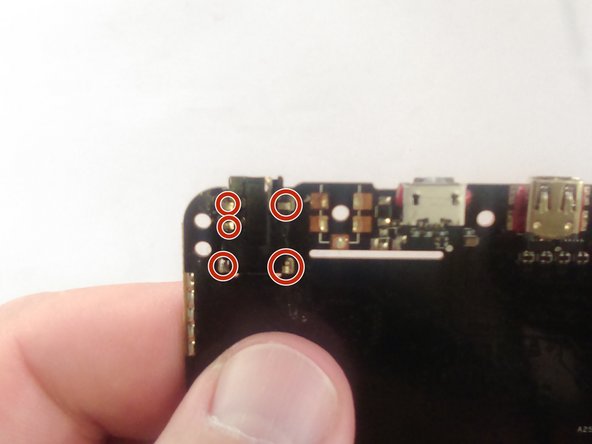
– Carefully de-solder the earphone jack at five distinct spots—it’s like a precision dance of the soldering iron!
Step 31

– Pop out that earphone jack like a pro!
Success!