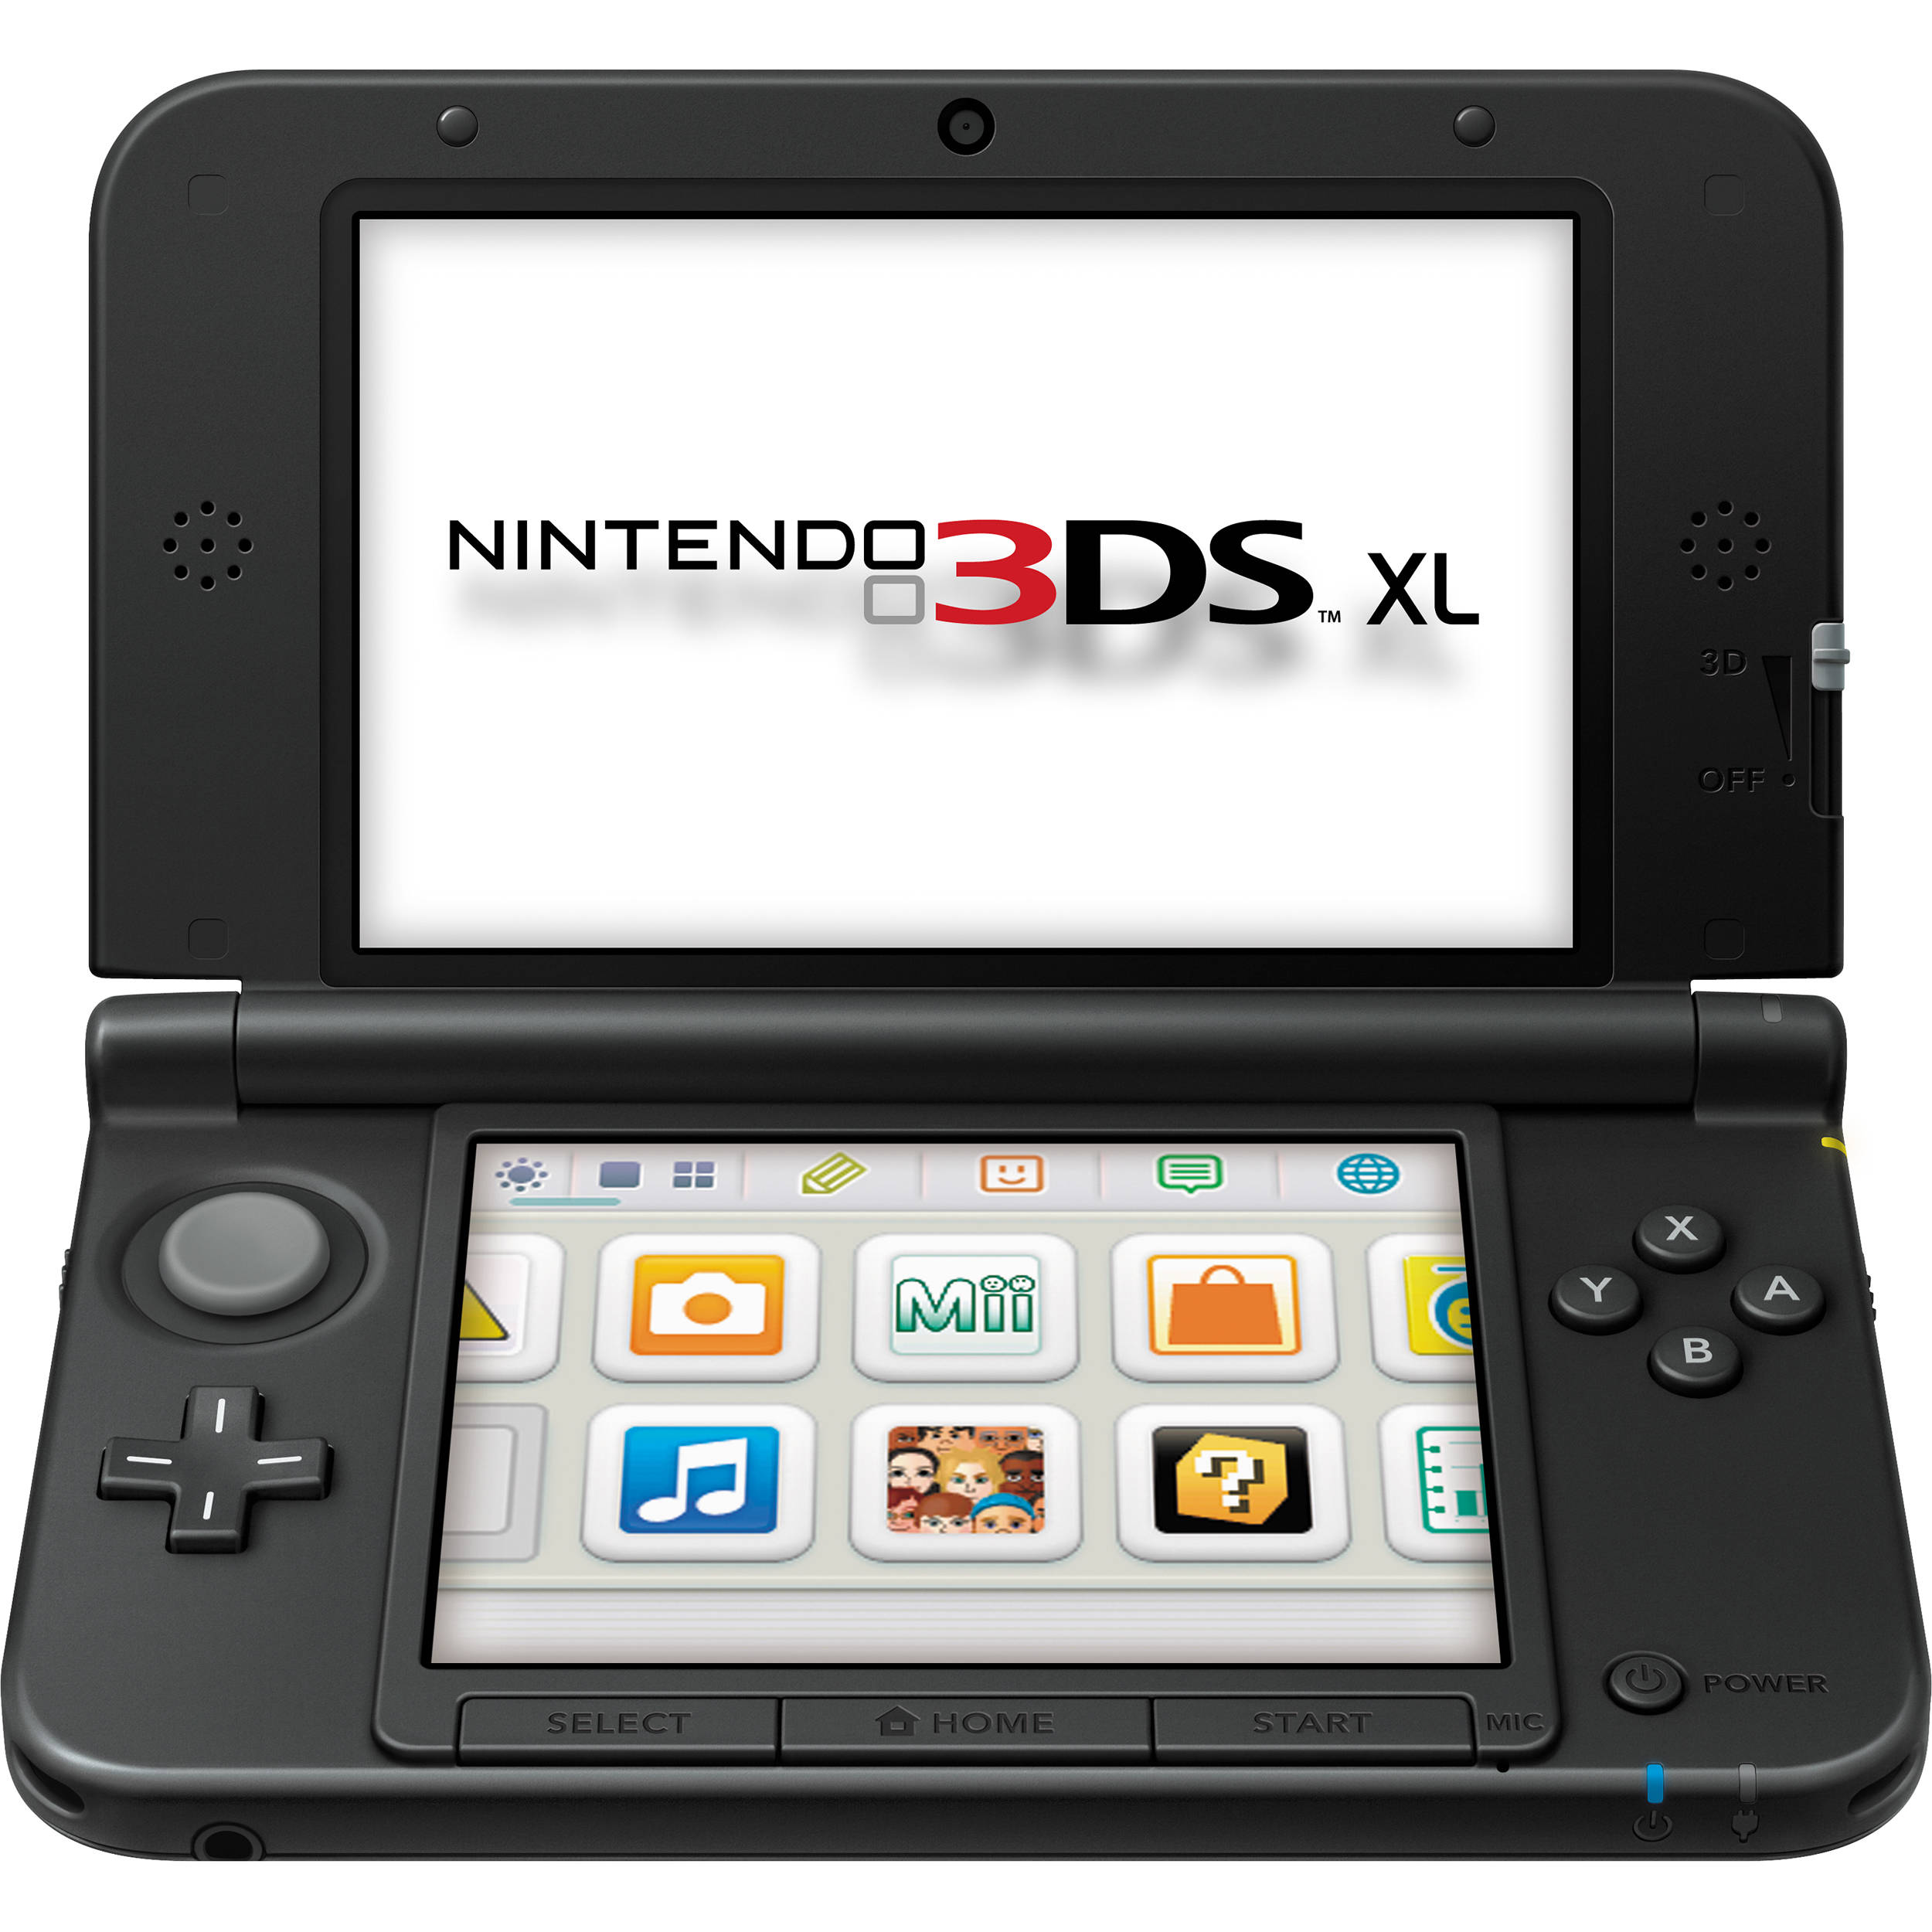
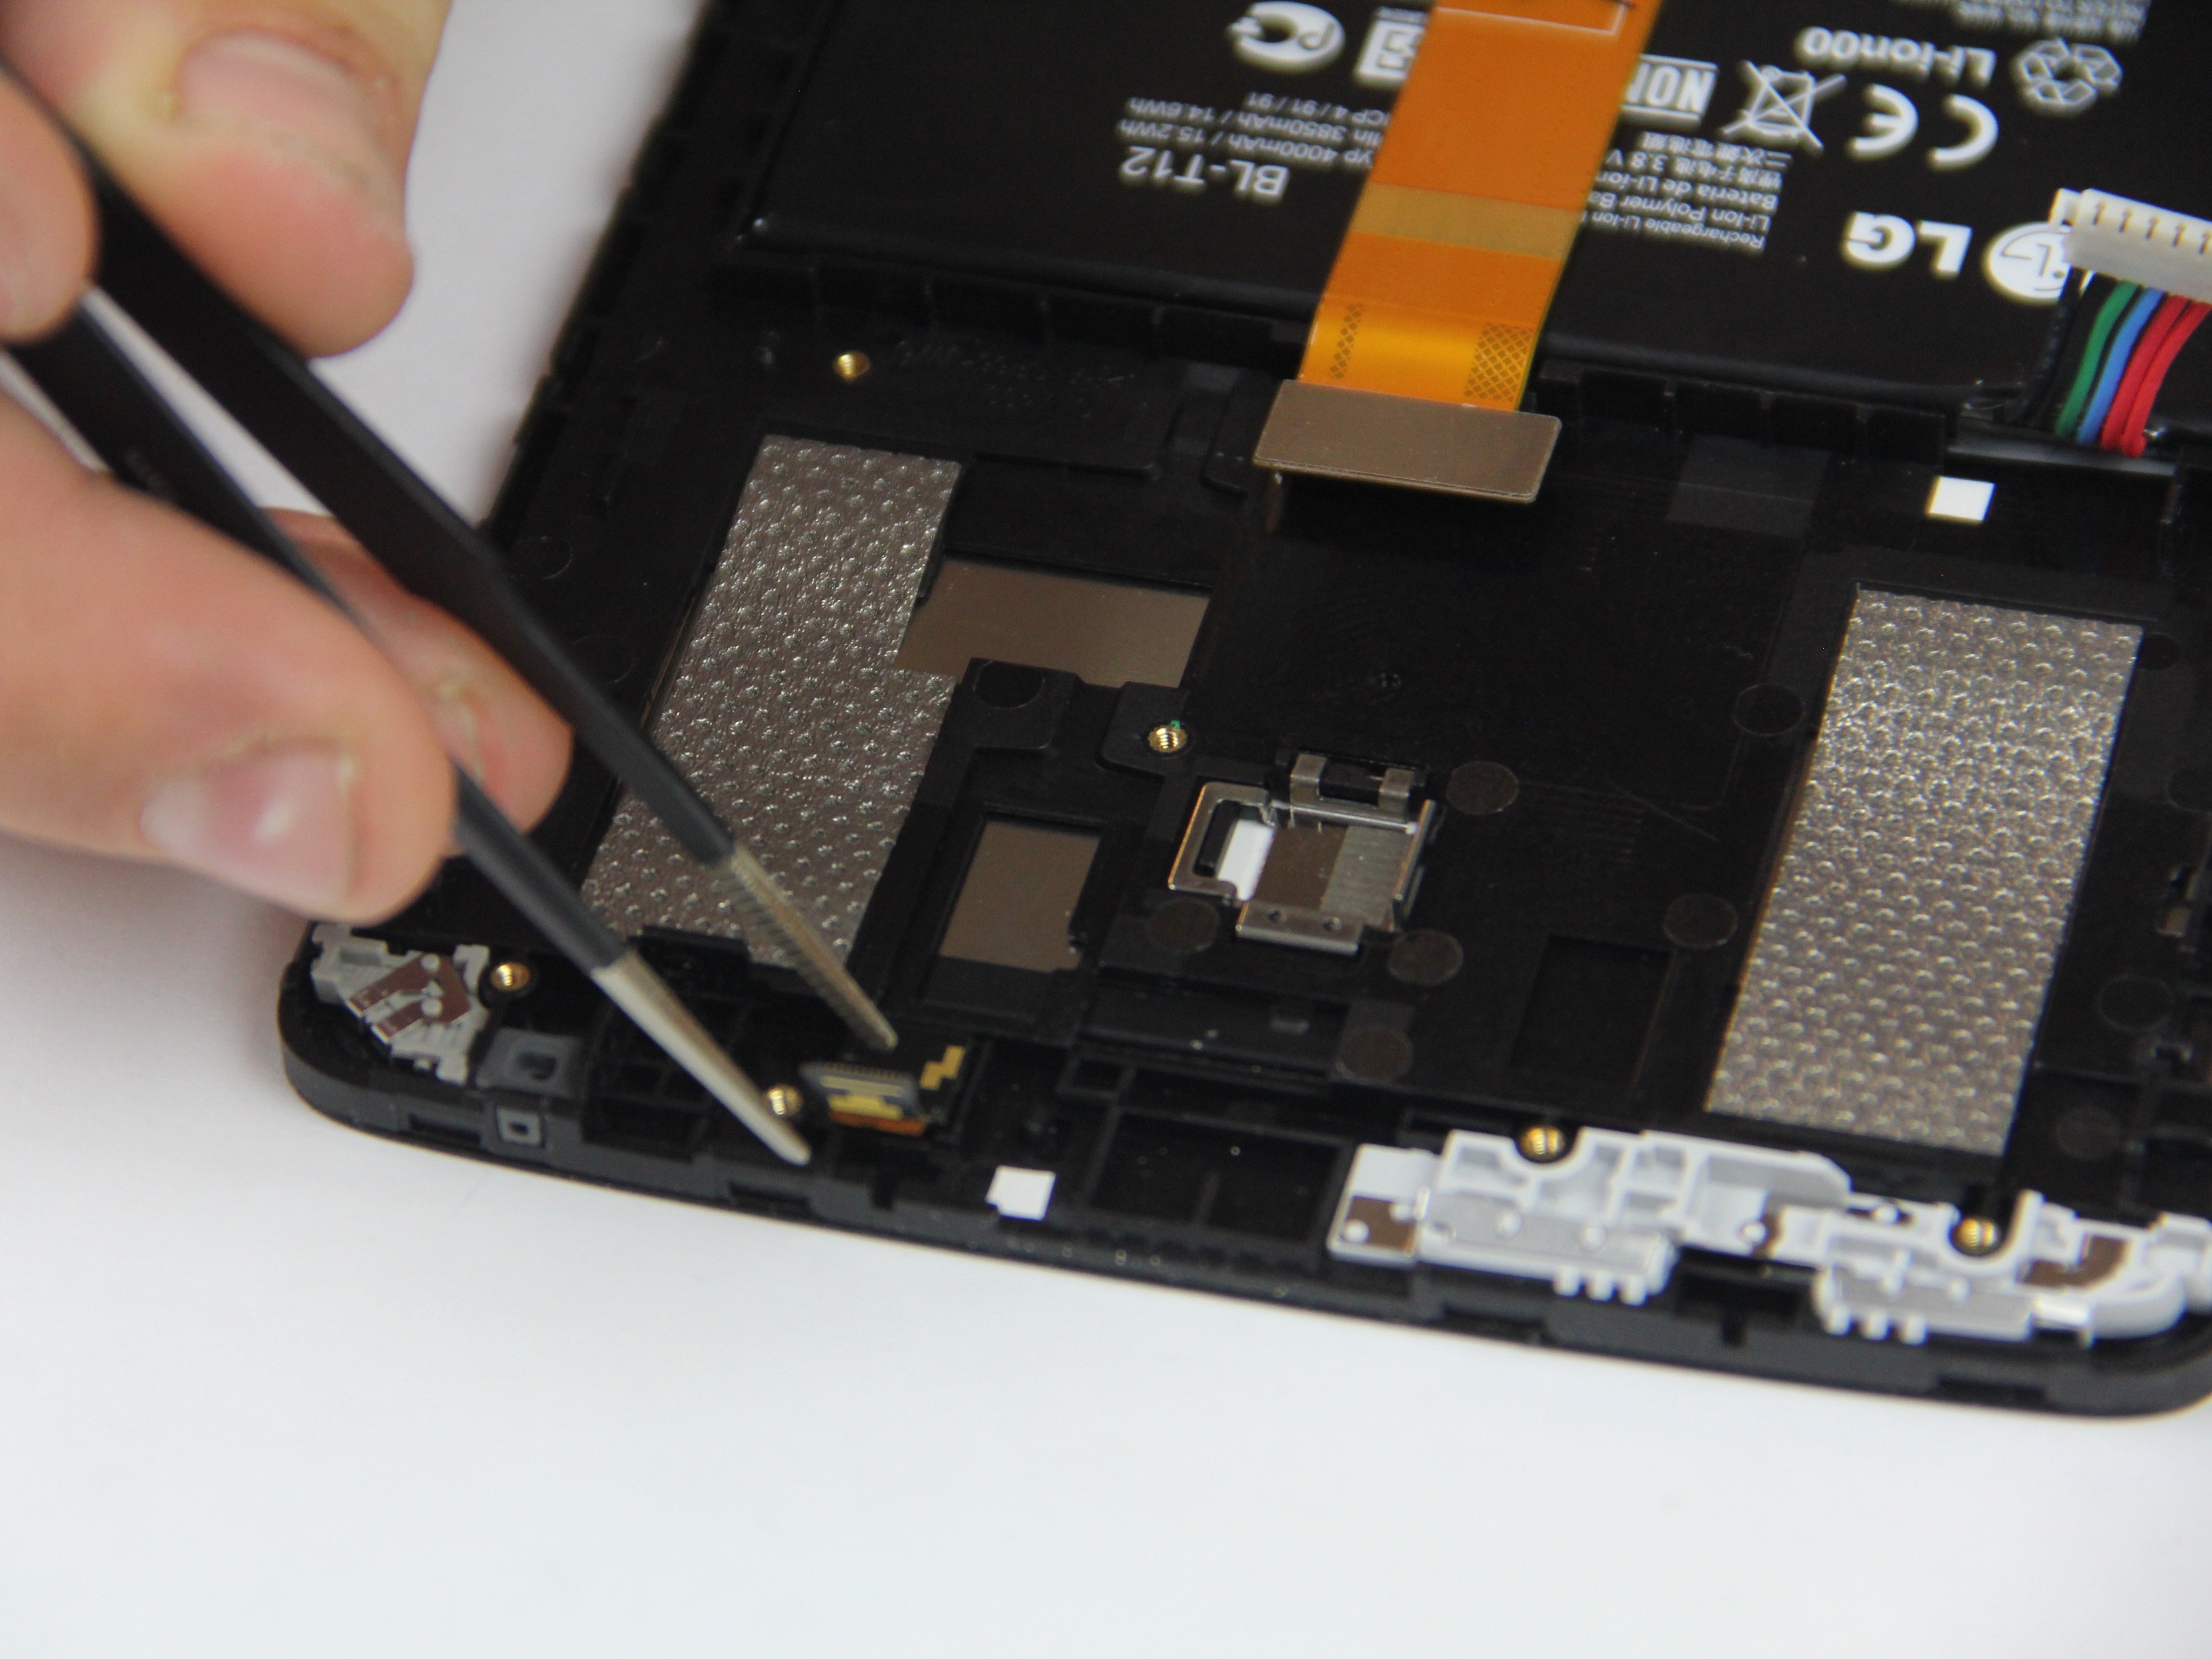
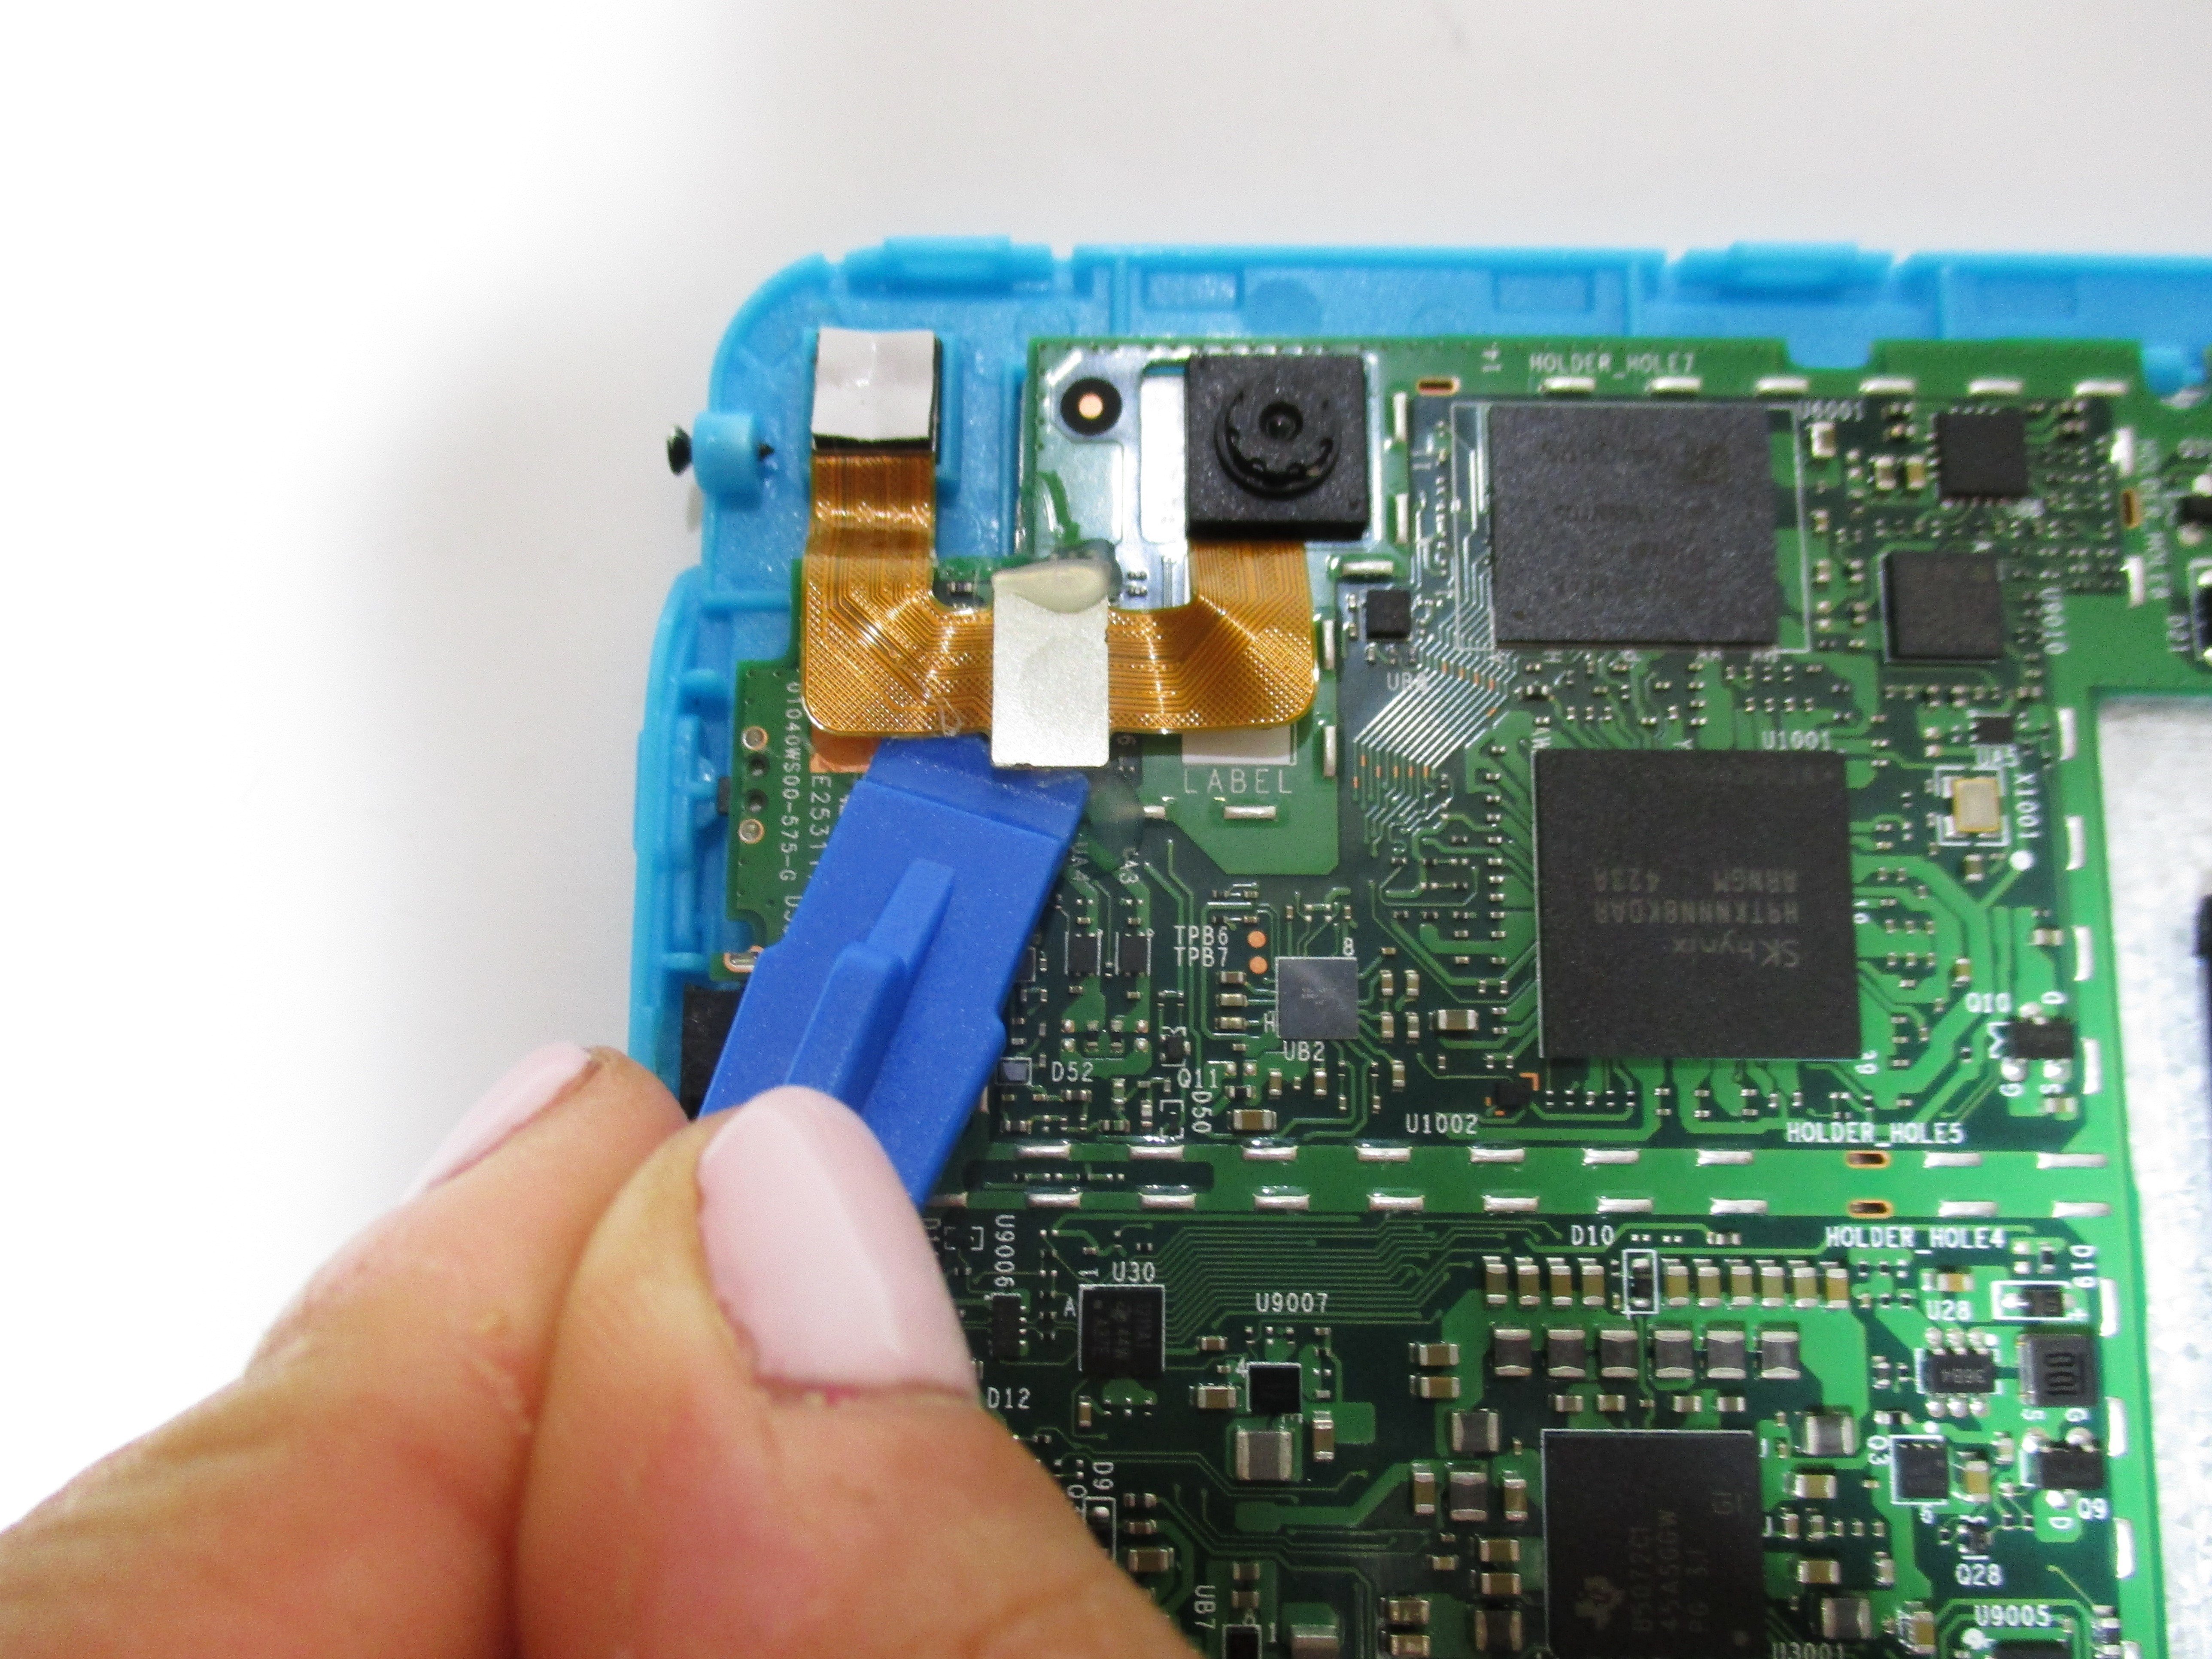
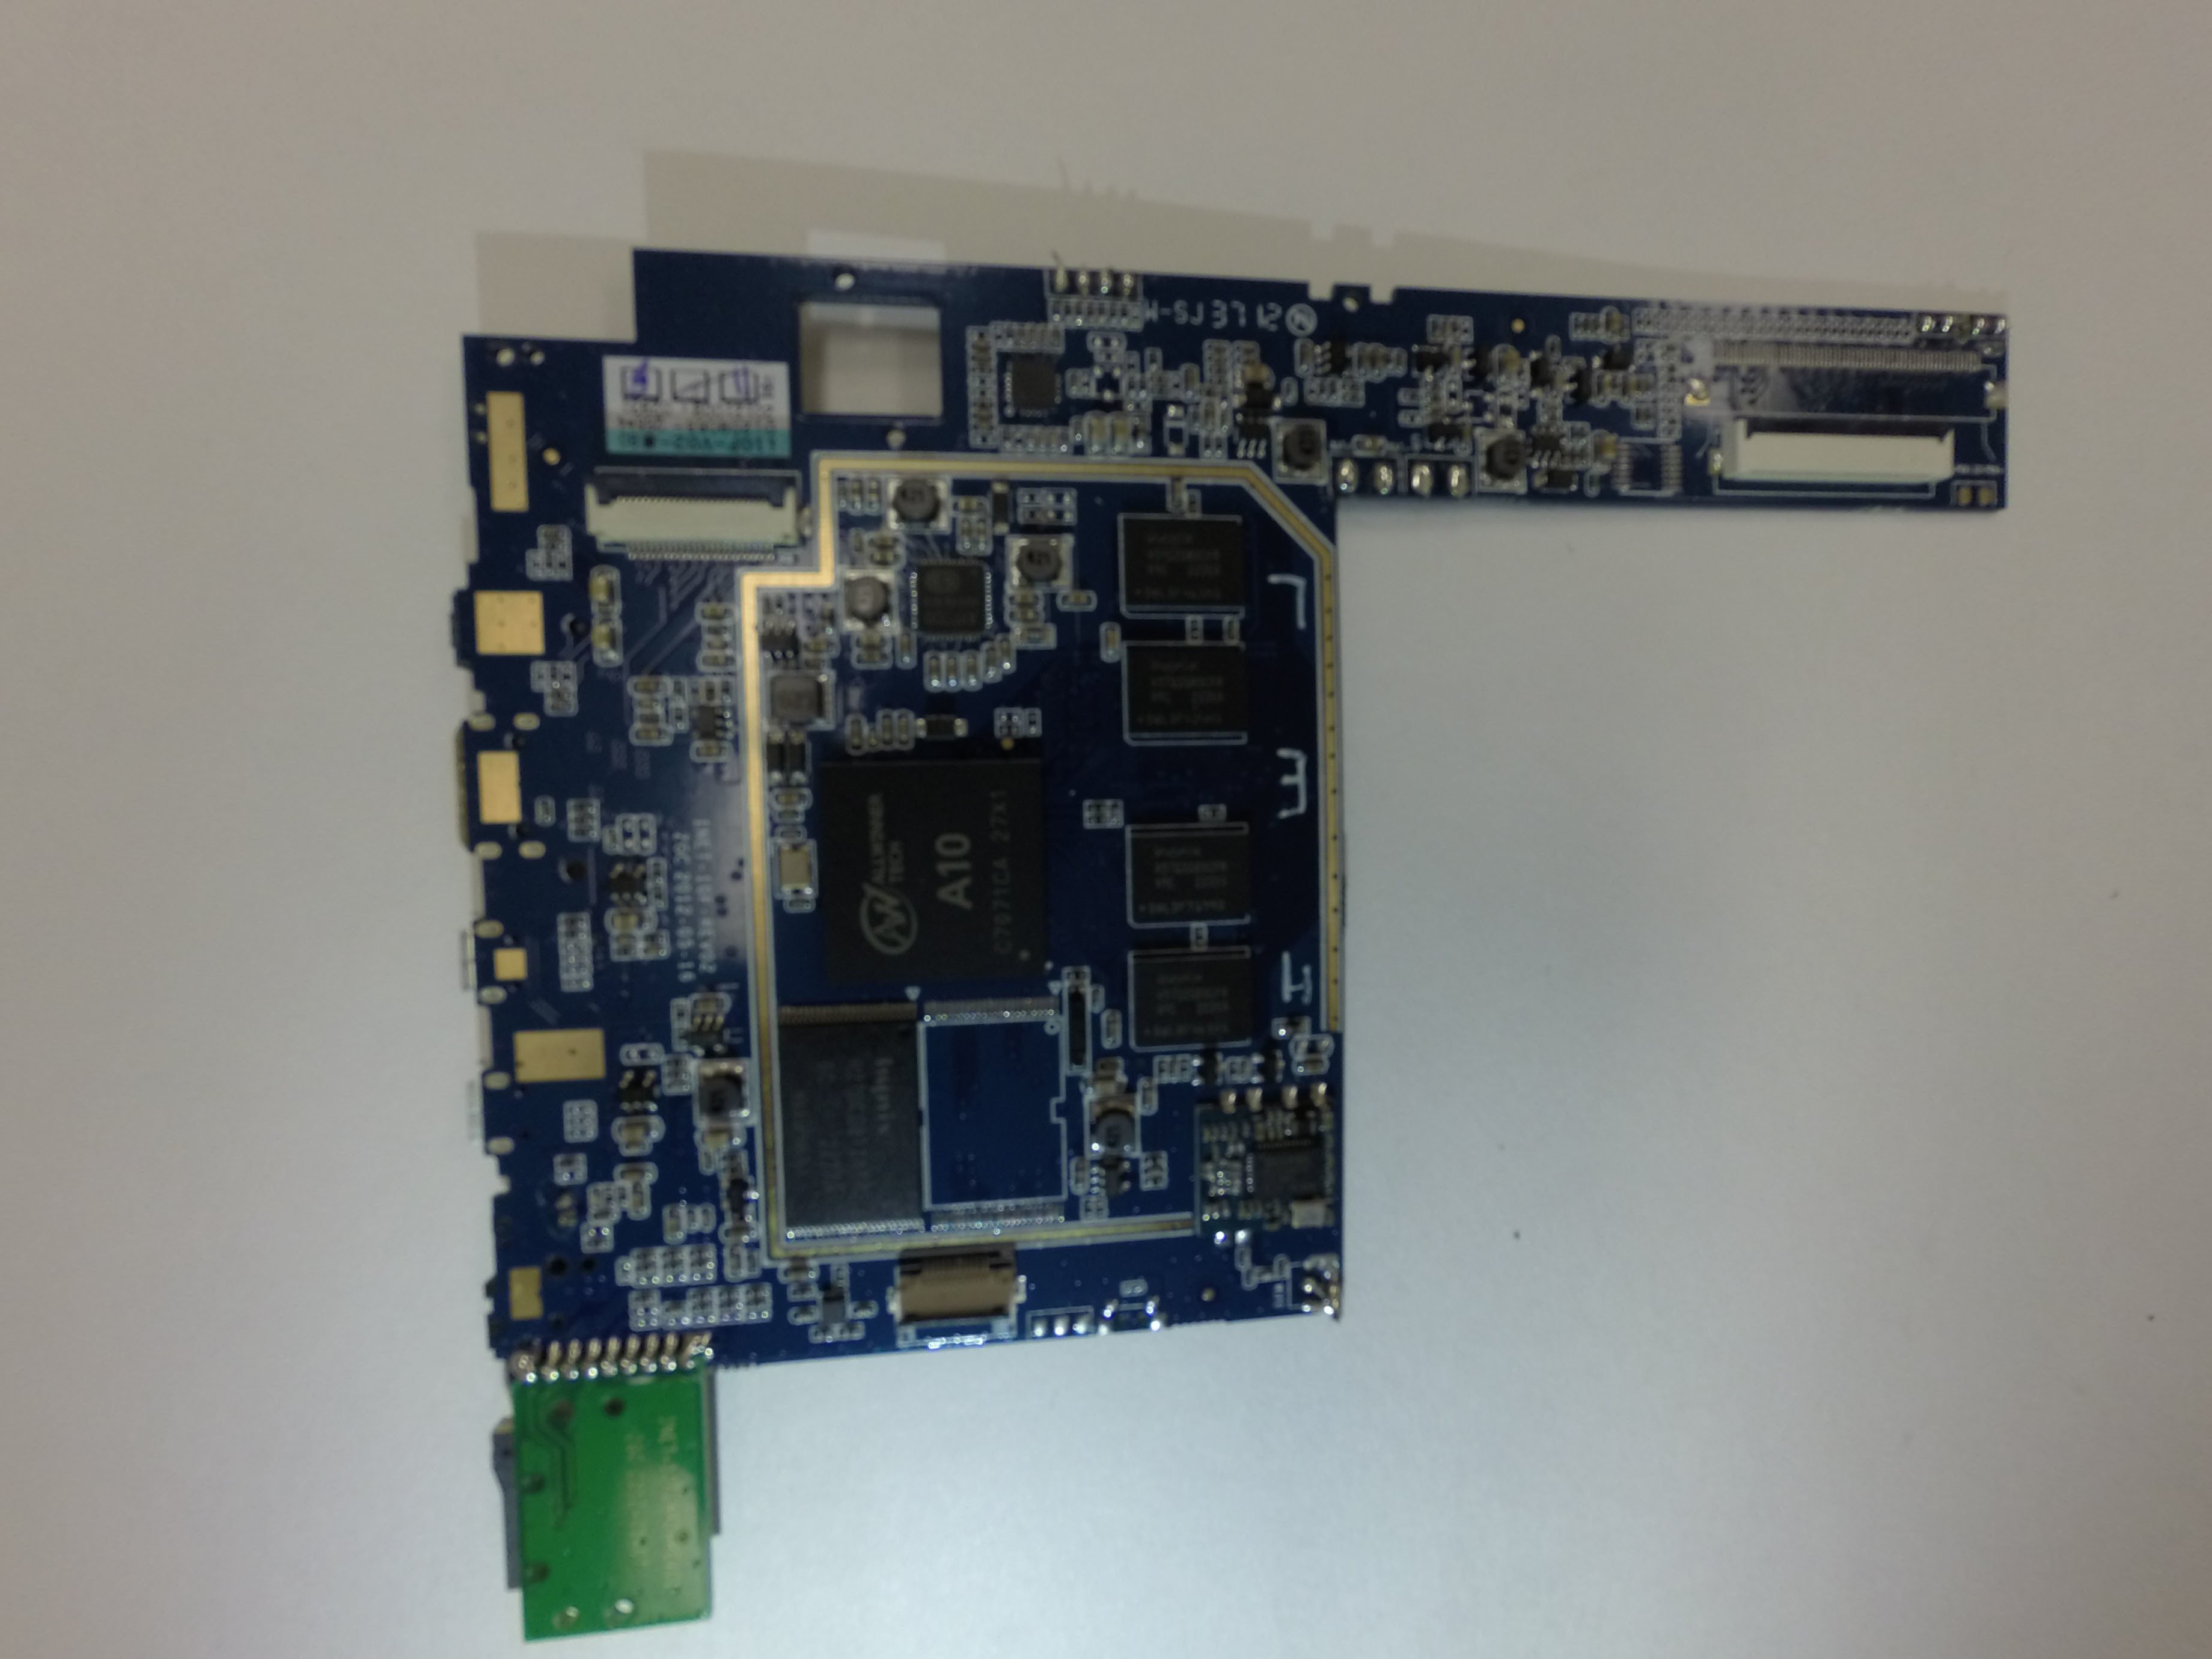
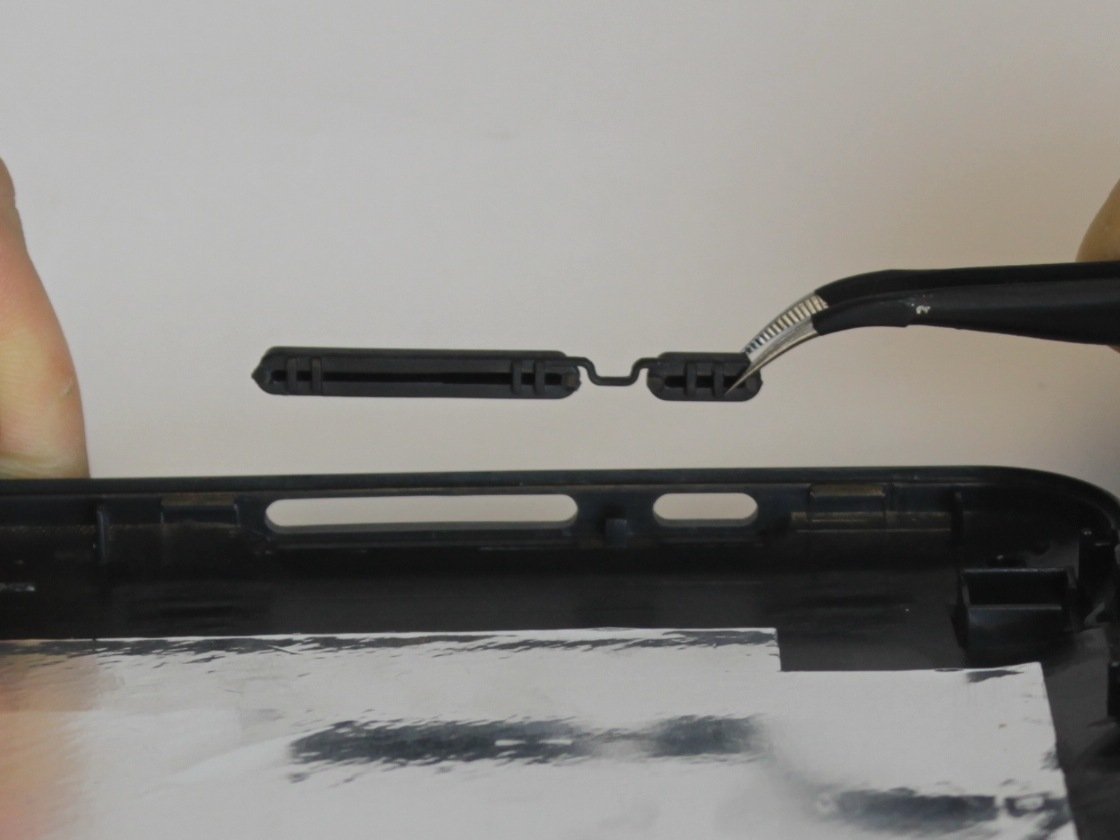
Nintendo 3DS XL IR Board Replacement
Duration: 45 minutes
Steps: 12 Steps
Get ready to dive into your Nintendo 3DS XL! We’re going to open it up and expose that motherboard, so we can track down the IR Board that’s just waiting to be replaced. Let’s make this repair journey smooth and fun together!
Step 1
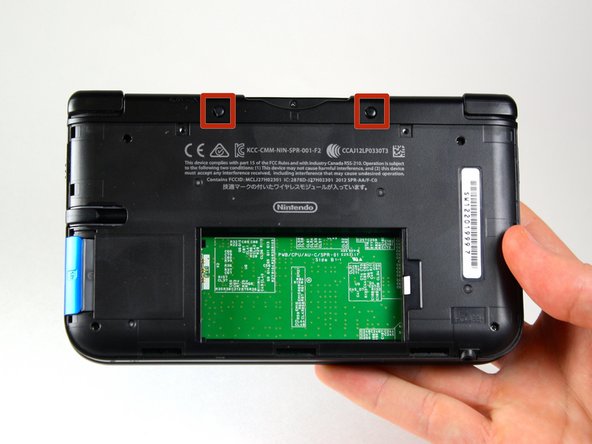
The screws come with handy little locking washers that keep them in place, so there’s no need to remove them. Just leave ’em on and you’re good to go!
– Gently unscrew the two #00 Phillips screws, each measuring 4.2 mm, found at the top of the back cover. You’ve got this!
Step 2
– Position your device with the cover facing up, ready for action.
– Grab your trusty plastic opening tool and gently pry off the cover starting from the top right corner. No rush, just take it easy.
– Carefully remove the cover and set it aside. We’ll get back to it in a bit.
– Hold onto the edge of the cover to make sure it doesn’t sneak back on when you’re not looking.
– Check out the small section just below the stylus compartment. If it’s still holding on, give it a gentle pry to separate the cover. You got this!
Step 3
– Slide that plastic opening tool into the slot on the right side of the battery.
– Gently pry off the battery from the lower casing.
– Carefully lift the battery out of the case and set it aside.
Step 4
– With tweezers, gently pull out the rubber bumpers at the top of the device on either side of the game cartridge compartment.
Tools Used
Step 5
– Time to unscrew! Grab your trusty Phillips #00 screwdriver and gently twist out those six 6.2 mm screws. You’ve got this!
Tools Used
Step 6
– Using a Phillips #00 screwdriver, carefully take out the 2.3 mm screw that’s hanging out just above the game cartridge slot. You’ve got this!
Tools Used
Step 7
– First things first, let’s get that SD card out of the way! Now, grab your trusty plastic opening tool and gently pry off the lower case, starting from the bottom edge and working your way around the perimeter. Easy peasy!
– You’ll notice two ribbon cables connecting the case to the circuit board. Just a friendly reminder: be gentle! We don’t want to tug too hard and accidentally rip those cables. Take your time and you’ll do great!
Step 8
– Pop off those ribbon cables hiding under the left and right bumpers with a plastic opening tool. Easy does it!
– Lift off the lower case from the rest of the device and set it aside. You’re doing great!
Step 9
– Get your device ready by placing it so the game cartridge slot is at the top – easy peasy!
– Now, take a look at the right side of your device and find that circle pad – it’s time to get started!
– Next, carefully remove the two 7.5 mm screws located at the upper left and bottom right corners. If you’re feeling a bit stuck, don’t worry, you’re doing great!
Step 10
There’s a loose washer chillin’ between the circle pad joystick and the circle pad. Handle it with care, and don’t let this sneaky piece slip away.
– Grab that plastic opening tool and pop off the circle pad joystick.
– Go easy with the plastic opening tool—there’s a ribbon connecting the joystick to the motherboard. It’s staying put.
Step 11
– Grab the flat end of your spudger and gently pop up the retaining flap that keeps the circle pad ribbon connected to the motherboard. Easy does it—you got this!
– Now, slide out the ribbon and lift out the circle pad joystick. Smooth move!
Tools Used
Step 12
Oops! The IR board is upside down in these photos. If you install it this way, your DS won’t start up. Before removing it, double-check the orientation and make sure to reinstall it the same way. You’ve got this!
– To put your device back together, just follow these steps in the opposite order. Keepin’ it real!
– Need to bail? No sweat, you can cancel this guide.
– If you need help, you can always schedule a repair
Success!
