Nintendo 3DS XL Microphone Replacement Guide
Duration: 45 minutes
Steps: 10 Steps
Voice recognition playing hard to get? Shouting at your Nintendo 3DS XL like it’s your ex? This guide has your back, walking you through the process of installing a fresh microphone, so you’re back in the game and shouting commands like a pro in no time.
Step 1
The screws are equipped with handy locking washers that keep them snugly in place on the back cover. There’s no need to worry about removing these little helpers for this guide; they’re here to stay and make your life easier!
– Unscrew the pair of #00 Phillips screws (4.2 mm each) chillin’ at the top of the back cover—let’s loosen them up!
Step 2
– Hold the device so that the cover is facing up.
– Grab a plastic opening tool and start prying off the cover from the top right corner.
– Remove the cover completely and put it aside.
– Make sure to hold the edge of the cover to keep it from snapping back on.
– Check the area below the stylus compartment. If the cover is still attached there, pry it off.
Step 3
– Grab your trusty (https://pollinations.ai/referral?topic=plasticopeningtool) and slip it into the opening on the right-hand side of the battery. Easy peasy!
– Gently pop that battery loose from the lower casing—think of it as giving it a little nudge out of its comfy spot.
– Carefully lift the battery out of the case and set it aside safely. You’ve got this!
Step 4
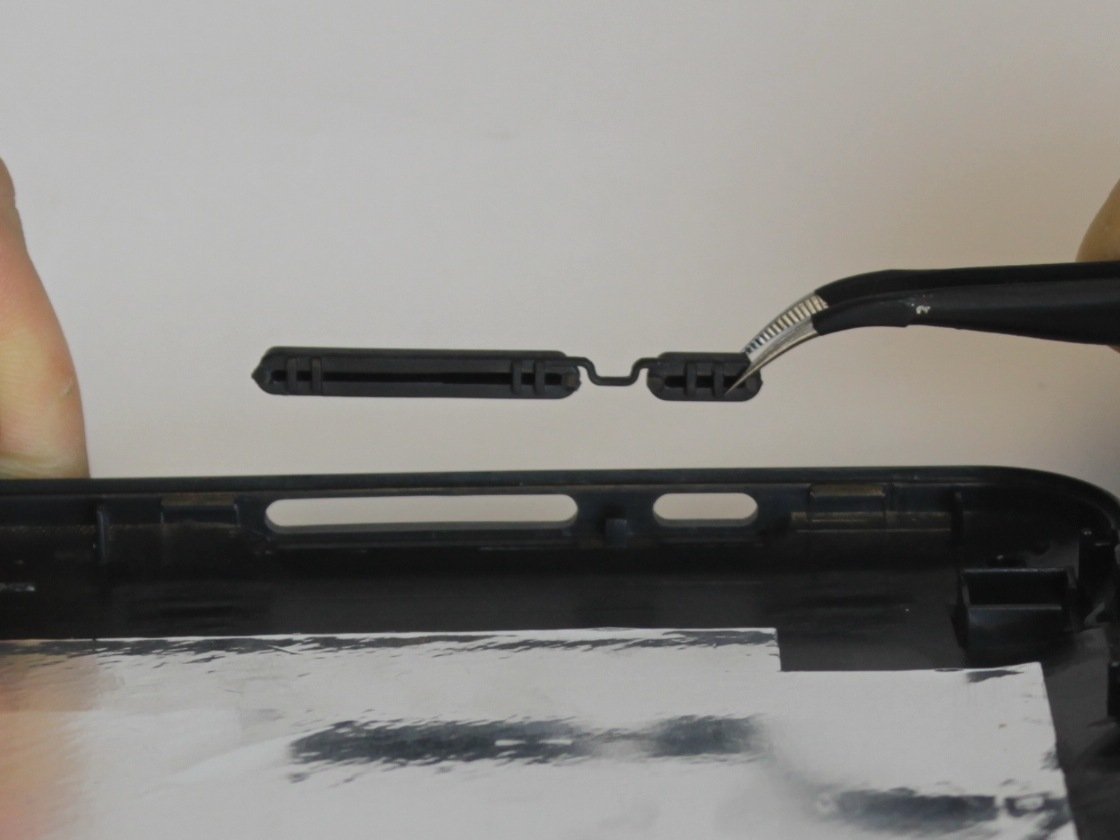
– Grab your trusty tweezers and gently pull out those rubber bumpers hanging out at the top of your device, right by the game cartridge compartment. You’ve got this!
Step 5
– Grab your Phillips #000 screwdriver and get to work on those six 6.2 mm screws. Take your time, and make sure each one comes out smoothly!
Tools Used
Step 6
– Alright, boss! Grab your Phillips #000 screwdriver and take out that 2.3 mm screw chillin’ above the game cartridge slot. You got this!
Tools Used
Step 7
– Grab a plastic opening tool and gently pop off the lower case starting from the bottom edge, working your way around the sides like you’re opening a stubborn cookie jar.
– Hey, heads-up! There are two ribbon cables linking the case to the circuit board. Tug lightly and carefully—nobody wants a torn ribbon cable situation!
Step 8
– Gently lift up the ribbon cables nestled beneath the left and right bumpers using a plastic opening tool – a little finesse goes a long way!
– Next, take off the lower case from the device like a pro and set it aside, ready for the next steps.
Step 9
You’ll find a ribbon connecting the microphone to the motherboard, so let’s give it some attention!
– Position the device with the game cartridge slot facing skyward—top’s the word!
– Alright, detective time! Find that microphone chilling in the bottom left corner.
– Snatch that mic like a boss, using your trusty tweezers. Gently does it!
Step 10
– Alright! To put your device back together, just reverse these steps, and you’re golden!
– Oops! Didn’t finish the guide? No worries, happens to the best of us.
– If you need help, you can always schedule a repair
Tools Used
Success!


