Nintendo DS Lite LCD Replacement Guide
Duration: 45 minutes
Steps: 20 Steps
Oh no! It seems like your Nintendo DS Lite’s lower LCD has decided to take a permanent vacation. But don’t worry, we’ve got your back with this handy guide to replace that lower LCD and get you back to gaming in no time!
Step 1


The screw stays put in the battery cover, so no need to worry about it wandering off!
– First, grab your trusty Phillips screwdriver and loosen that screw holding the battery cover in place.
– Gently pop the battery cover up using a spudger or your fingernail, then lift it right out of the lower case. Easy peasy!
Tools Used


Step 4

– Let’s get started by unscrewing the screws that are holding the lower case snugly to the body of your DS Lite:
– Two shiny 4.3 mm gold Phillips screws
– One 3.9 mm black Tri-Wing screw, ready to be freed
– One 3.3 mm silver Phillips screw, just waiting for its turn
– Three 5.5 mm silver Tri-Wing screws, because who doesn’t love a trio?
Step 5


Time to get ready! Pop off the cover from the Game Pak slot before moving on.
– Slide the edge of your trusty spudger between the lower and upper case, right near the top right corner of the DS Lite. You’ve got this!
– Gently glide the spudger along the right edge of the DS Lite, and watch as it creates a little opening for you. Keep it smooth!
– Keep that spudger moving along the back of the DS Lite until most of the lower case is happily separated from the upper case. Almost there!
Tools Used
Step 6

Be gentle when pulling – some units have a sticky situation with adhesive, so don’t yank it too hard or you might damage that power switch!
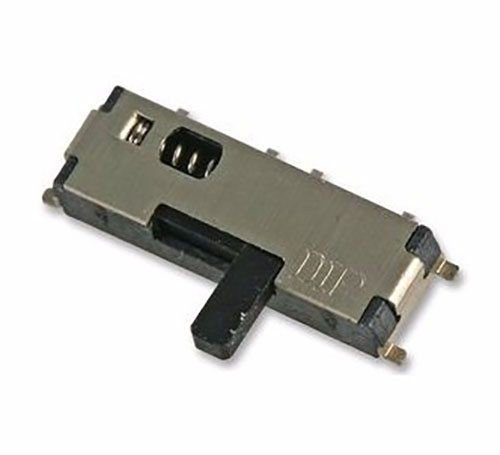
When putting it all back together, double-check that the power switch and volume sliders are BFFs with the switches on the motherboard.
– Gently lift the lower case off and set it aside—it’s like peeling a shell off your tech buddy.
Step 7


The second picture illustrates how to properly set up the trigger assembly for putting everything back together. You’re doing great—keep it up!
– Carefully lift both trigger buttons out of the DS Lite. Easy does it!
– These little buttons are barely hanging on thanks to tiny metal pegs and springs—so keep an eye on those small parts! Don’t let them disappear into the void.
Step 8

– Gently slide the flat edge of your trusty spudger under the Wi-Fi antenna connector and lift it straight up from its cozy spot on the Wi-Fi board. You’ve got this!
Tools Used
Step 9

– Gently slide the flat edge of a spudger under the Wi-Fi board connector and lift it straight up from its cozy spot on the motherboard. You’ve got this!
Tools Used
Step 10

The Wi-Fi board is stuck to the motherboard with a bit of adhesive magic.
– Time to get this Wi-Fi board loose! Use the flat edge of a spudger to gently pry the right edge of the Wi-Fi board away from the motherboard.
– Now it’s time to say goodbye to the Wi-Fi board – carefully remove it from the DS Lite.
Tools Used
Step 11

– Grab your spudger and gently pop the microphone connector straight up from the motherboard. Easy does it!
Tools Used
Step 12


As you move forward with the steps, gently tug on the antenna cable nestled between the DS Lite game cartridge reader and motherboard. Take your time and ease off if you sense any resistance—this helps keep both the cable and motherboard safe and sound.
– Alright, let’s get that antenna cable cozy! Position it with the connector pointing up and away from the motherboard, and use a spudger to give it a gentle hug in the gap between those chips.
– Now, with a steady hand, slowly pull the antenna cable until its connector sneaks under the DS Lite game cartridge reader.
– Keep on pulling until the connector pops out from beneath the game cartridge reader on the right side. You’re doing great!
– When it’s time to reassemble and guide that antenna cable back under the game cartridge reader, it might get a little tricky and kink up. No worries! Just thread a piece of string through first, tie it to the end of the cable connector, and gently pull it through, making sure to navigate around any pesky obstacles. If you need help, you can always schedule a repair.
Tools Used
Step 13


Remember to gently lift the retaining flap, not the socket itself—it’s a delicate dance!
Keep that flap at a cool 90 degrees or less; going beyond that might just break its spirit!
– Gently use your fingernail or the edge of a spudger to lift up the touchscreen ribbon cable retaining flap with care.
– With the tip of a spudger, smoothly pull the touchscreen ribbon cable straight out of its socket.
Tools Used

Step 15

Hey, hold up! Don’t yank the motherboard just yet; it’s still bonded to the upper display with the upper LCD ribbon cable. Take it easy!
– Gently tilt the display open just enough so you can use your finger to nudge the front edge of the motherboard up and away from the upper case. Nice and easy does it!
Step 16


Make sure to flip up the retaining flap, not the socket itself.
– Let’s get started! Use your fingernail or a trusty spudger to gently pry up the upper LCD ribbon cable retaining flap.
– Now, carefully pull the motherboard away from the DS Lite to release the upper LCD ribbon cable from its socket – easy does it!
– Next, remove the motherboard from the DS Lite. You’re making great progress!
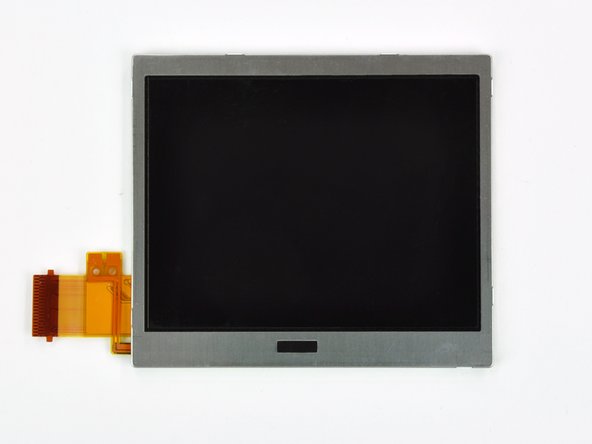
– Almost there! Open the retaining flap for the lower LCD screen in the same way and separate the lower LCD screen from the motherboard. If you need help, you can always schedule a repair with Salvation Repair.
Tools Used
Step 17


Remember, you’re flipping up the retaining flap, not the socket itself. It’s an easy mix-up, but you’ve got this!
When you’re reinstalling the lower LCD, make sure to add insulation to the back. It’s like a cushion for your motherboard, keeping everything safe from shorts. Nice and snug!
– Gently use your fingernail or the edge of a plastic opening tool to pop up the retaining flap on the lower LCD ribbon cable. Take it slow—you’re doing great!
– Slide the lower LCD assembly straight out to free the ribbon cable from its snug little spot on the motherboard. Keep it smooth and steady.
– Lift off the lower LCD assembly from the motherboard. And just like that, you’ve got it separated!
Step 18


– Gently wedge a plastic opening tool between the touchscreen and the top right corner of the display. Don’t be shy, just a little nudge will do!
– Now, glide that opening tool smoothly down the right side of the display to loosen up the edge of the touchscreen. You’ve got this!
Step 19


– Keep gliding that trusty plastic opening tool along the bottom and up the left edges of the LCD to gently pry the touchscreen away from the LCD. You’re doing great!
Step 20

When swapping out the LCD, make sure to add some insulation on the back to keep it from causing a short circuit with the motherboard. A little electrical tape does the trick nicely!
– Gently lift the touchscreen away from the LCD.
– The LCD stays put.
Success!