Nintendo DS Lite Teardown
Duration: 45 minutes
Steps: 14 Steps
Ready to dive back into your DS and unlock some nostalgia? Let’s crack open your device and see what’s going on inside! This guide walks you through taking apart your DS, so you can check out the magic under the hood. Let’s get started!
Step 1


– Grab your DS and take a good look—it’s about to get a serious upgrade!
– Heads up: putting everything back together can be a bit tricky, so once you start, there’s not much turning back.
Step 2


– Grab your Phillips head screwdriver and unscrew all the screws hiding around the back ports of the DS. Easy peasy as you prep for the next step. If you need help, you can always schedule a repair.
Step 3

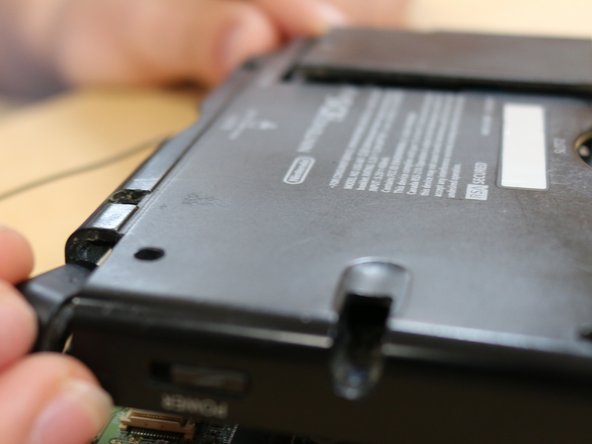
– Next up, carefully remove the back cover and gently extract the battery with your spudger. To keep things organized, make sure to stash all screws, batteries, and panel parts in a container so nothing gets lost along the way. If you need help, you can always schedule a repair.
Tools Used

Step 4

– Place the spudger at one of the line edges near the game port, then gently push it inward to separate the two parts. Take it slow, you got this!
– Now, keep the spudger in hand and carefully slide it along the inside towards the edge of the DS, but don’t go too deep—stay just on the surface for now.
Tools Used
Step 5

– Gently pop out this side, then do the same thing on all the other sides of the DS.
Step 6

– Remember, after you’re done with this step, you’ll want to carefully remove the left and right trigger buttons from their sockets. Keep at it!
Step 7

– Once you’ve taken out all the big machine parts, make sure the electronics board and plastic bits are completely separated—think of it as giving them some personal space.
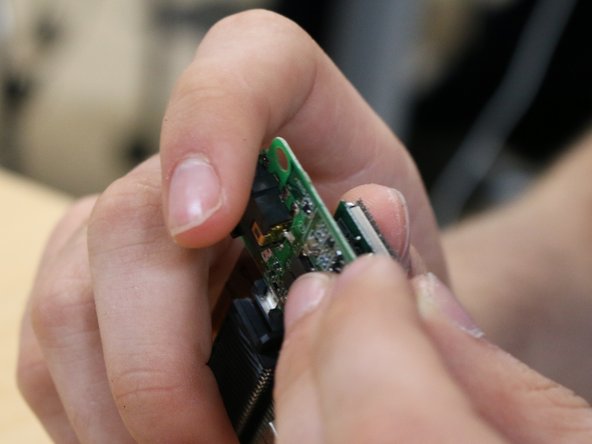
– Grab your spudger and gently slide it under the small Wi-Fi board. Apply just a little pressure to start loosening it up. Carefully lift the board out when it’s ready.
Tools Used
Step 8

– Carefully lift out the board and keep it with your screws after removing it. Keep everything organized so you’re all set for reassembly. If you need help along the way, you can always schedule a repair.
Step 9

– Now, grab the black and white wires near the Wi-Fi board. Start by gently placing your spudger’s tip on the black wire to get ready for the next step.
Tools Used
Step 10
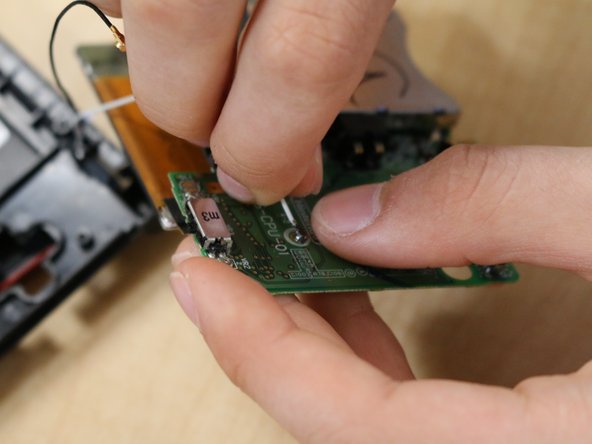

– Gently tug on the black wire connector to disconnect it from the board, making sure not to put too much strain on the piece. Once free, do the same with the white wire. Keep it steady and steady—you’re doing great! If you need help, you can always schedule a repair.
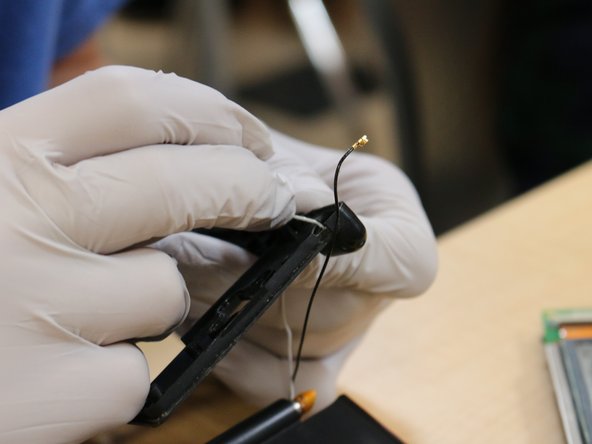
Step 11

– Alright, take a deep breath and carefully flip that black wire piece upside down. Gently slide it out from underneath and out of the game cartridge slot. It’s a delicate little move, so take your time!
– Now, with the right corner still attached, carefully separate the motherboard from the upper and lower plastic cases. Just a little wiggle and it should come apart. Easy does it!
Step 12

– Gently loosen the connection between your upper and lower motherboard by creating a small gap between them. Keep it careful and steady—no rush needed!
Step 13

– Take your spudger or just your finger and gently wiggle the ribbon cable out of the top left trigger socket. No need to force it—let it slide out smoothly.
– If you’re planning to completely split the upper case from the rest of your DS, go ahead and guide the Wi-Fi wires through, following the same path as the ribbon cable.
Tools Used
Step 14


– Most DS teardowns and part swaps wrap up right about now.
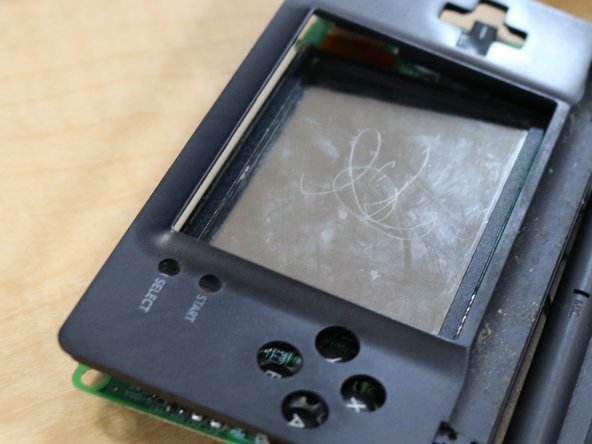
– If you’re feeling adventurous, you can dig deeper to check out the ribbon and Wi-Fi cable connections up by the top screen—plus, get a look at those microphone ports.
– To put everything back together, just follow these steps in reverse. Take your time with the screws and cables—mixing them up can cause problems for your DS, so keep track of where each piece goes.
– If you hit a snag or want more details, we’ve got extra info and steps waiting for you here. And if you’d rather have the pros handle it, you can always schedule a repair.
Success!
