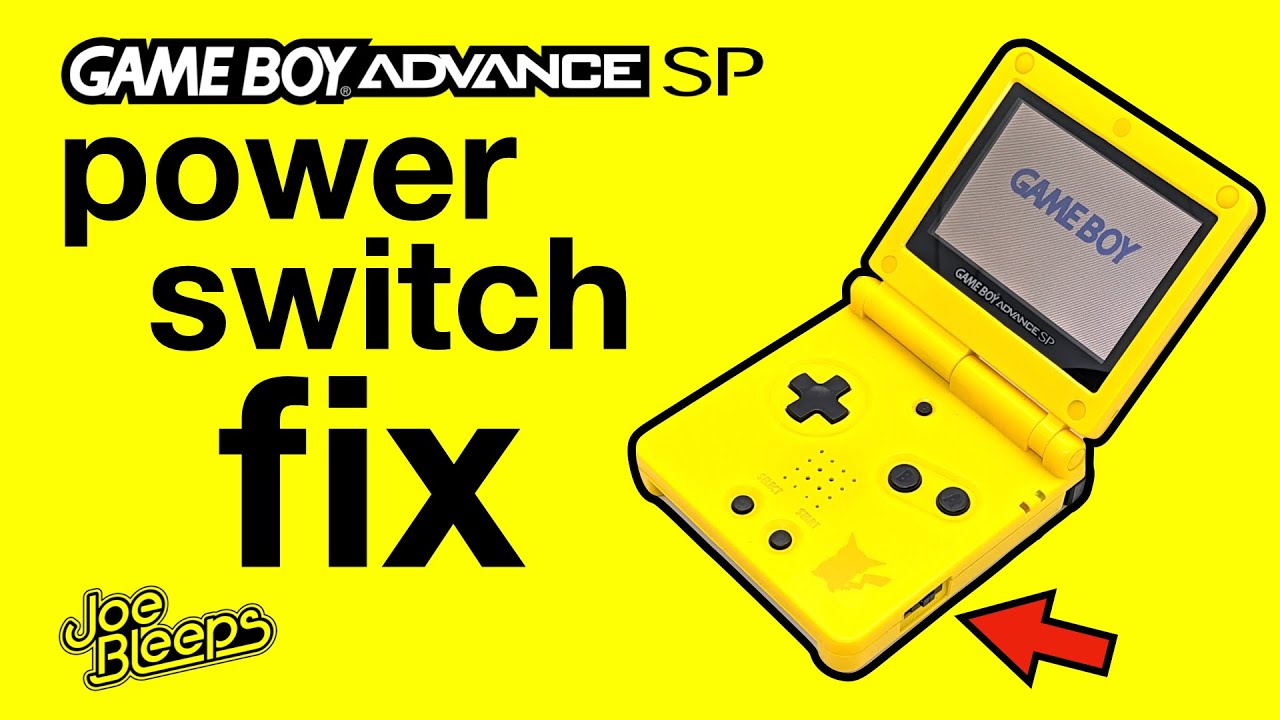
Nintendo Game Boy Advance SP Brightness Switch Replacement
Duration: 45 minutes
Steps: 9 Steps
The brightness switch is that nifty little round button flaunting a sun symbol on it. You’ll find it hanging out at the top of the button panel, ready to brighten your day!
Step 1
– Grab your trusty Phillips #00 screwdriver and gently loosen that 4 mm screw holding the battery cover snugly in place. You’ve got this!
Tools Used
Step 2
Thanks to Nintendo’s clever design, that screw is going to stick with the battery cover like a loyal sidekick.
– Pop off that battery cover and set it aside—let’s get this show on the road!
Step 3
Heads up: Handle the battery carefully. If it looks swollen or damaged, it’s a fire hazard.
– Gently coax that battery out of your device using your fingers or a plastic opening tool. You’ve got this!
Step 4
– Bust out that tri-point Y00 screwdriver and remove four 6.5 mm screws from each corner of the back cover.
– Take your tri-point Y00 screwdriver again and carefully remove two 4.6mm screws from the top-center and bottom-center of the device.
Tools Used
Step 5
Heads up! These inner parts are sensitive to static electricity. Handle with care to keep your device in tip-top shape!
– Gently lift the back cover off the device. It might take a little wiggle to get it loose, but don’t worry – you’ve got this!
– Be cautious of the power switch – it might decide to take a little adventure and fall out when you remove the back cover. Just keep an eye on it!
Step 6
– Grab your trusty Phillips #00 screwdriver and remove those three Phillips #00 screws (they’re 4 mm long) holding the motherboard to the button panel.
Tools Used
Step 7
Watch out for that ribbon cable connecting to the screen—it’s a delicate little thing! If it gets torn, the games will disappear from your device’s display!
– Lift up the motherboard and rest it on the other half of the device, so that the back of the buttons is visible as shown in the picture.
Step 8
Keep that track pad tidy! Dust and dirt will keep the brightness switch from cooperating when you press it.
– Gently lift the track pad away from the brightness switch using your fingers. Keep it cool and steady!
Step 9
– You’re almost done! To put everything back together, just follow these steps in reverse. Easy peasy!
– If you got stuck, don’t worry! You can always schedule a repair and let the pros handle it.
– You’ve made it to the end! Pat yourself on the back, you’re a repair rockstar!
Success!


