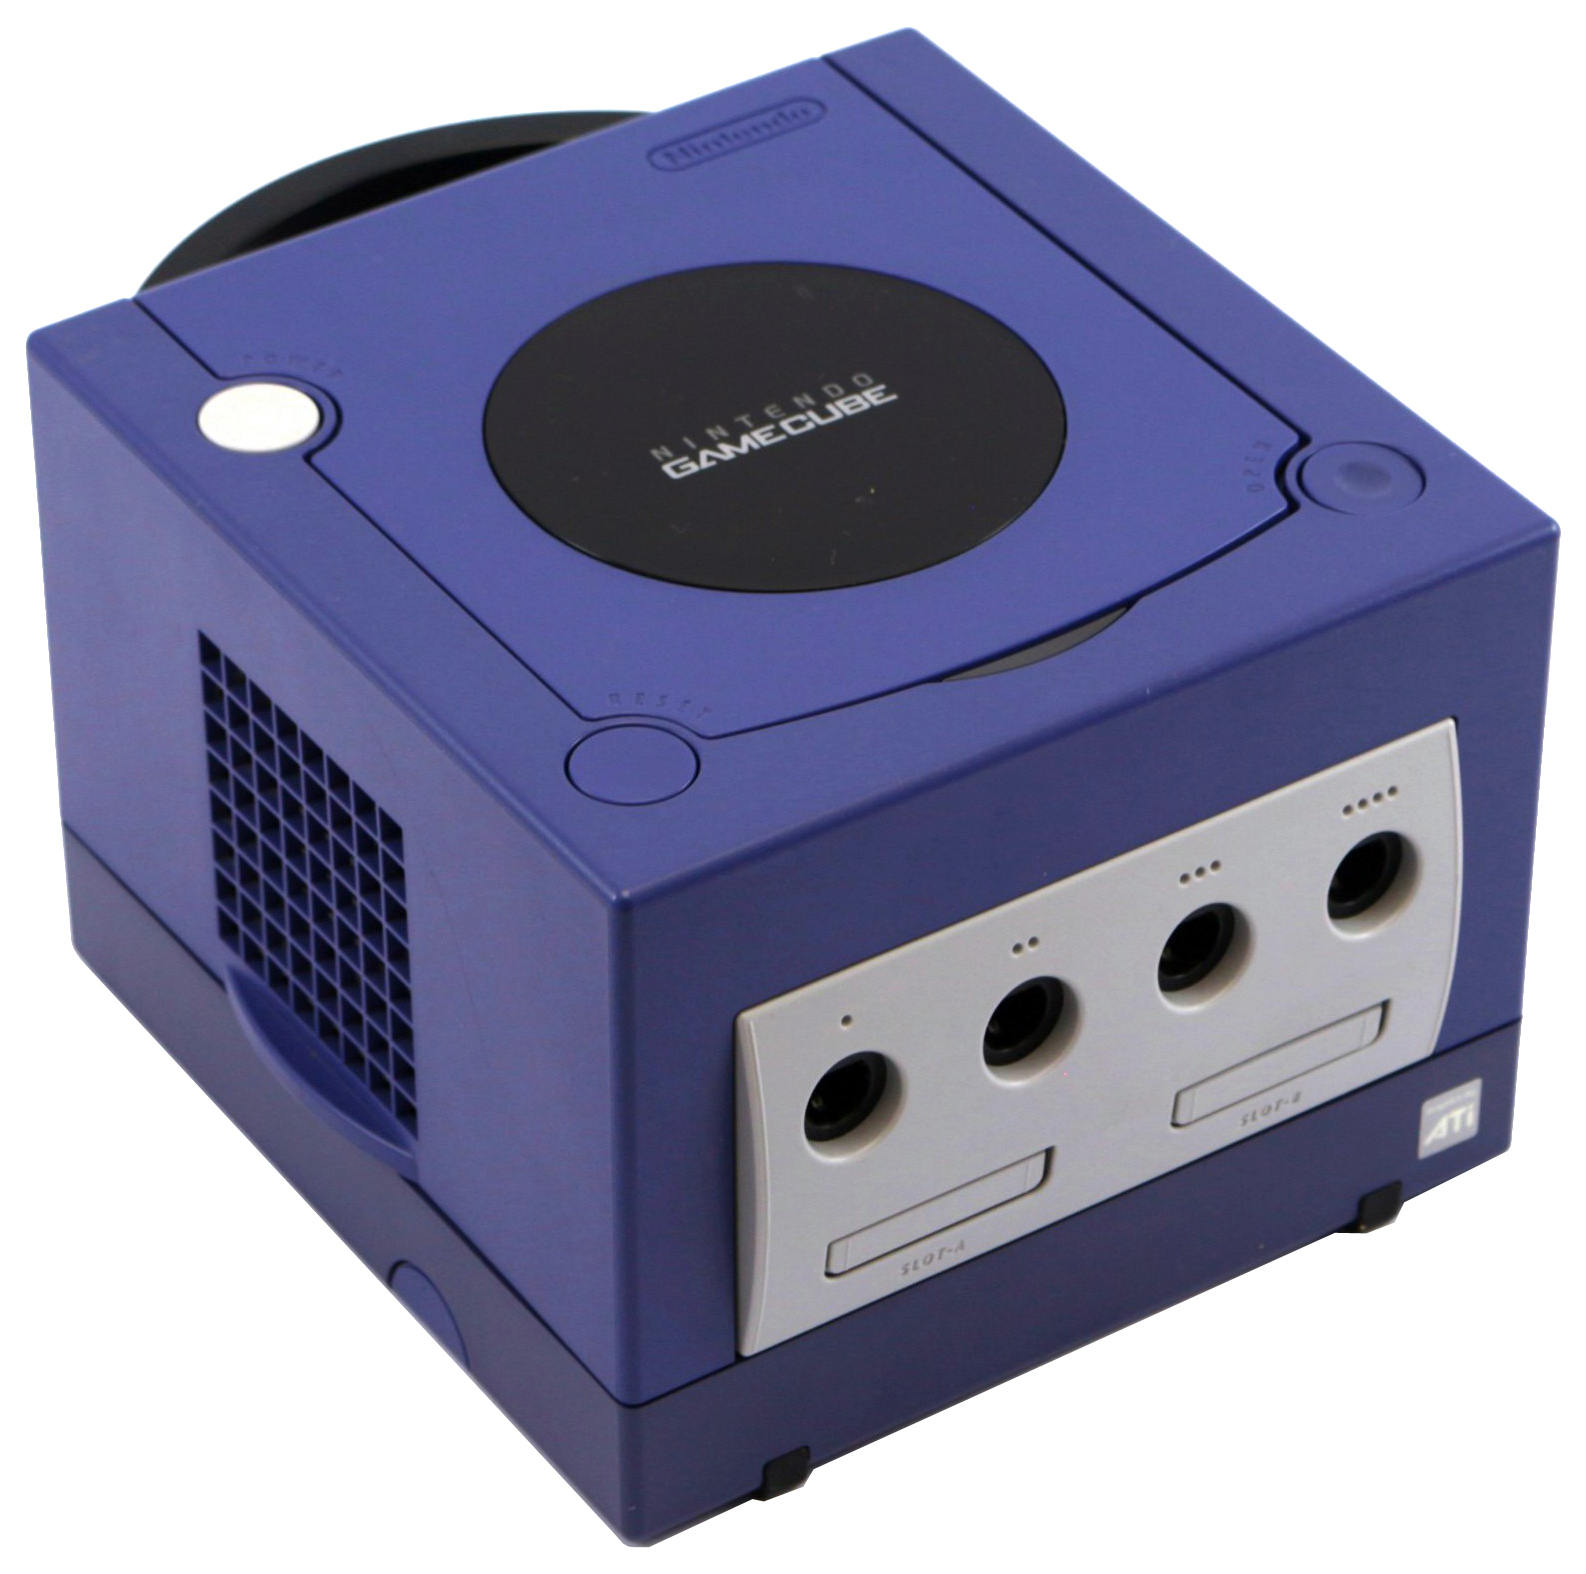
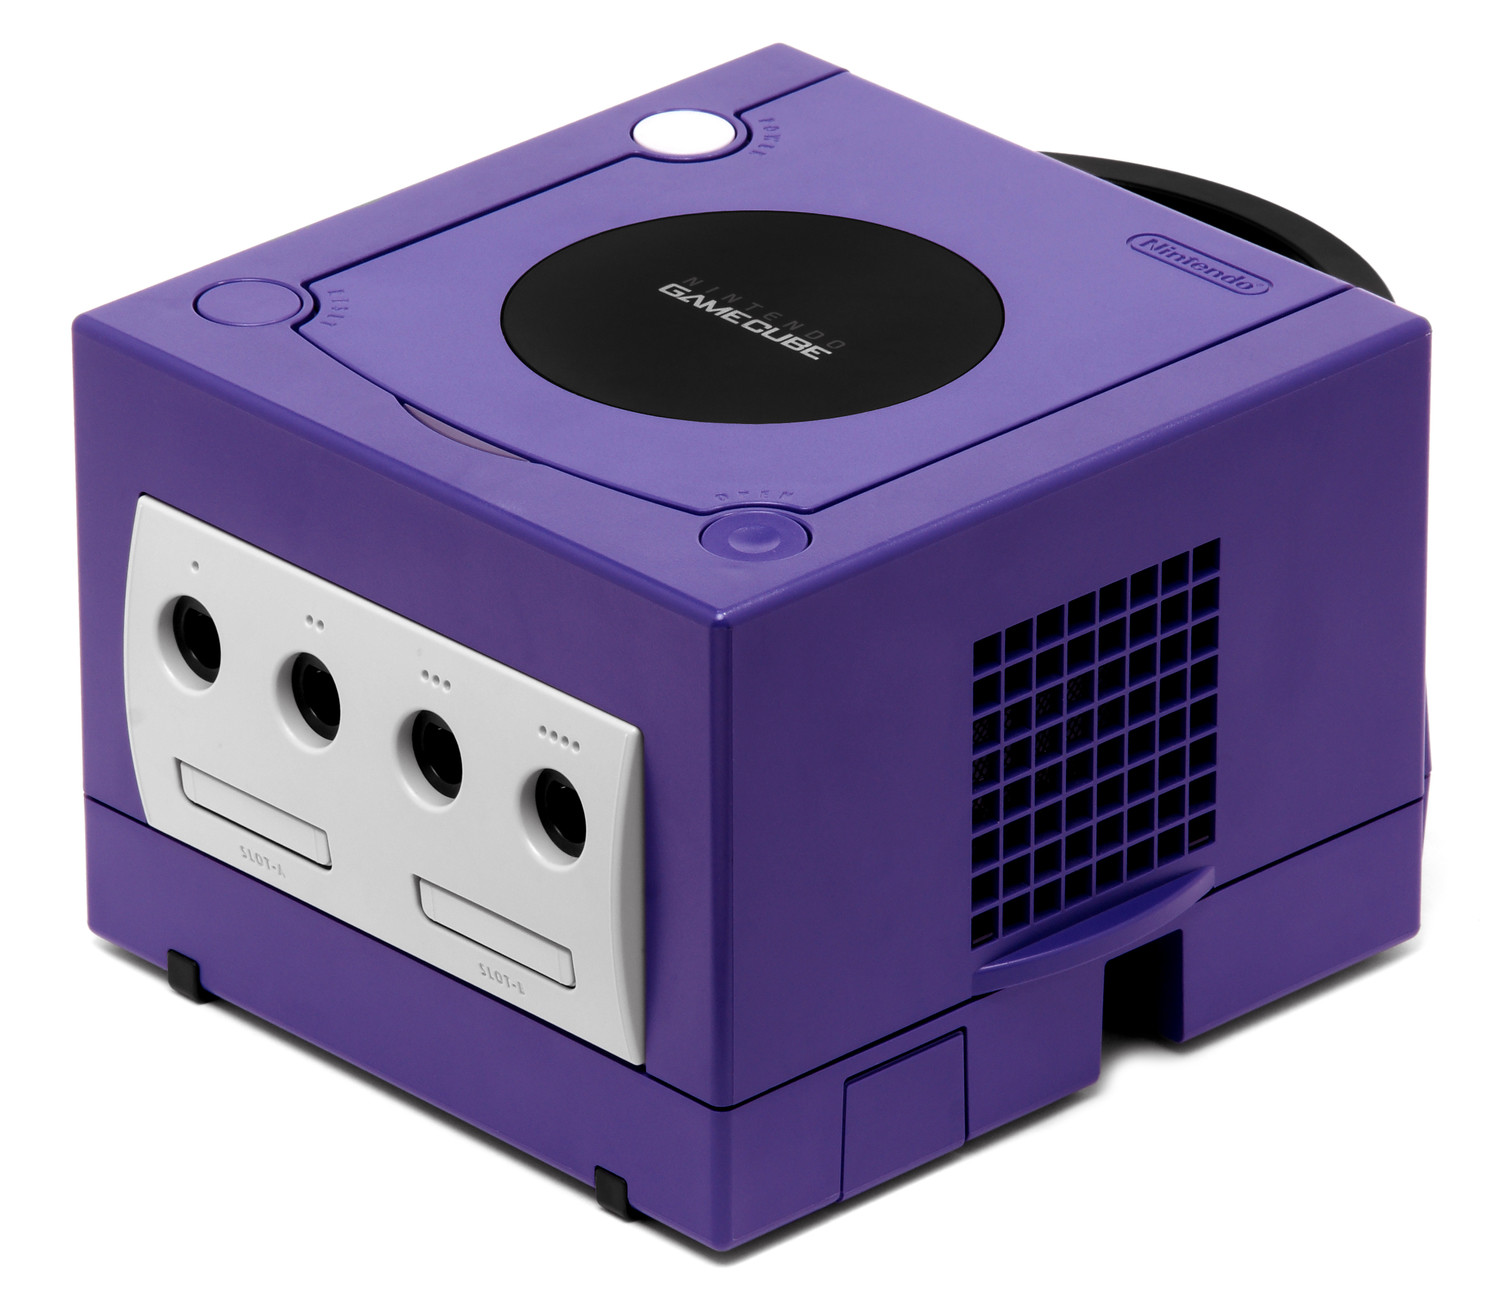
Nintendo GameCube Fan Replacement Guide
Duration: 45 minutes
Steps: 4 Steps
Get ready to give your GameCube some TLC! This step-by-step guide will walk you through the process of removing and cleaning the fan, which is a great way to prevent overheating and keep your console running smoothly. By following these easy steps, you’ll be able to breathe new life into your GameCube and keep it running like new. If you need help, you can always schedule a repair.
Step 1
– Flip your Gamecube over so the bottom is looking up at you, ready for action!
– Grab your trusty 4.5 mm Gamebit screwdriver and unscrew all four screws like a pro.
Step 2
– Flip your GameCube so its bottom is looking up at you like it’s trying to get your attention. With the screws out, gently separate the shell from the top half like you’re peeling apart a sandwich—no sudden moves!
– Now, position the GameCube so its insides are facing upwards. It’s like opening a treasure chest—handle with care!
Step 3
Careful not to yank out the wires while removing the fan. You might mess up the connector wire or the PCB.
You can carefully slide out the controller connector panel from the main unit and lay it flat, just like the diagram shows. While not absolutely necessary, this move might give you some extra wiggle room to work inside the case.
– Grab your trusty Phillips #2 screwdriver and unscrew the two screws (the ones marked in red) holding the fan assembly in place—easy peasy!
– Gently unplug the fan connector from its socket, as shown in the second image—take your time, no rush!
Tools Used
Step 4
To keep things safe and tidy, use a toothpick to hold the fan blades in place while you clean. This simple trick will save you from accidentally damaging the fan’s motor – and trust us, you don’t want that hassle! If you need help, you can always schedule a repair
– To wrap things up, simply reverse the steps and you’ll be all set!
– If you need help or have any questions, you can always schedule a repair
Success!


