Nintendo Switch Joy-Con Replacement Guide
Duration: 45 minutes
Steps: 20 Steps
Get ready to breathe new life into your Nintendo Switch’s Left Joy-Con! If the shell is looking a little worse for wear – maybe it’s cracked or discolored – it’s time to swap it out. The shell is more than just a pretty face, it protects the inner components and makes your Joy-Con comfy to hold. A damaged shell can cause some serious problems down the line, so let’s get it replaced. You can find some awesome (and affordable) replacement shells on Amazon, in all sorts of colors and designs. Just remember to take your time and be gentle when following these steps – we don’t want any accidental damage. If you’re feeling extra handy, you can even replace the Right Joy-Con shell too. And if you need a little extra help, don’t worry, we’ve got you covered – just head to schedule a repair.
Step 1


Keep those screws safe and sorted—no one likes a scavenger hunt when putting things back together!
– Kick things off by loosening those four (4) tri-wing screws (the ones labeled ‘Y00’) from the back panel. You’ve got this!
Step 2


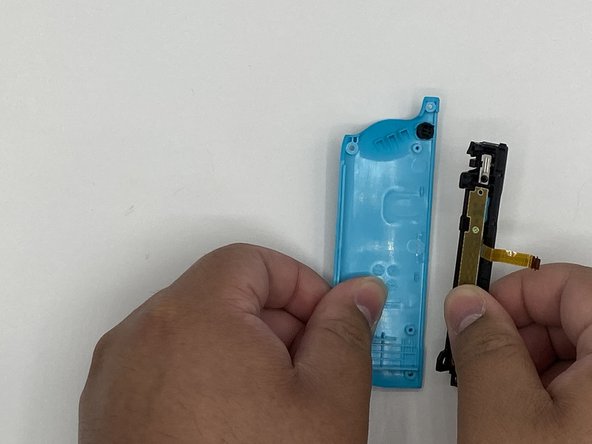
– Pop in an opening pick into the seam at the bottom edge of the controller (opposite the L and ZL buttons).
– Slowly glide the flat edge of your opening pick up the side of the Joy-Con.
Step 3


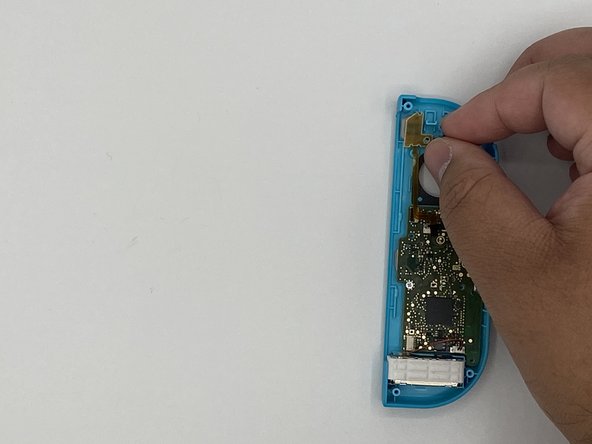
Don’t go wild just yet! There are still two ribbon cables connecting the charging rail to the motherboard, so hold off on completely removing the back panel.
– With the charging rail pointing away from you, flip open the Joy-Con just like you’re opening a laptop—easy peasy!
Step 4

Be careful when you’re near the rumble’s module cable; it’s hanging out close to the battery connector, and we want to keep everything safe and sound!
When you’re working with electronics and batteries, it’s a smart move to rock an anti-static bracelet. Stay charged up, but not too charged!
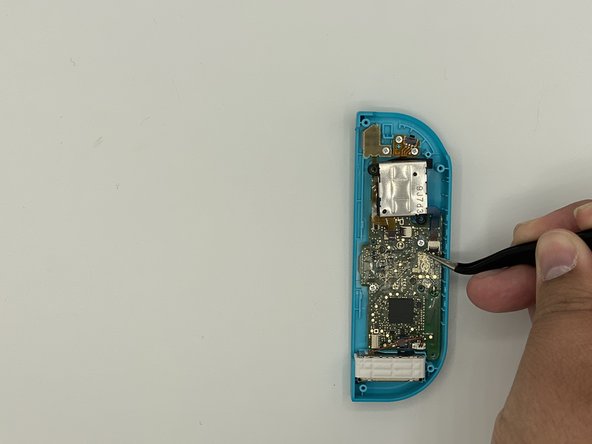
– Use a trusty plastic spudger to carefully pop the battery connector straight up from its socket on the motherboard. Steer clear of metal tools to avoid any accidental short circuits. This nifty move keeps your Joy-Con powered off while you’re working your magic.
Tools Used

Step 5


Handle the battery with care—don’t squash, poke, or wreck it.
The battery is gently secured with a bit of tape.
– Wedge a spudger gently between the battery and the Joy-Con housing—it’s like slicing cake, but with more precision.
– Carefully ease the battery out, one smooth move at a time.
Tools Used
Step 6

– Let’s get started! Remove the three (3) 3½mm golden Phillips #00 screws from the midframe. This is the first step in giving your device a brand new life!
Step 7

Handle those ribbon cables with extra care—they’re super delicate! Use non-sharp tweezers instead of your hands to keep things smooth.
– Gently flip the midframe away from the motherboard, just like you’re turning the page of a book—nice and smooth.
Tools Used

Step 8


The ZL button is snugly held in place by a tiny ZIF connector on the motherboard. Just a little patience and you’ll have it sorted out in no time!
– Time to get that connector unlocked! Use your trusty tweezers to flip the ZIF connector lock opposite the cable – it’s like a little switch that says, ‘Hey, I’m ready to come out!’,
– Now, gently pull the ZL button flex cable out of its ZIF connector socket using those same tweezers. Easy does it! The midframe is now disconnected and can be removed. Nice job!
Tools Used
Step 9


Watch out! That spring has a mind of its own and might just bounce away when you least expect it.
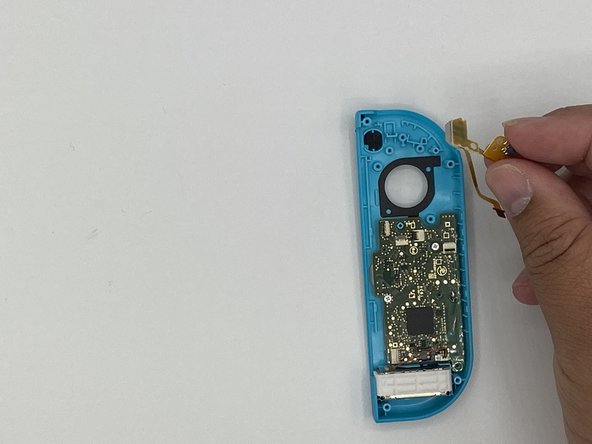
– Pop open the top ZIF connector and slide out that cable.
– Pop open the bottom ZIF connector and slide out the cable. Now, let’s take off the rail from the back frame.
– Remove the L button and its spring.
Step 10


– Let’s get started! Remove the screw that’s holding the rail in place, then gently take out the rail from the back frame and set it aside for now. Easy peasy!
Step 11

– Pop off the latch button and keep it nearby.
Step 12
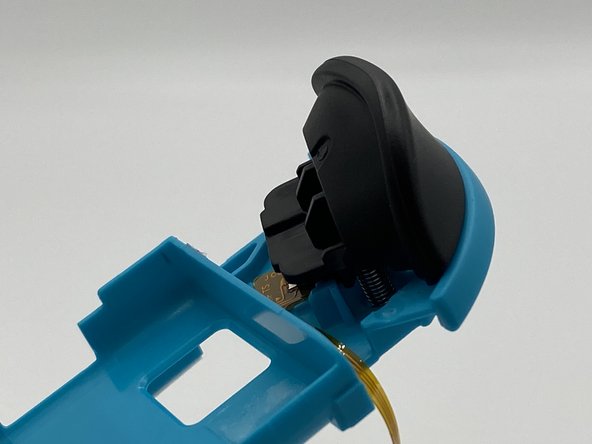

– Using tweezers, gently press down on the latch beneath the trigger and carefully lift the trigger off. You’ve got this!
– Keep an eye on the two springs hiding under the trigger; they’ll need to find their way back to the same cozy spot on the new mid-frame.
Tools Used
Step 13


– Take out the screw that’s keeping the circuit board for the trigger snug in its spot.
– Gently pop out the circuit board.
Step 14

The top-left screw is hiding under the L button’s flex cable. Sneaky, huh?
– First things first, let’s get those screws out of the way that are keeping the joystick snug as a bug in a rug!
– Next up, gently unlock the ZIF connector and delicately lift out the ribbon cable with your trusty tweezers.
Tools Used
Step 15


– Take off the joystick.
Step 16

– Time to get started! Remove the screws that hold the flex circuit in place – you’ll spot it marked with a red circle, responsible for the minus and L buttons.
– Next, carefully remove the flex circuit itself.
Step 17

– Pop off that minus button—it’s ready to go!
– You’ll find a silicone cover snugly hugging the minus button. Be sure to cozy it back over the button when you’re putting things back together.
Step 18

– Unscrew those motherboard screws and set them aside carefully, like the little treasures they are.
Step 19


– Grab your trusty spudger and gently pop the rumble pack out of its cozy little spot.
– Carefully lift out the rumble pack and the motherboard like the tech whisperer you are.
Tools Used
Step 20

– Pop out the last five buttons from the shell—you’re almost there!
Success!


