Nintendo Switch OLED Dock Replacement Guide
Duration: 45 minutes
Steps: 25 Steps
Ready to swap out the front case of your Nintendo Switch’s dock? No sweat! The Switch OLED dock is held together by JIS screws, but a trusty Phillips screwdriver will do the job if you’re in a pinch. Keep your cool and go easy on those screws to avoid stripping them. Pro tip: Disconnect all the cables from your dock before diving in. Let’s get cracking!
Step 1


– Give those fingers a workout and gently pry the rear cover away from the frame, popping those plastic clips loose like a pro.
– Once you’ve released the clips, simply lift off the rear cover and set it aside.
Step 2


– Grab your trusty Y0 screwdriver and loosen up the 7.5 mm screw holding the baseplate to the frame. Time to let that baseplate break free!
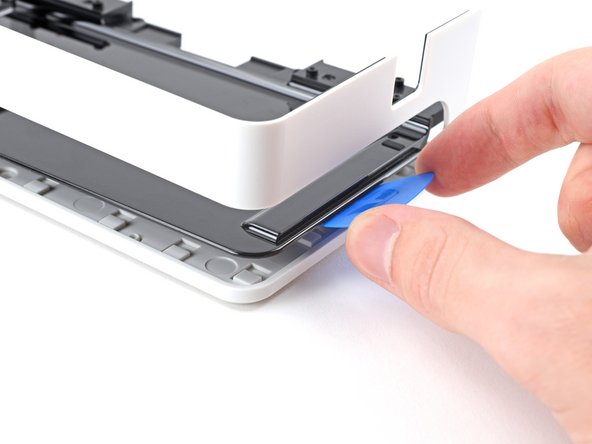
Step 3


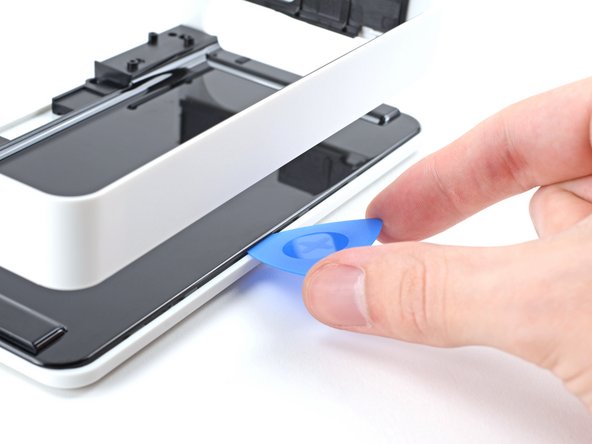
– Slide an opening tool between the frame and the plastic screw cover at the bottom-left corner.
– Pop up the screw cover with the opening tool to detach it from the frame.
– Take off the screw cover.
Step 4


– Grab your trusty Y0 screwdriver and let’s tackle those seven screws holding the midframe in place:
– Four of those little 3.9 mm screws are waiting for you.
– Three slightly longer 7.5 mm screws are also in the mix.
– And don’t forget about the final 3.9 mm screw, just hanging out there.
Step 5


– Gently wiggle and lift the midframe out of the frame using your fingers—it’s like giving your device a little TLC!
Step 6


– Time to get started! Use your fingers to gently pry the baseplate away from the frame – it’s held in place by some plastic clips, so be careful not to break them.
– Now that the baseplate is free from the clips, you can simply lift it off. Easy peasy!
Step 7


– Gently use the flat end of a spudger to pop up the little locking flap on the ZIF connector for the motherboard cable. You’ve got this!
Tools Used

Step 8


– Grab a pair of tweezers and gently slide that cable right out of its connector!
Tools Used

Step 9
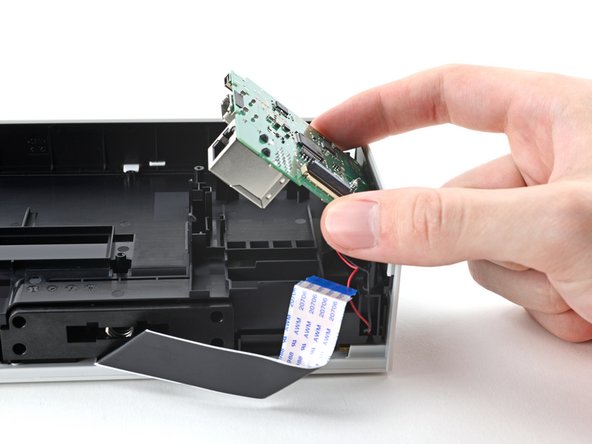


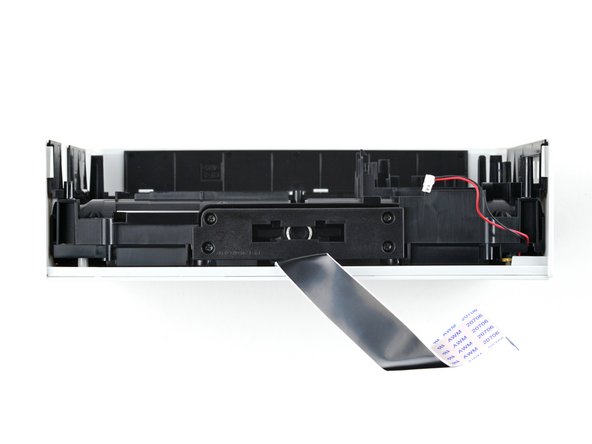
Hold your horses! Don’t yank the motherboard out just yet; it’s still hanging on to the frame with a JST cable.
– Gently push back the plastic tabs holding that motherboard snugly in place. Your fingers are perfect tools for this job!
– Lift the motherboard up and away from the frame like you’re revealing a secret treasure. Take your time—no rush!
– Let the motherboard chill by the frame before you dive into the next step. Keep calm and repair on!
Step 10


– Grab some blunt tweezers—or just use your fingers—and gently wiggle the LED’s JST connector free from its socket. Easy does it!
Tools Used
Step 11

– Grab your trusty Phillips screwdriver and unscrew those four 6.9 mm screws holding the USB-C assembly to the frame. Steady hands win the day, my friend!
Step 12


– Lift off the top section of the assembly with care, like you’re opening a treasure chest—steady and easy does it!
Step 13


Depending on how you took the dock apart, the springs might still be hanging out with the topmost part of the assembly.
– Take out the two springs.
Step 14


– Pop off the bottom part of the assembly—it’s like peeling off the last piece of a puzzle, but way cooler.
Step 15


– Grab your trusty Phillips screwdriver and unscrew those eight 6.9 mm screws holding the middle case to the frame. You’re doing awesome—keep it up!
Step 16


– Gently pop off the top half of the middle case by pressing around the edges—those plastic clips don’t stand a chance against your finger’s finesse!
Step 17


– Gently pry apart the two halves of the middle case using your fingers. You’ve got this!
Step 18


– Gently slide the top half of the middle case through the top of the frame, tilting those plastic clips upward like a pro.
Step 19


– Grab your trusty Phillips driver and tackle those two 4.4 mm screws holding the bottom half of the middle case snug against the front cover. You’ve got this!
Step 20


– Pop an opening pick between the bottom half of the middle case and the frame—easy does it!
– Glide the pick up the vertical edge of the bottom half of the middle case to snap those plastic clips loose from the front cover. You’re doing great!
Step 21


– Keep sliding that pick along the bottom half of the middle case’s horizontal edge – you’re making great progress releasing those plastic clips!
Step 22


If it’s still holding on for dear life, work the pick around the edge again until the bottom half of the middle case pops free.
– Slide the pick under the edge and give it a gentle wiggle to pop the bottom half of the middle case away from the frame.
Step 23


– Gently pinch and slide off the bottom half of the middle case from the front cover—no sweat, just a little finesse!
Step 24


– Grab some tweezers, or just use your fingers if you’re feeling lucky, and gently lift the dock LED off the frame. Take your time, no need to rush here!
Tools Used
Step 25

– To put your device back together, simply reverse these steps!
– Match your new part with the old one—you might need to swap over some bits or peel off adhesive before installing it.
– Stuck? Give troubleshooting a go, or reach out to our Nintendo Switch OLED Answers community for a helping hand.
– If you need help, you can always schedule a repair
Success!