Nokia XL Dual SIM vibration motor, Headphone Jack, or Camera Flash Components Replacement
Duration: 45 minutes
Steps: 11 Steps
Use this guide to… Restore your ability to receive silent phone calls by replacing a malfunctioning vibration motor. Listen to your favorite tunes while at the gym by replacing a faulty headphone jack. Take superior quality pictures at night by replacing the camera flash components.
Step 1

– First things first, let’s get that back cover off your device. It’s like peeling a banana, but way cooler!
– Now, gently work your magic by prying open each side of the device at the spots marked for you. A plastic opening tool is your best buddy here—go for it!
Step 2


– First, let’s get started by removing the back cover. Easy peasy!
– Next, use a plastic opening tool to carefully lift the battery out of its cozy little home. Then, gently remove it to get it out of the way.
Step 3


Grab a T5 Precision Torx screwdriver—it’s your sidekick for removing those tiny screws with style!
– Let’s get this repair started! To access the inner components, carefully remove the screws and keep them organized by size so you can easily find the one you need later.
– Take a look at the picture to see where the T5x3.4mm screws are hiding, and gently remove them.
– Now, check out the picture again to locate the T5x4.1mm screws and remove those as well. You’re making great progress!
Step 4


Take it slow and steady when cracking open the device. There are delicate connectors inside that deserve a gentle touch—handle them with care!
– Grab your trusty plastic opening tool and gently nudge the device open. It’s like giving it a little hug to help it relax!
– Check out those flaps on both sides of the phone—just like the picture shows! That’s your cue to pry them apart with care.
Step 5

– Once you pop the device open, take a good look around and get familiar with all the cool inner workings.
Step 6
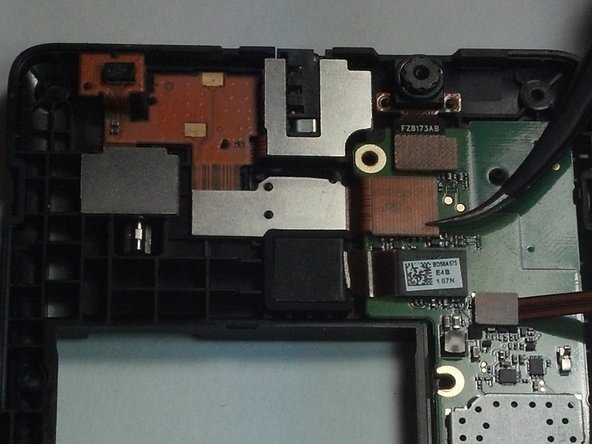
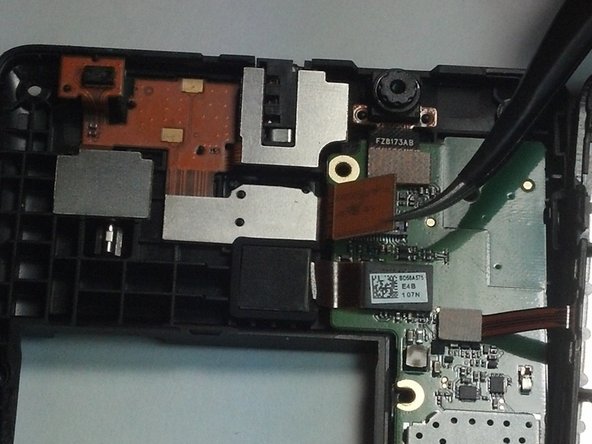

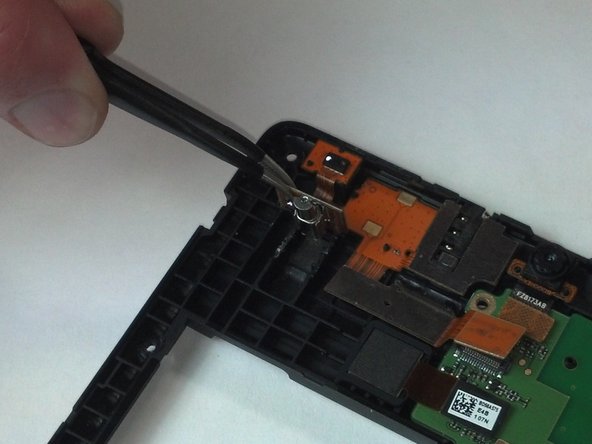
– Grab those trusty tweezers and carefully unplug the motherboard connector for the vibration motor, headphone jack, and camera flash assembly. Nice and easy does it!
Tools Used

Step 7
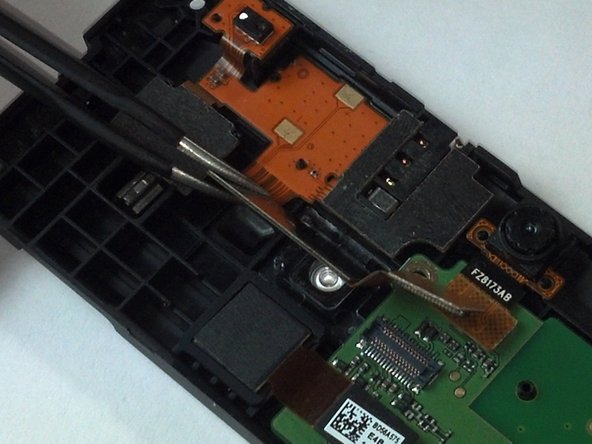

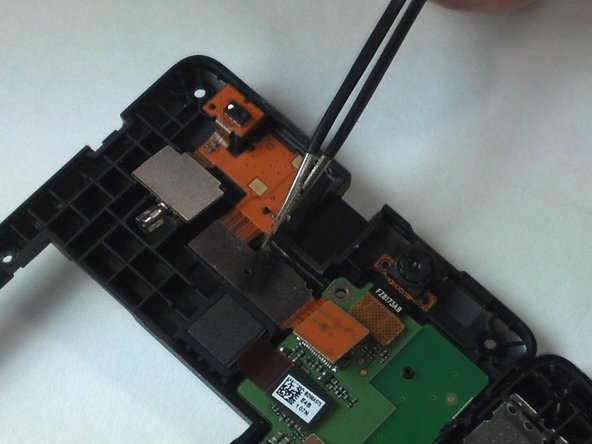
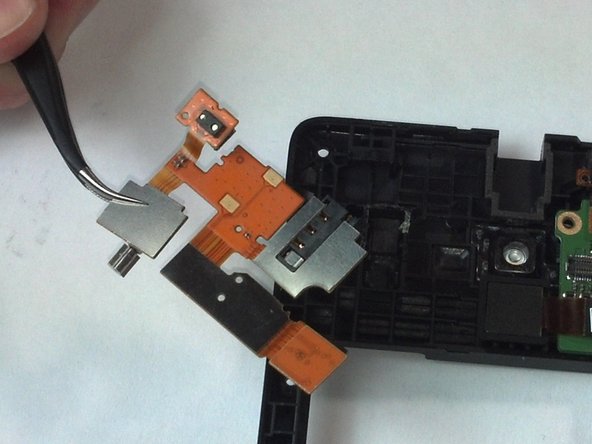
– Carefully use tweezers to nudge up the rectangle-shaped metal piece sitting at the back of the camera flash.
Tools Used
Step 8

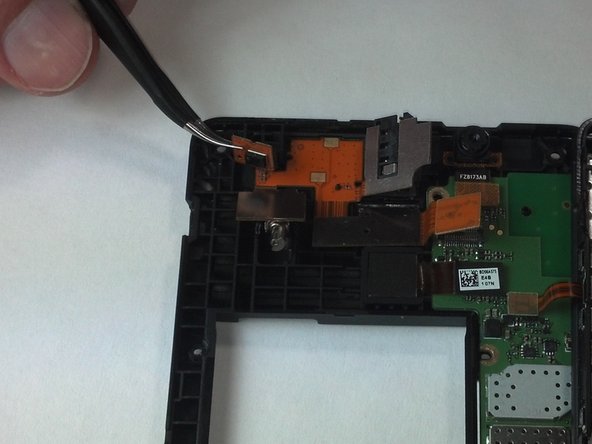
– Time to get this vibration motor out! Use your trusty tweezers to gently pry it upward.
Tools Used
Step 9

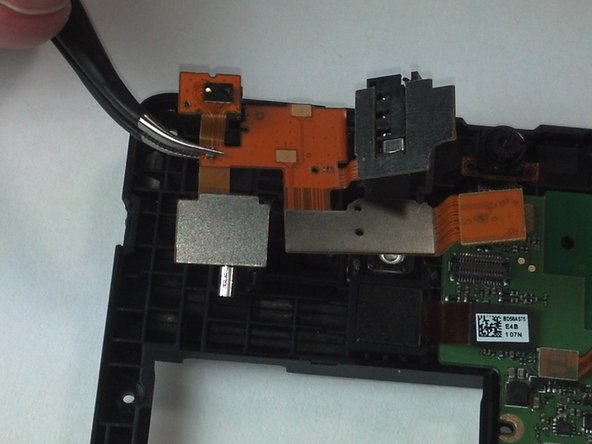
– Use your trusty tweezers to lift the headphone jack up gently—like you’re coaxing it out of hiding. No rush, take your time, it’ll come around.
Tools Used

Step 11

– Time to say goodbye to the whole assembly! It can now be lifted away with ease.
Success!