Numworks Graphing Calculator Teardown
Duration: 45 minutes
Steps: 4 Steps
Ready to tackle the back of your Numworks Graphing Calculator? This guide will walk you through the process with ease! Just a heads-up, we won’t be diving into the board removal or unplugging any connectors other than the battery. Let’s get started and have some fun with it!
Step 1

– Gently lift off the six rubber feet on the back of the calculator using your nails.
Step 2

– Grab your Torx T6 (or TR6) screwdriver and unscrew all six screws. Keep ’em safe, ’cause you’ll need them later!
Step 3
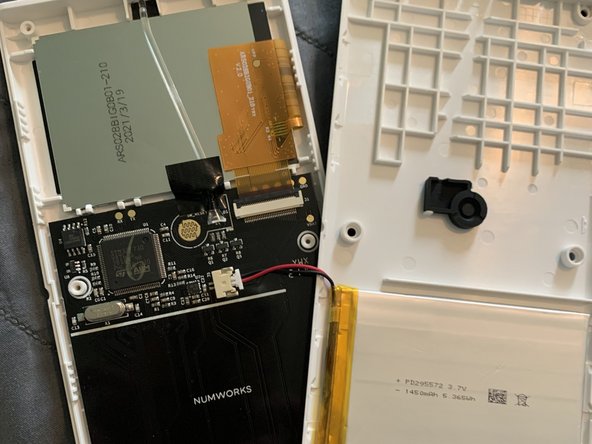

– Gently work the two halves of the case apart, alternating sides and releasing each of the eight clips one by one. The third row from the bottom is especially snug, so take your time there. Whatever you do, don’t yank the case open—there’s a battery connector inside! Instead, slowly open the case like a book, back side facing you, until it’s fully unfolded at 180 degrees.
Step 4

– Gently wiggle the battery connector back and forth until it pops out with ease. That’s it—the case for your Numworks Graphing Calculator is officially off!
Success!