Nuvision TM800A510L Headphone Jack Replacement
Duration: 45 minutes
Steps: 5 Steps
Getting the back off the device will probably take most of your time, but don’t sweat it—once you’re in, the repair is a total breeze!
Step 1


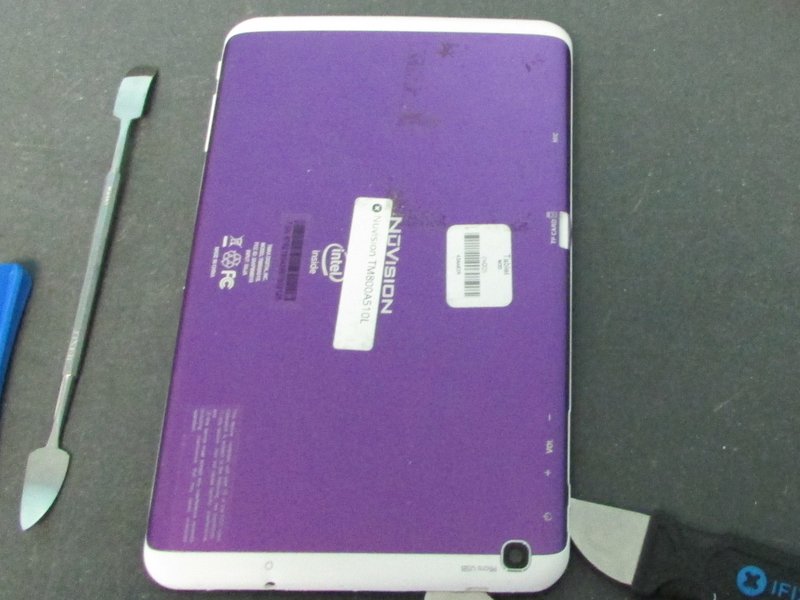
Try gently lifting one edge at a time, and warm up that adhesive until it’s just a tad too hot to handle. You’ve got this!
– Grab a heat gun and gently warm up the adhesive holding everything in place. Be careful not to overdo it!
– Now, use your prying tools to carefully lift the back of the device. Take it slow, you got this!
Tools Used

Step 2

– Remove the screws holding the headphone jack in place.
Step 3

– Release the headphone jack ribbon connector gently.
Step 4

– Gently move those wires aside and carefully wiggle the ribbon out from the circuit dock.
Step 5

– Gently lift the headphone jack/ribbon—boom, it’s out! No fuss, no drama, just sweet victory.
Success!