NuVision TM800A510L Rear Camera Replacement
Duration: 45 minutes
Steps: 4 Steps
Getting the back off your device is going to take up most of your time, but don’t worry, it’s all part of the journey! The cameras are stuck down with a bit of adhesive, but they’re a breeze to remove. Take your time and keep it steady.
Step 1


Watch out for the power and volume buttons—they’re small but mighty, so handle them with care!
Metal tools might get the job done quicker but beware—they can leave scratches on your device. Plastic prying tools are a safer bet to keep things looking fresh.
- Gently warm up the edges of your device using a Heat Gun, one side at a time. This will soften the adhesive and make things easier.
- Carefully slide some thin tools under the back cover and pry it off bit by bit.
Tools Used

Step 2

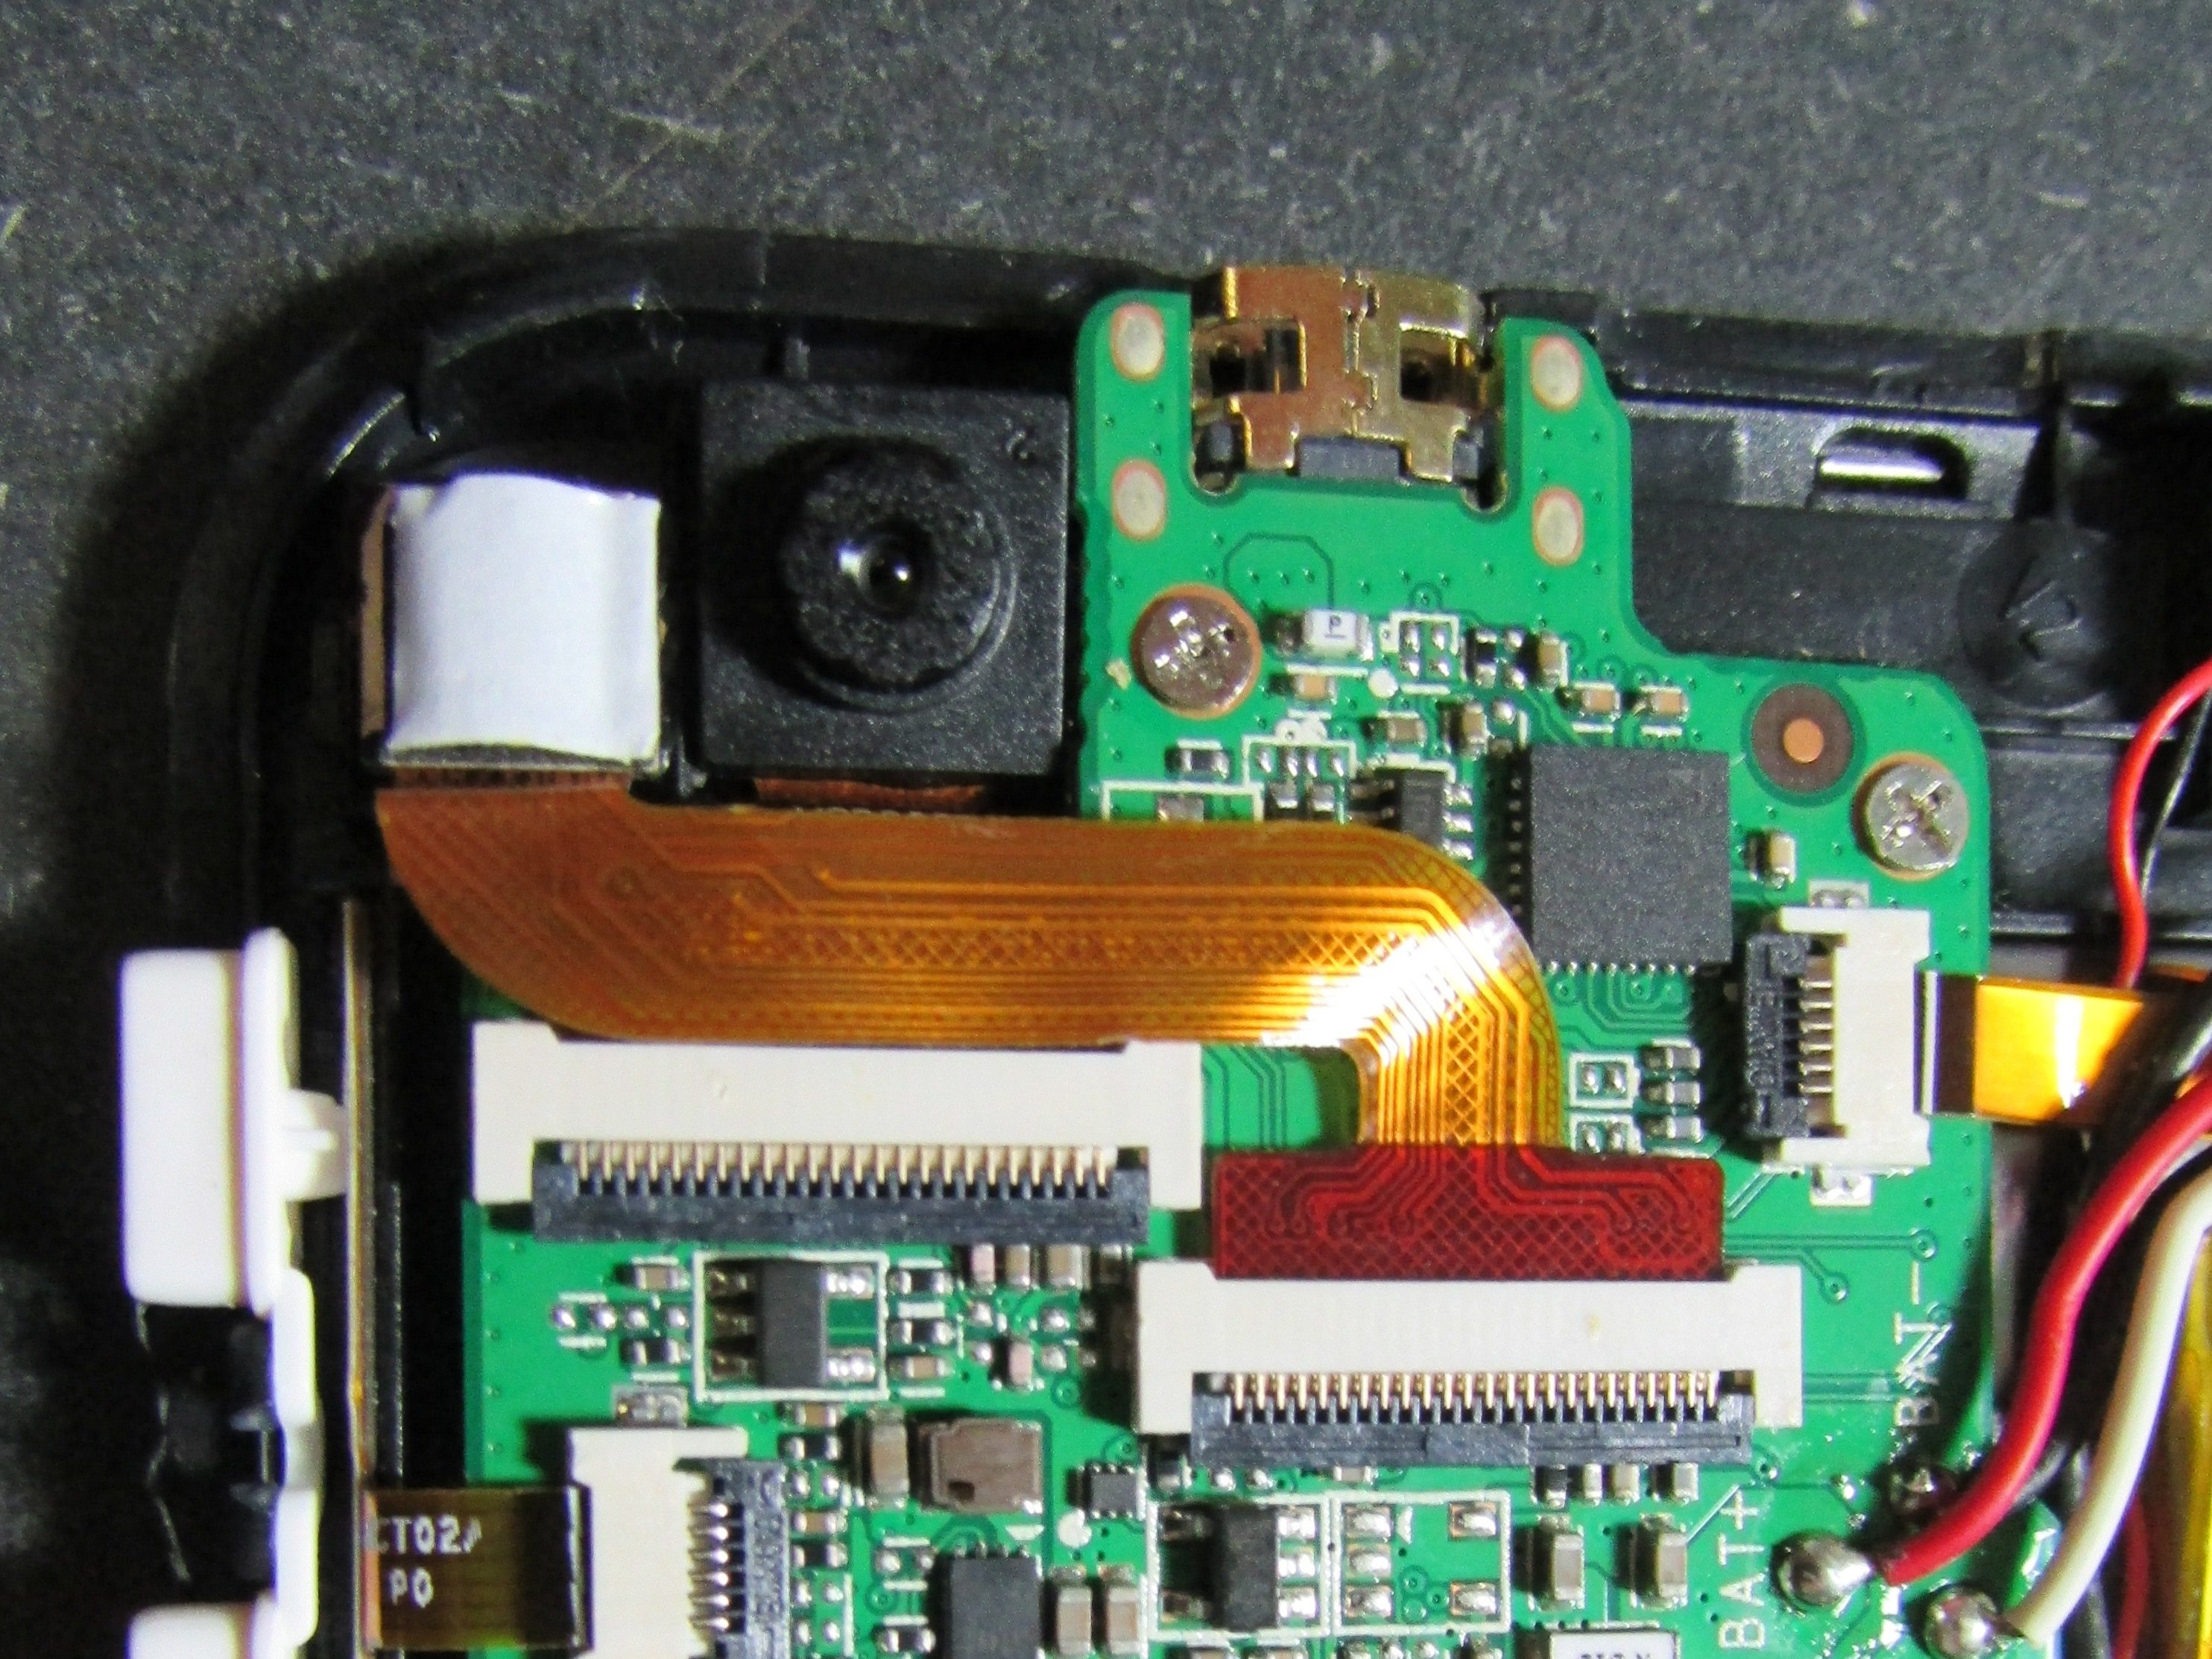
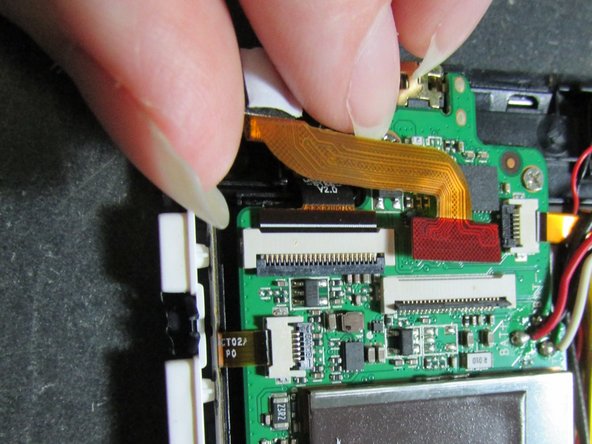
- Heads up: there are two separate cameras here, each rocking its own ribbon cable.
- Gently flip up the black latch to unlock both ribbons and get ready to go.
Step 3

If the camera you're most concerned about is the one you're working on, you're in the right place!
But, if the one you care about is the one facing you, just skip ahead to the next step!
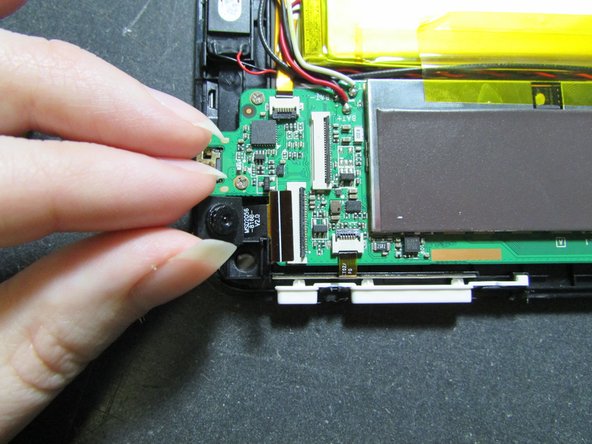
- The camera that's pointing down at the table pops right out without any fuss, so go ahead and gently lift that out. You're doing great!
Step 4

The camera is glued in place, so be extra gentle when prying it loose.
Take it slow, no need to rush!
- Now that you've tackled the disassembly, it's time to put everything back together in reverse order. Easy peasy, right?
- Just a heads up: you'll want to grab some new adhesive for a snug fit.
- If you find yourself scratching your head, don’t hesitate to schedule a repair for some expert assistance!