OnePlus 6 DIY Guide: Replace Back Cover Step-by-Step
Duration: 45 min.
Steps: 9 Steps
In this guide, we’ll walk you through the process of swapping out the back cover of your OnePlus 6. It’s easier than you think, and we’re here to help you every step of the way! If you need assistance, you can always schedule a repair.
Step 1

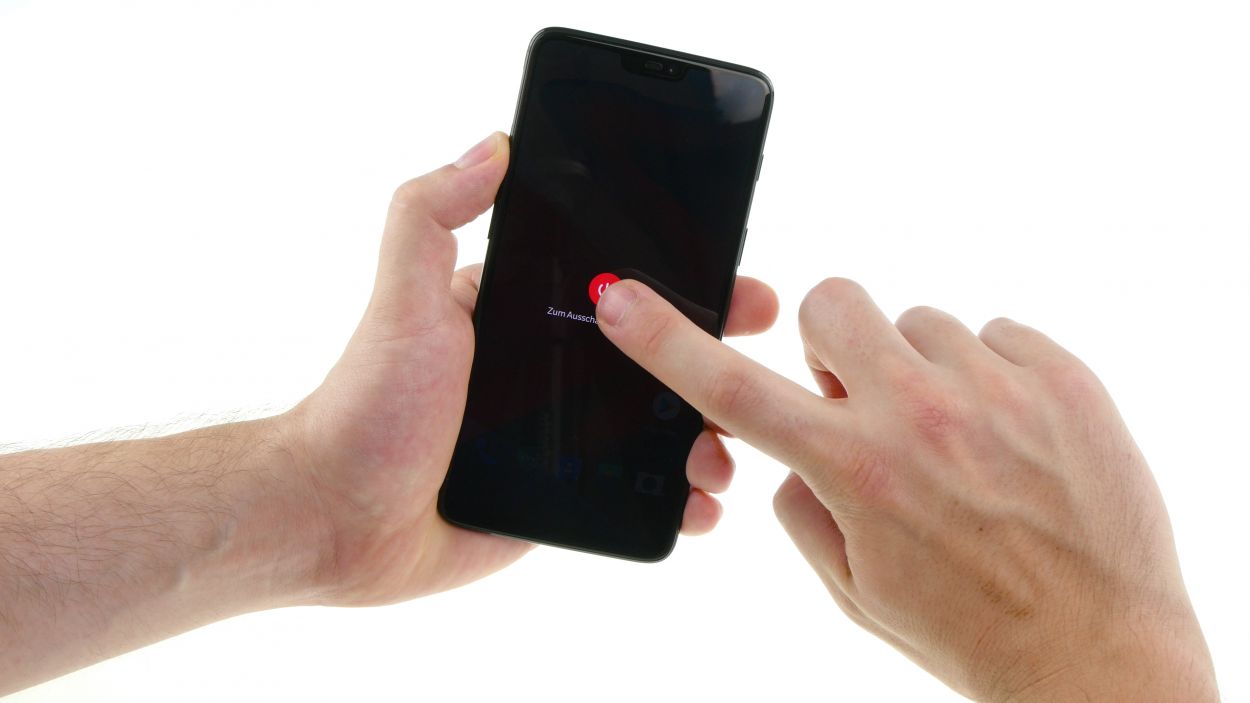
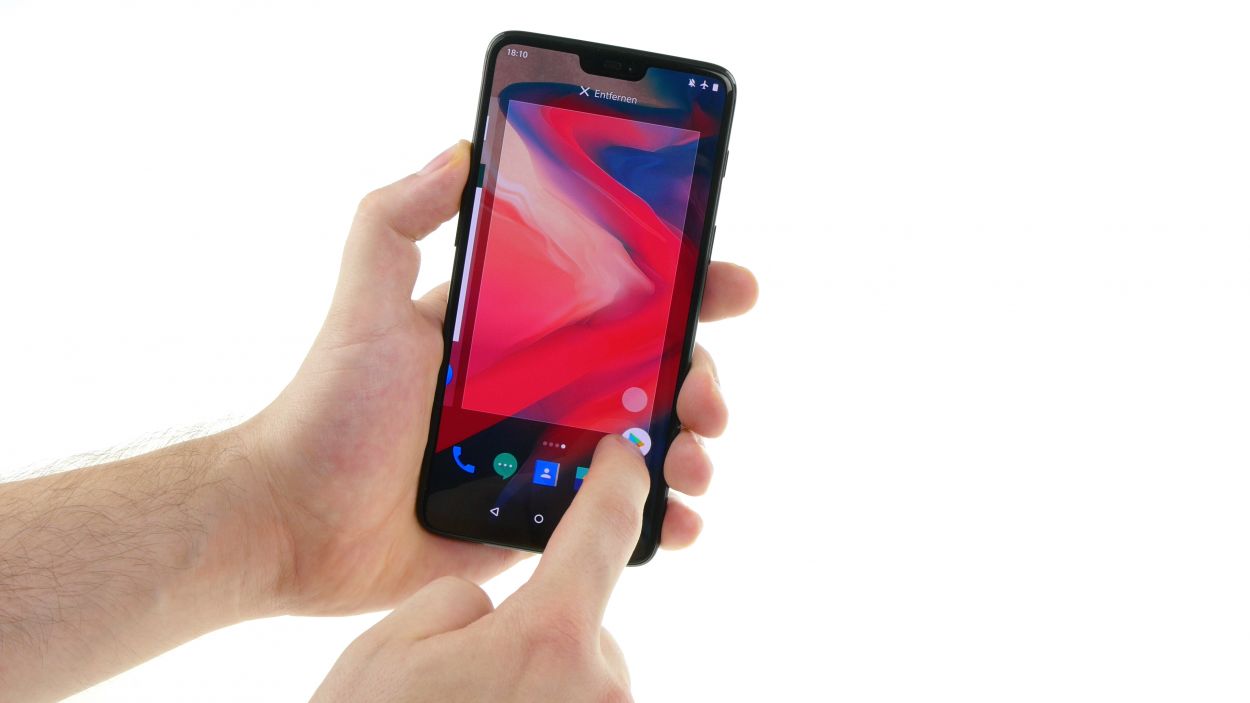
– Give that standby button a good press and hold until you see the “Turn off” option pop up.
– Tap it again to confirm you’re ready to power down.
Step 2

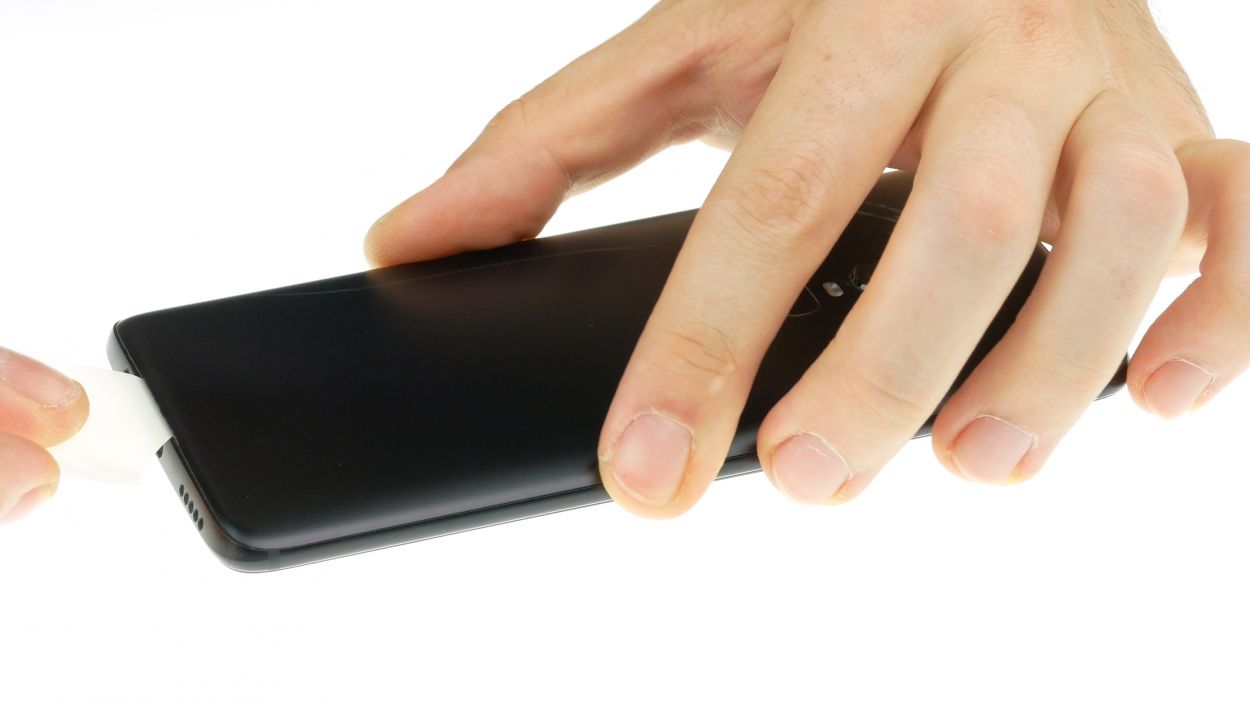
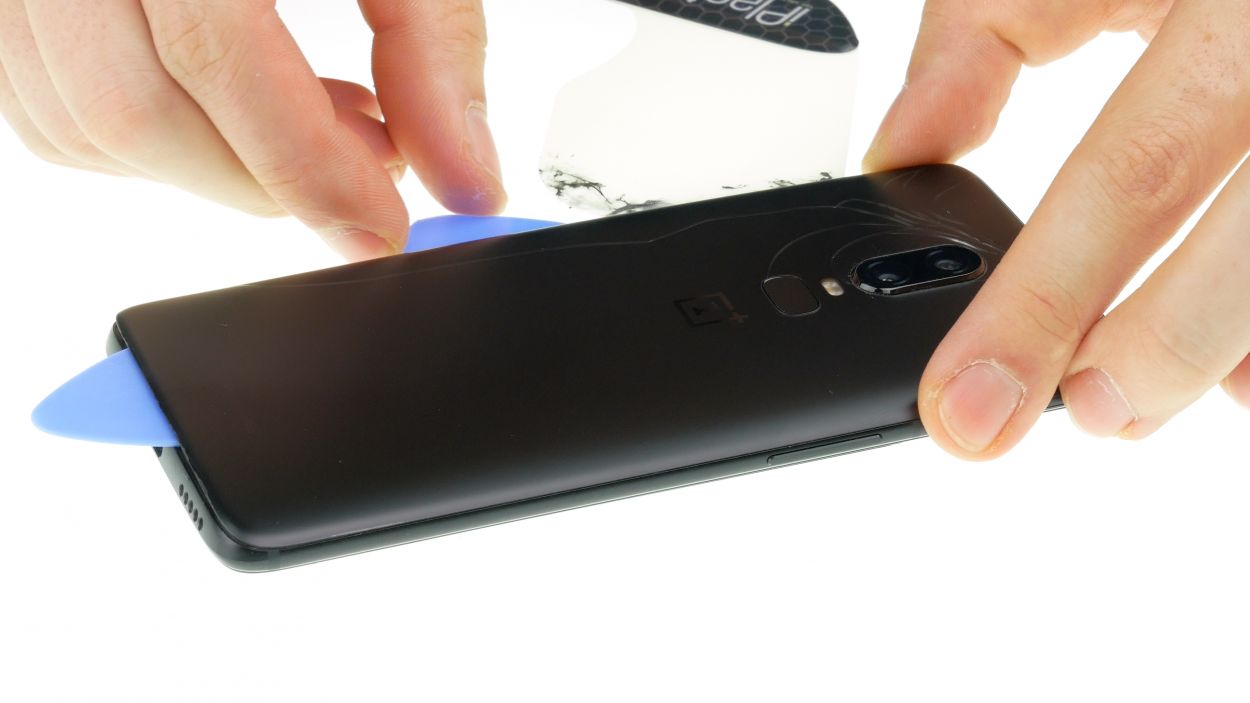
– Warm up the area where you’re going to start. A little heat goes a long way!
– Gently slide a flat tool between the back cover and the frame. You’re doing great!
Hey there! Just a heads up, the back cover is a bit delicate, so handle it with care. If it’s being stubborn, feel free to warm it up a few times and give it another shot. It might take a bit of time, around half an hour or so, but patience is key. Take your time, and work gently to keep everything in one piece. And remember, if you need help, you can always schedule a repair!
The iPlastix is made from high-tech plastic, so it’s gentle on your device. But it’s still a bit bendy, so watch it going in!
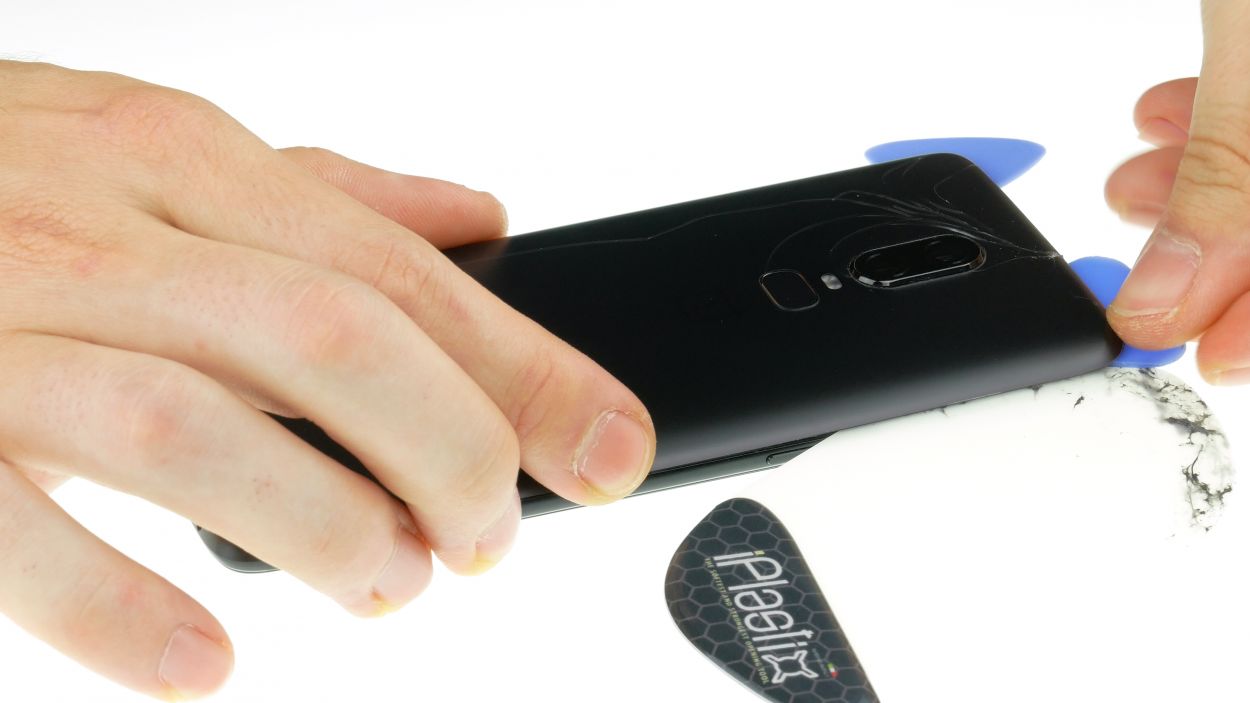
Step 3
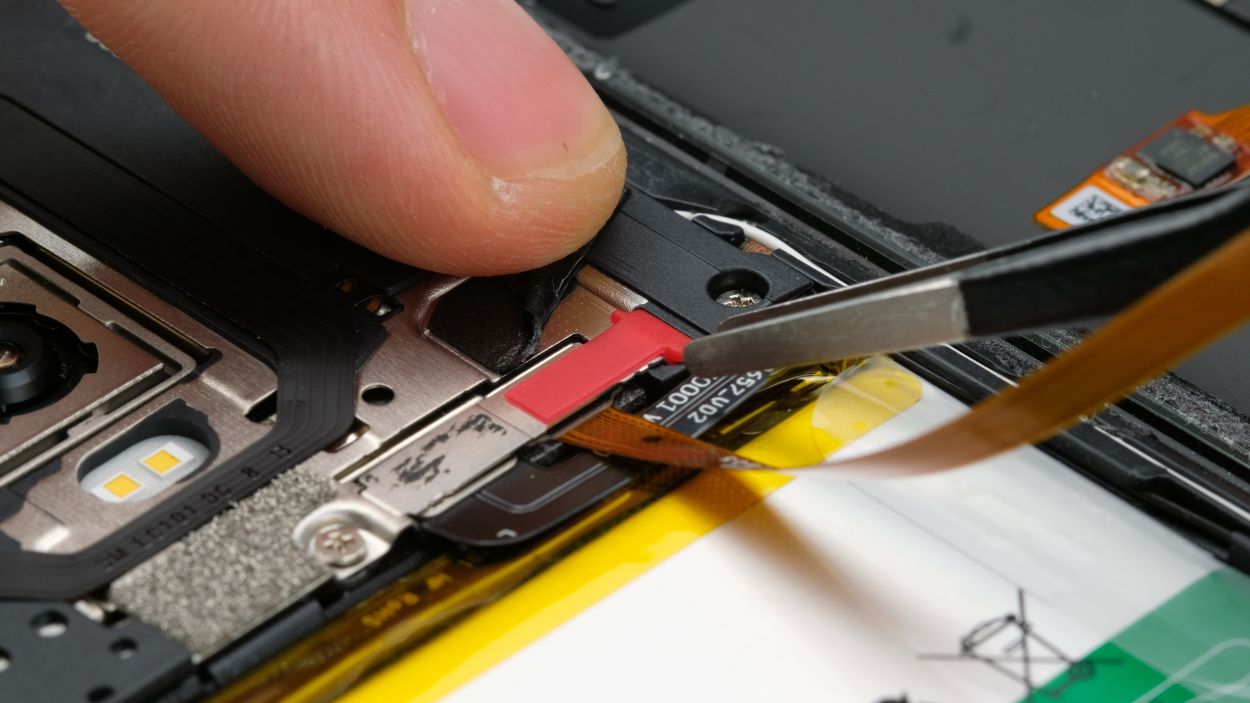
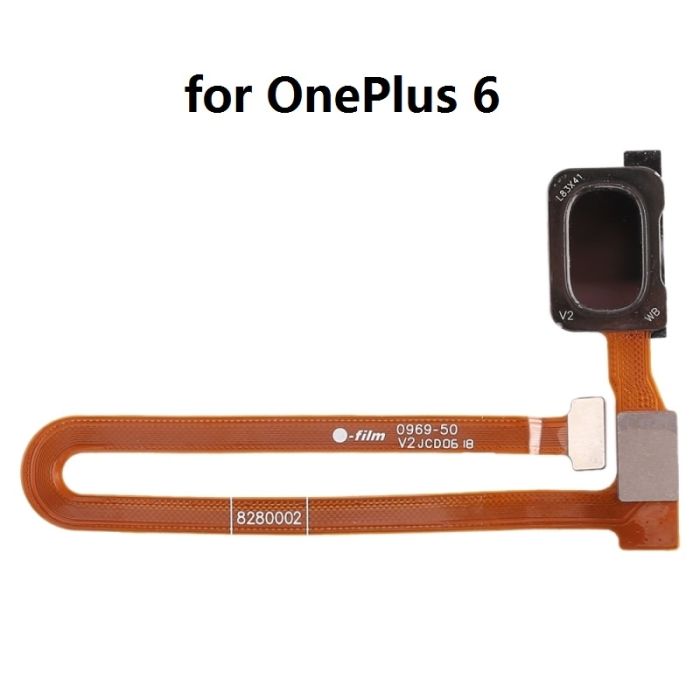
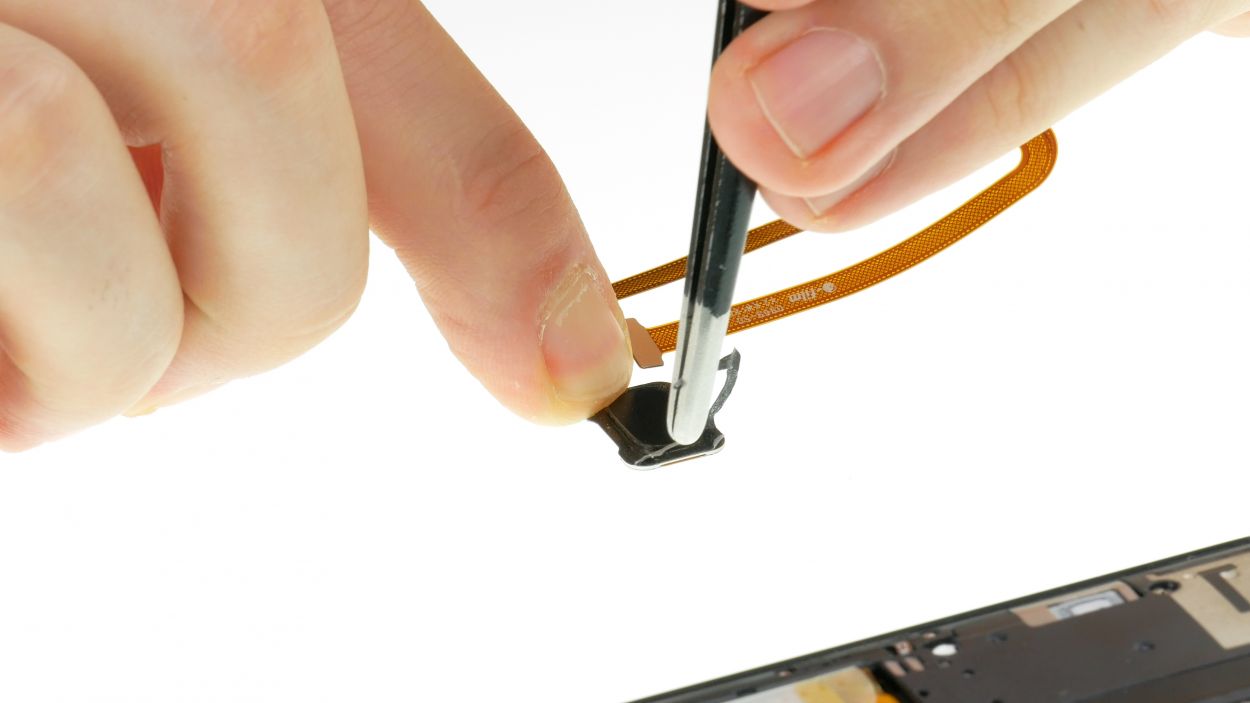
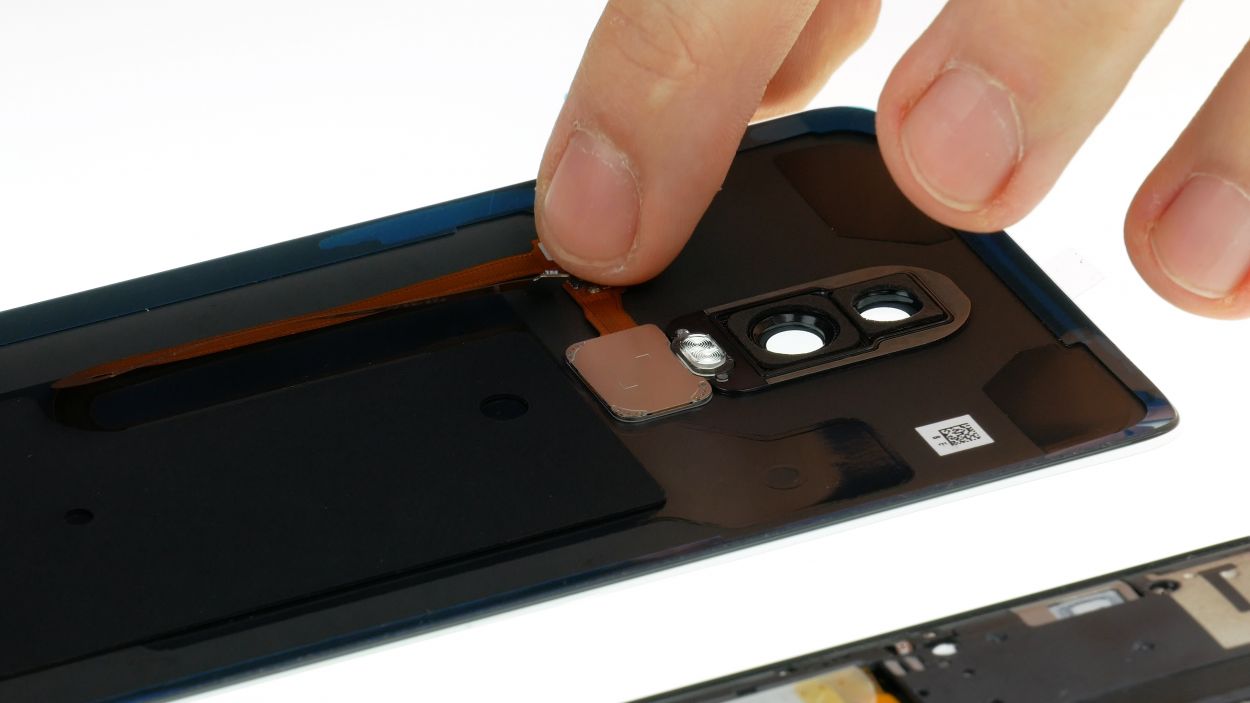
Fingerprint Connector
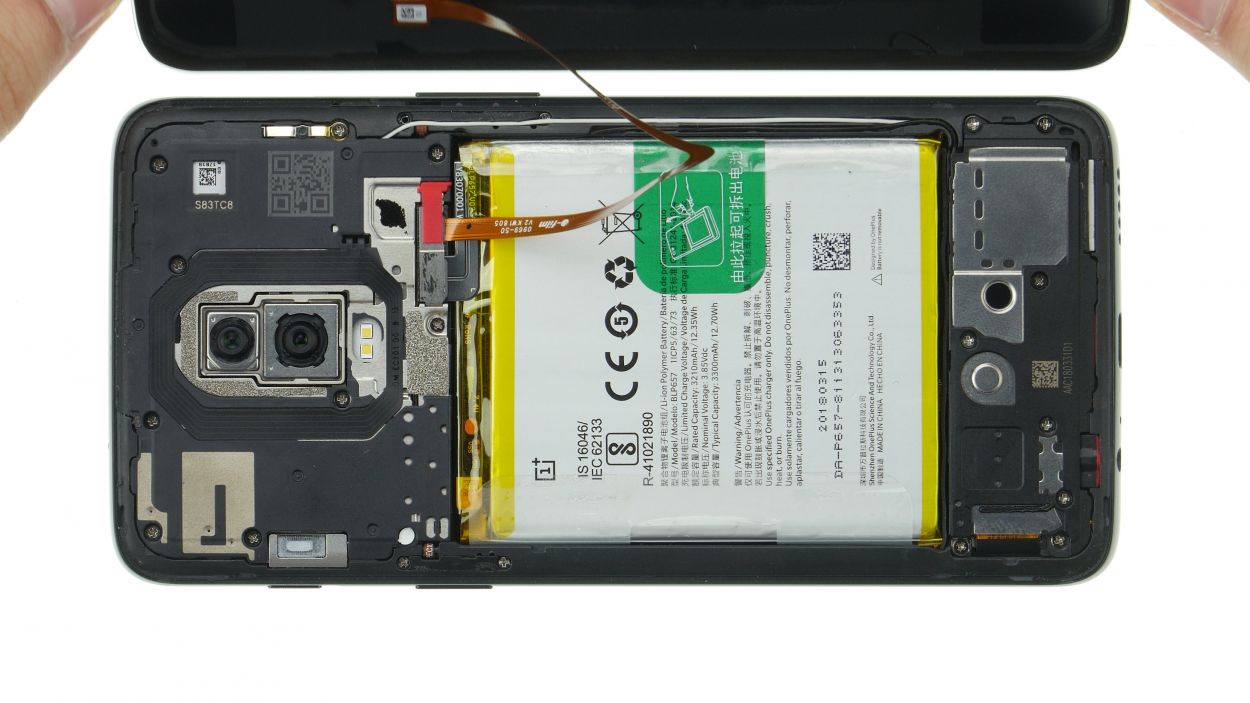
– Gently lift the back cover that you’ve just loosened and let it hang out for a moment.
– Peel back the adhesive strip that’s holding the cover plate in place.
– Using tweezers or your fingers, carefully take off the cover that’s hiding the connector.
– Now, with a spudger or your trusty fingernail, disconnect the connector and remove the back cover like a pro.
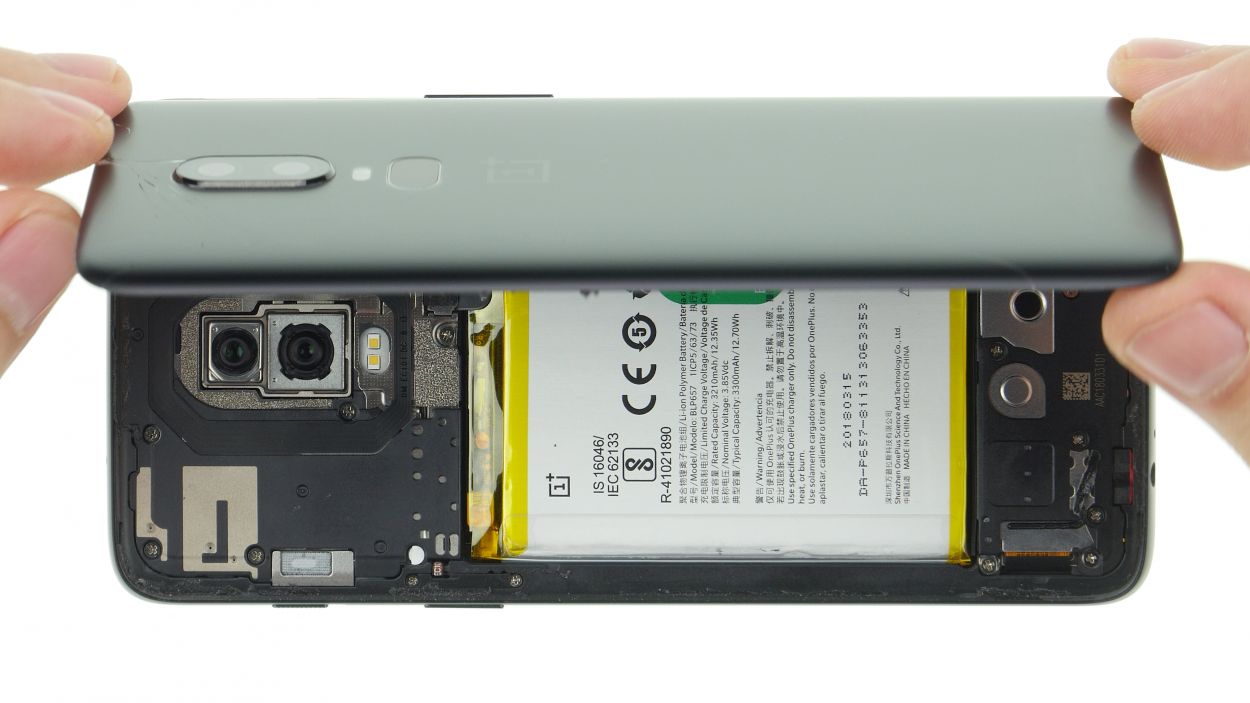
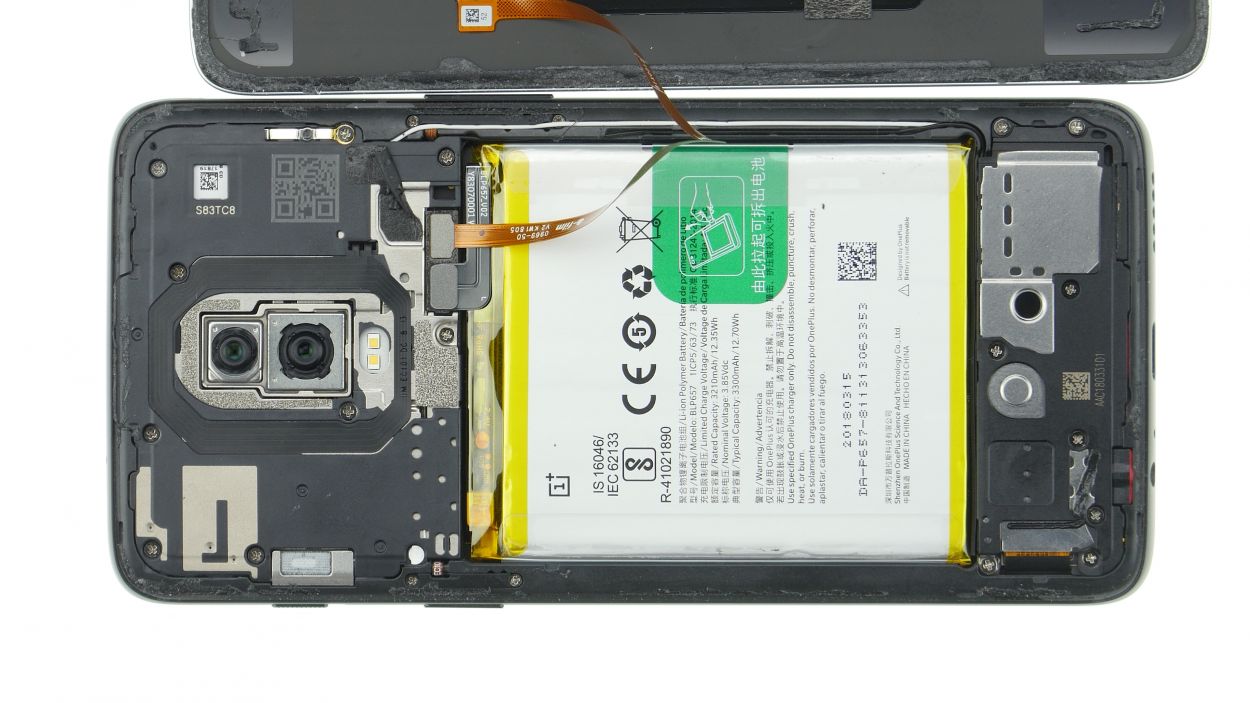
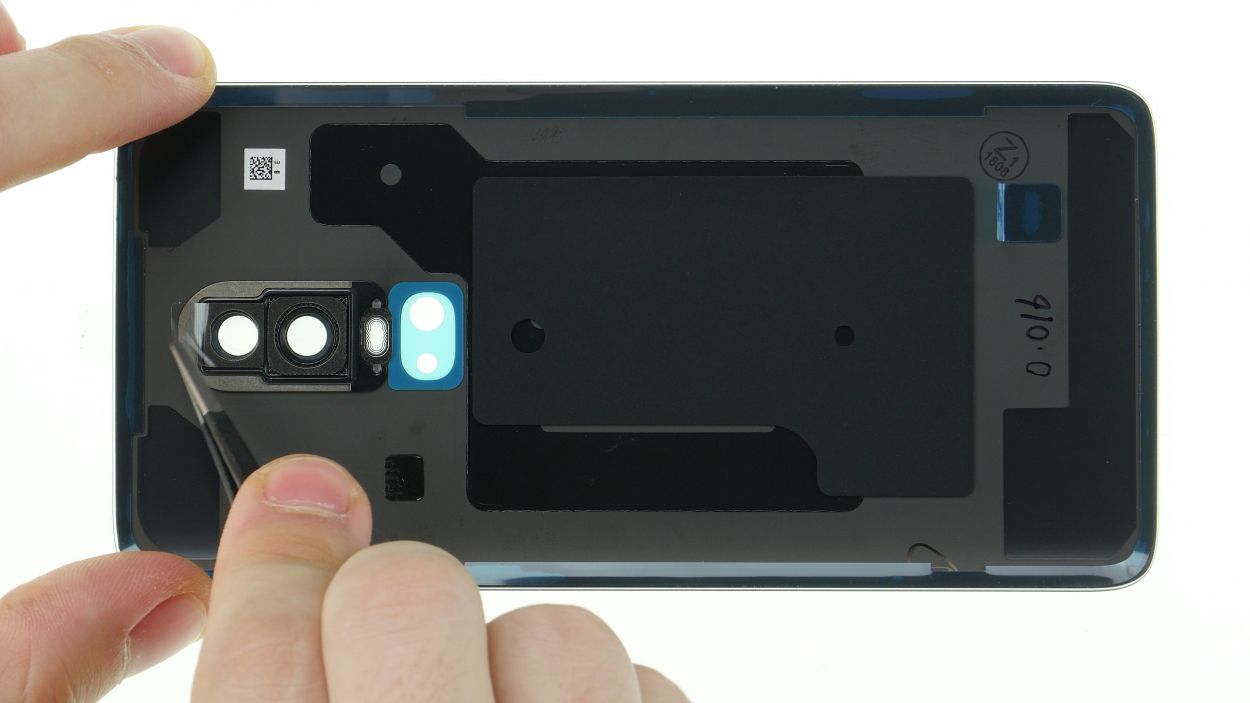
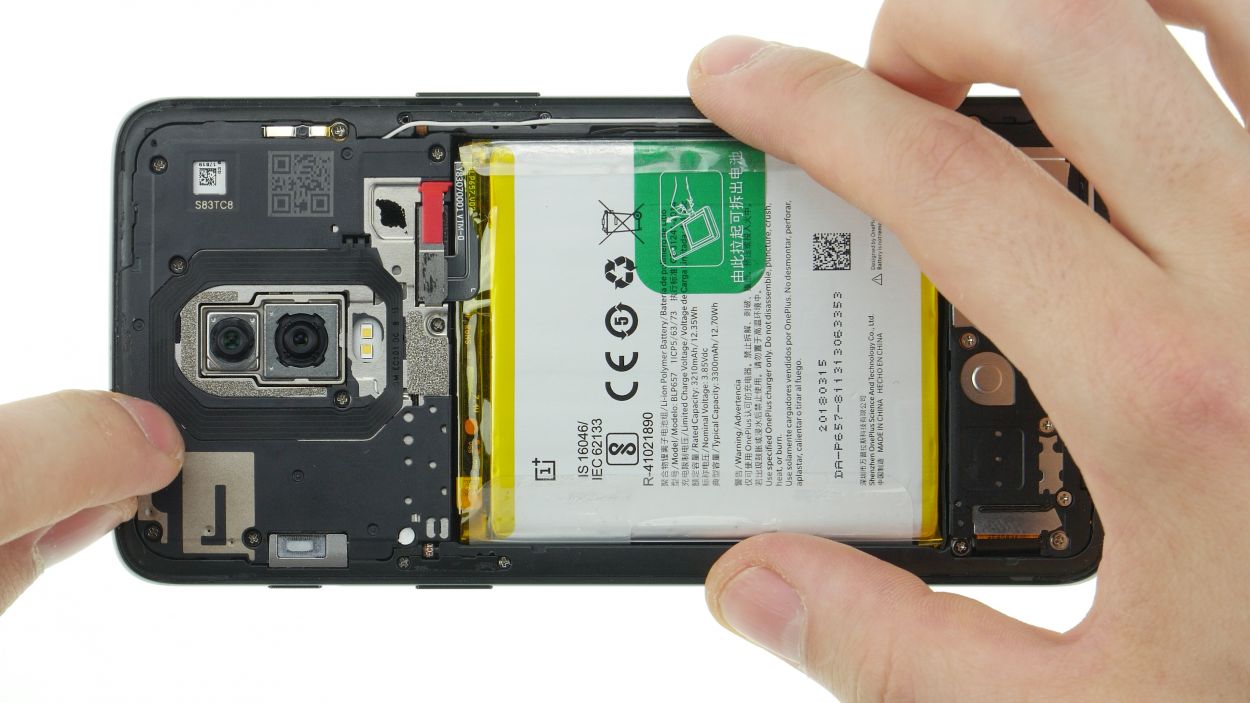
Step 4
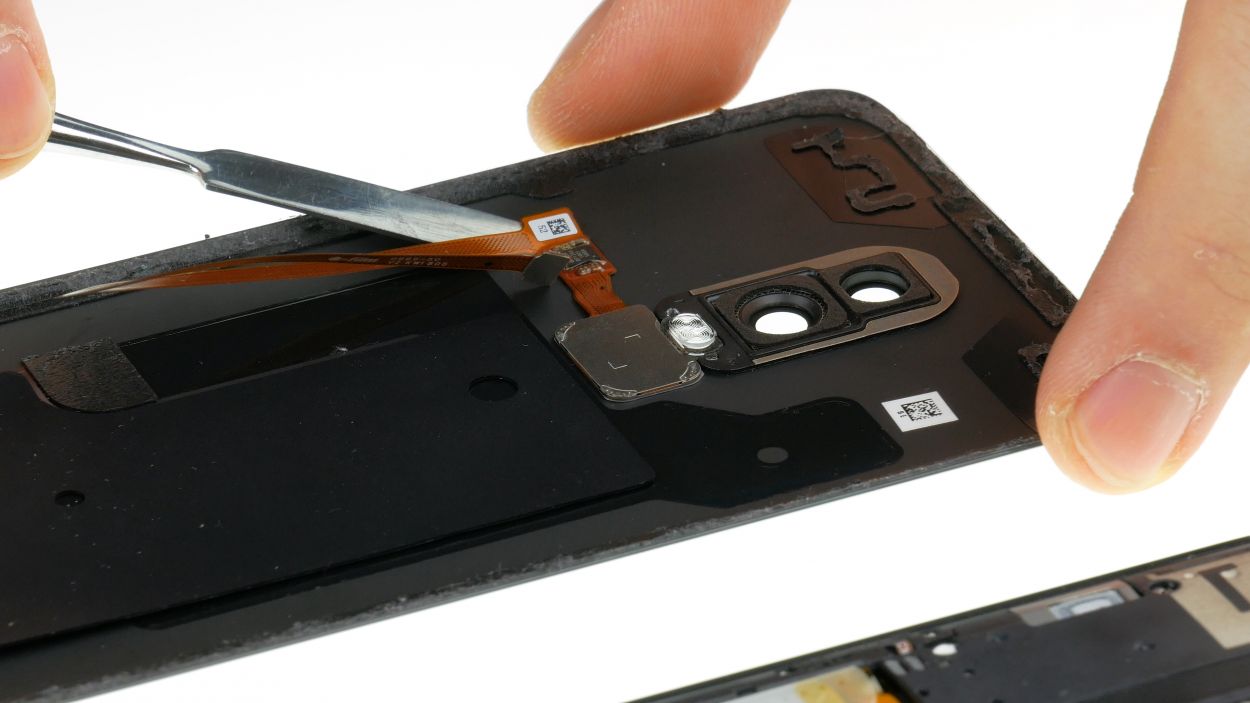

– That fingerprint sensor’s stuck fast? No worries! It’s glued to the back cover.
– Time for some heat! Gently warm the adhesive and carefully pry the flex cable away from the sensor’s edge. Easy peasy!
– Now, give that fingerprint sensor a clean slate – remove the old adhesive. You got this!
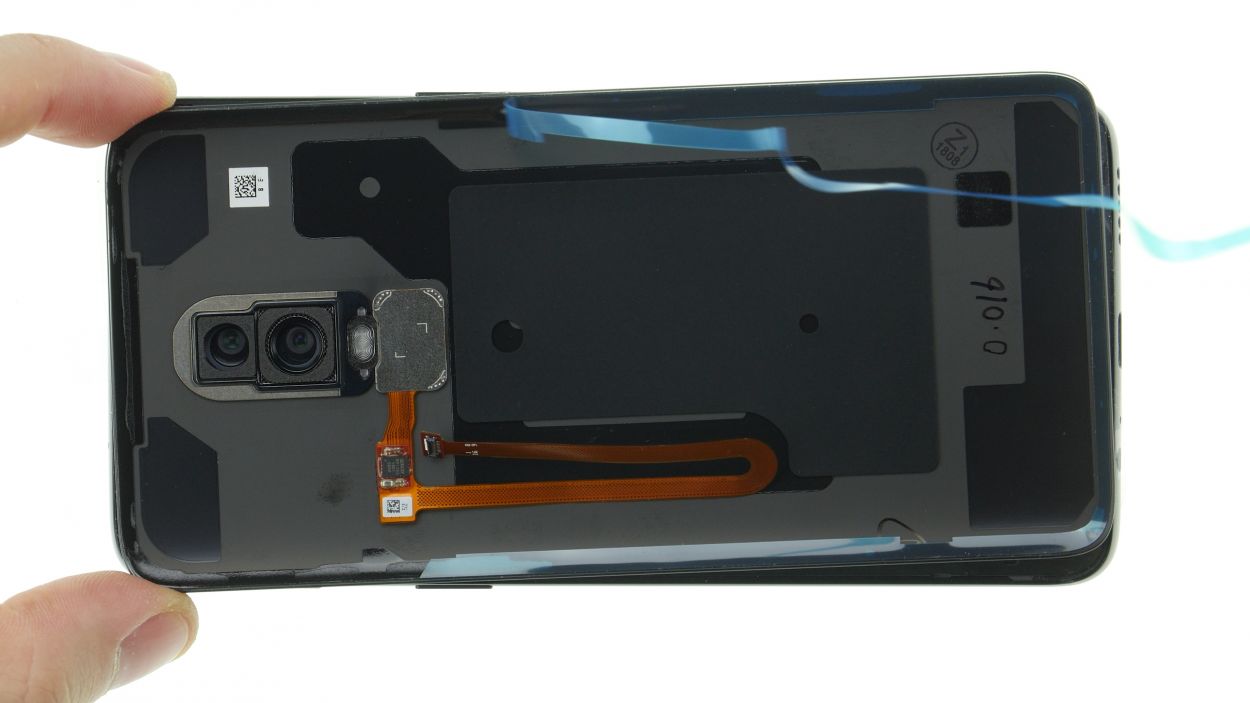
Step 5
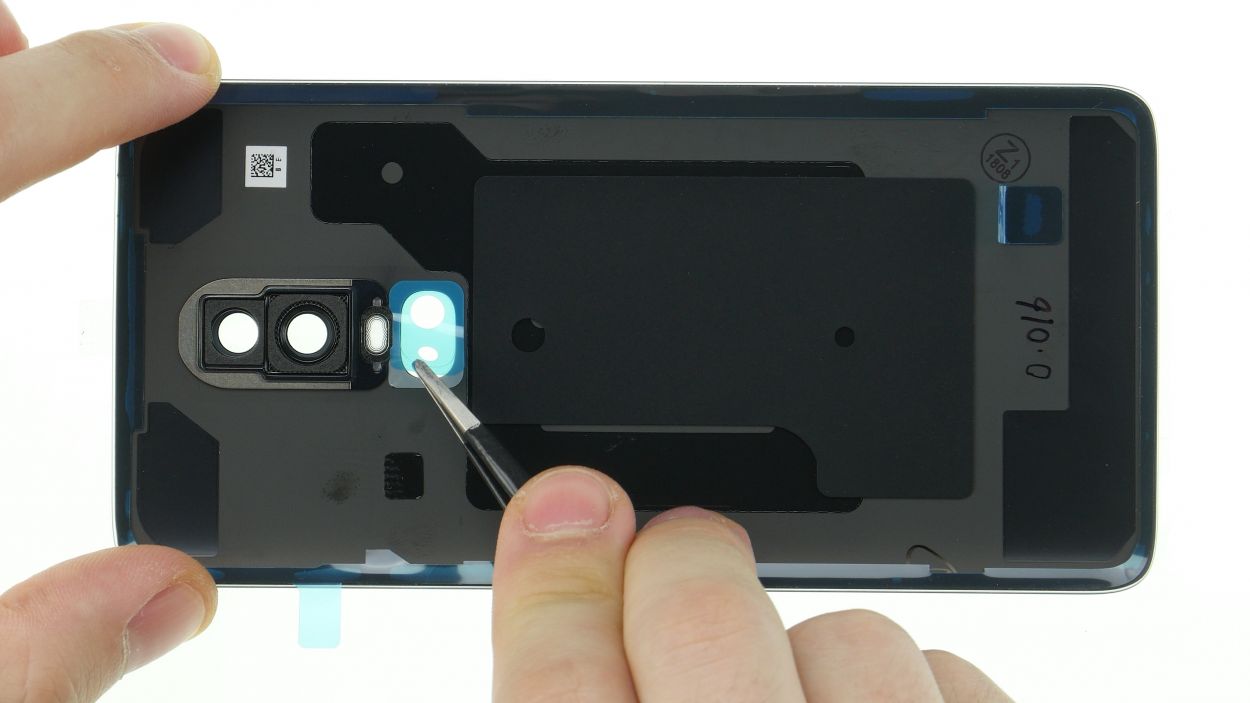

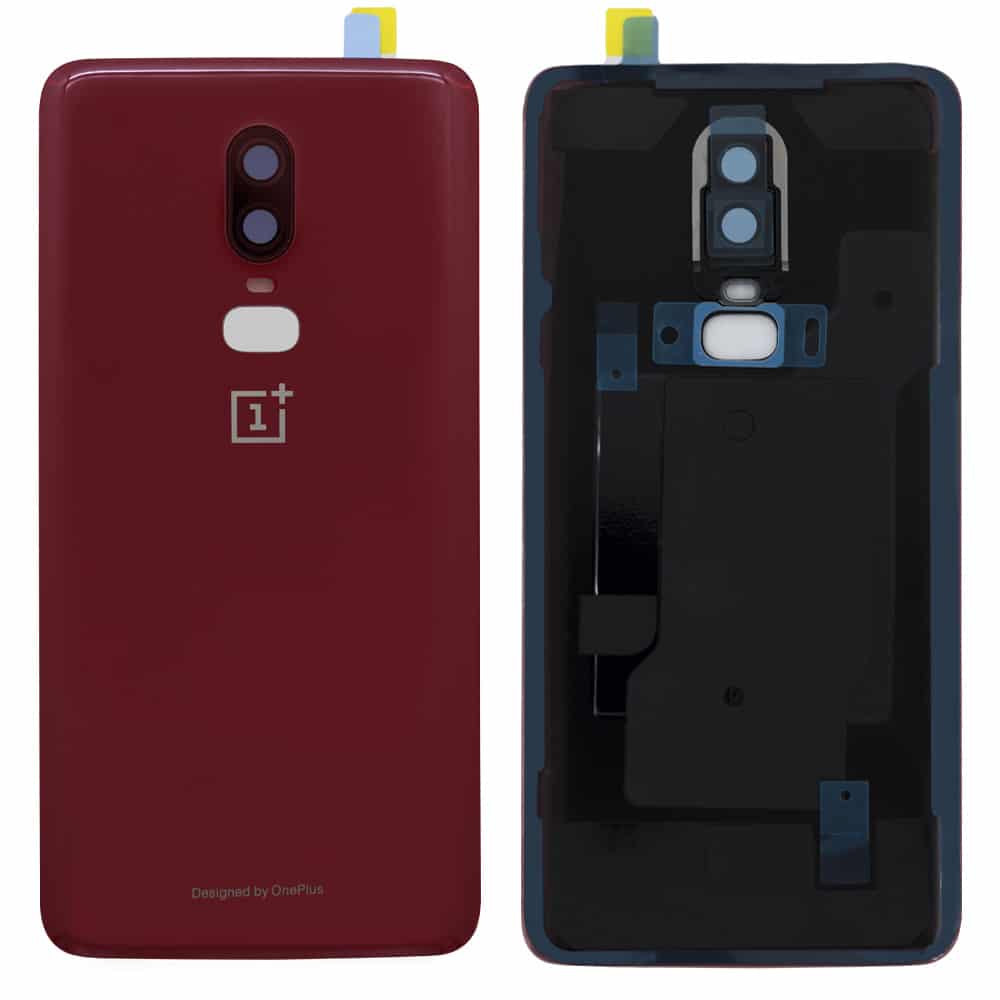
If there’s no new adhesive on your spare part, you can take it from your old fingerprint sensor.
– Peel away those pesky foils from the adhesive surfaces and the camera cover—let’s keep it neat and clean! Watch out for dust bunnies and fingerprints sneaking inside.
– Nestle the fingerprint sensor right into its cozy spot and give it a gentle press to let it settle in nicely.
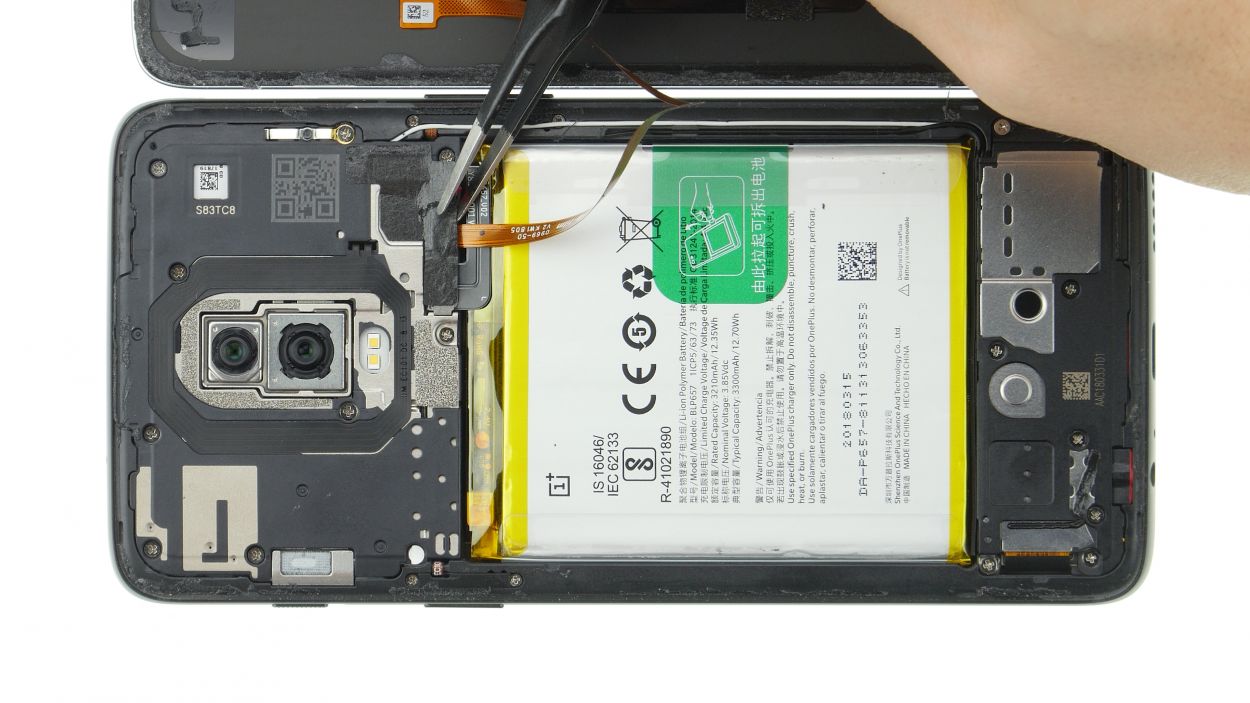
Step 6
– Remove all glue residues on the frame so that the back cover can be properly applied.
– Remove all protective foils from the spare part.
Step 7


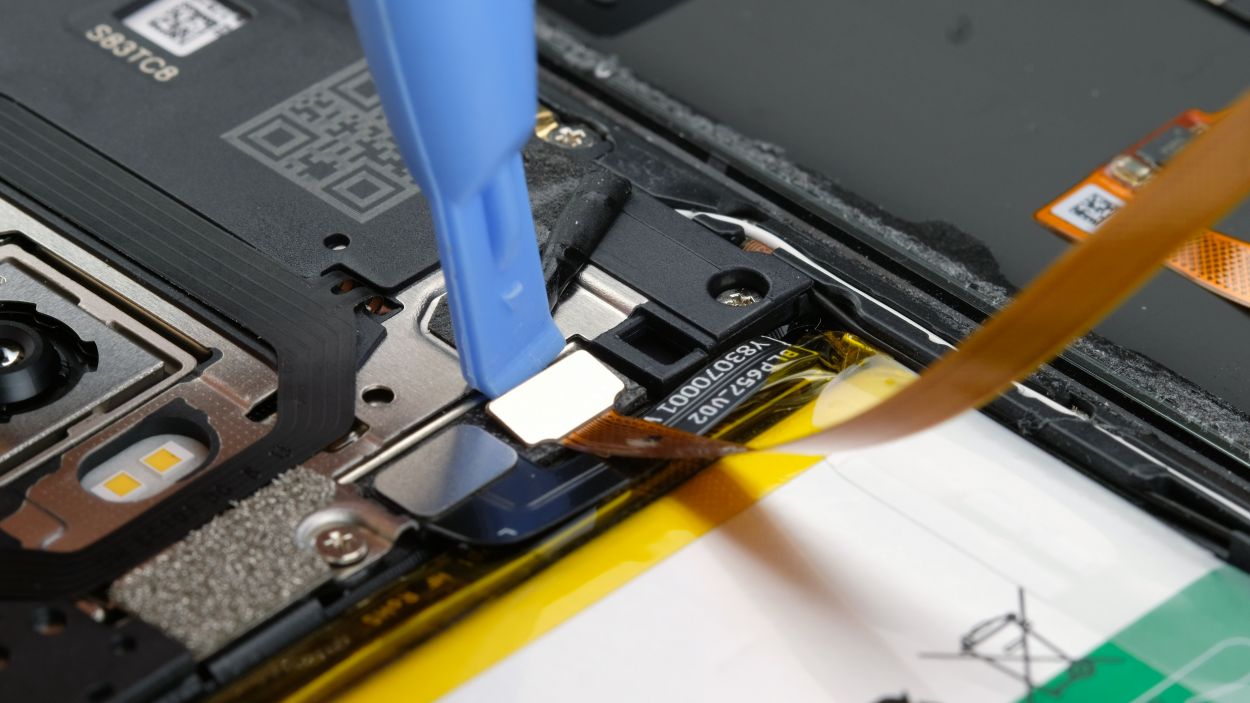
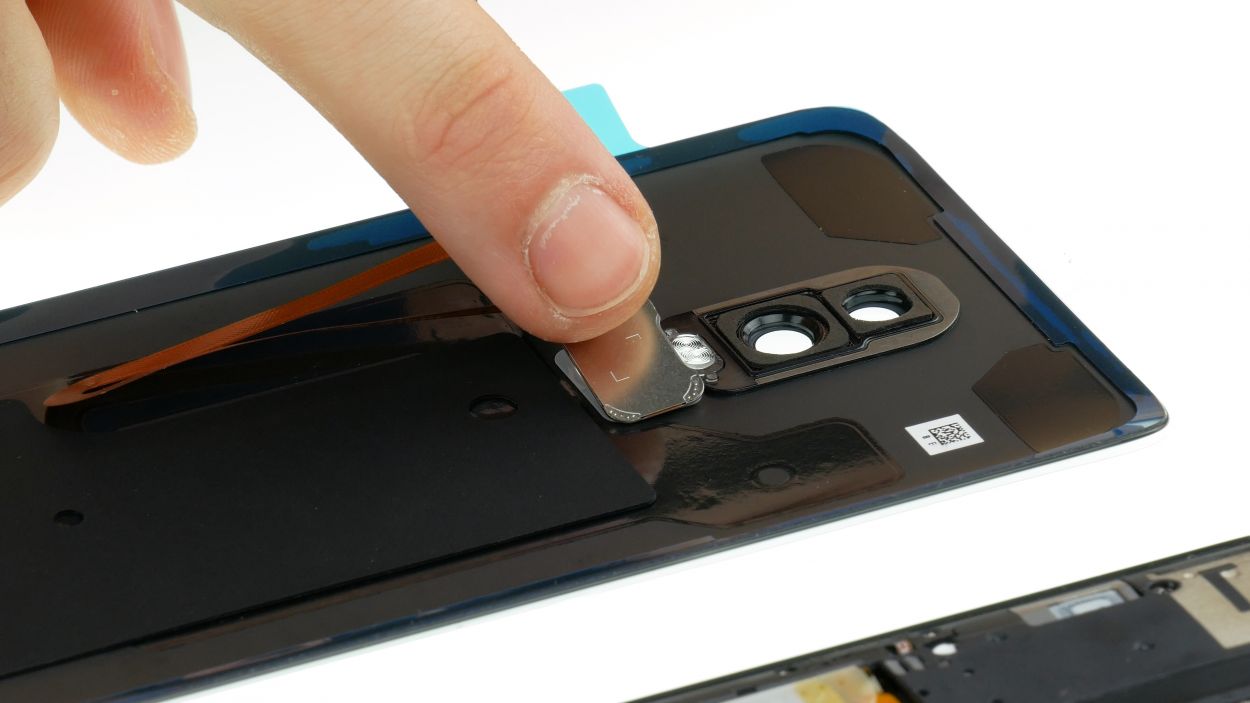
Fingerprint Connector
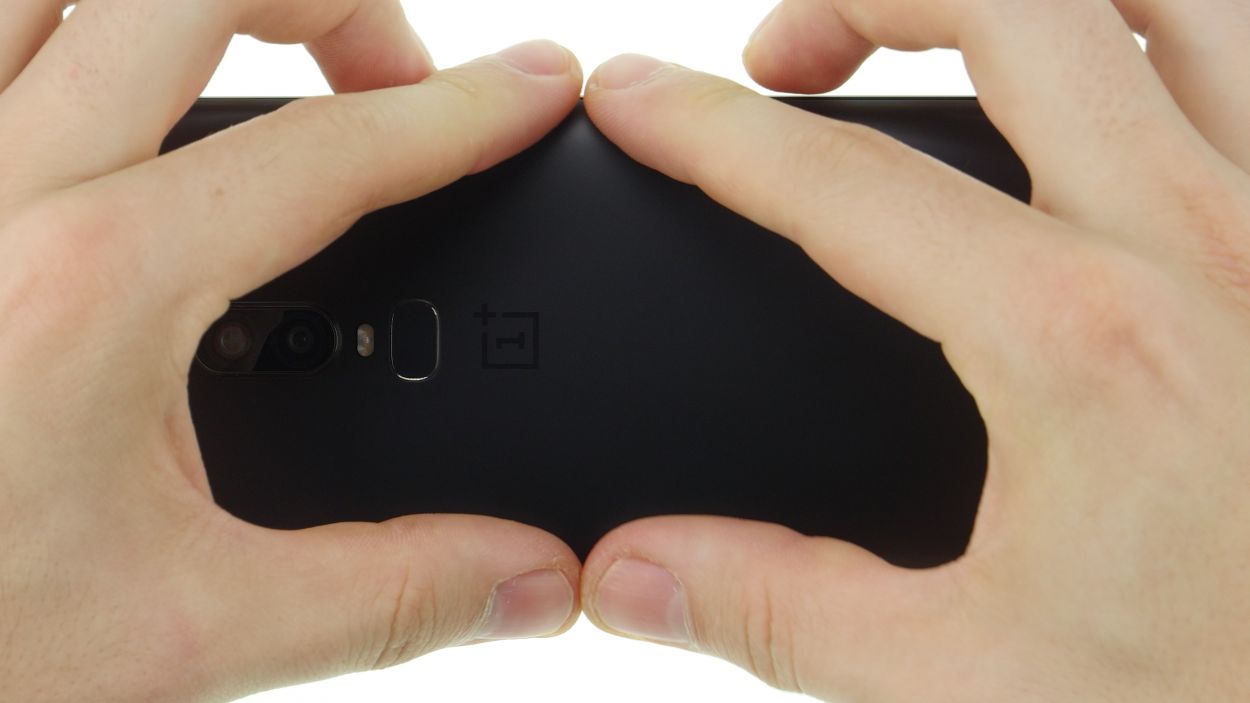
– Grab that back cover and place it right next to your device, like they’re best buddies!
– Carefully lay the fingerprint sensor cable over its mainboard buddy and give it a nice connection.
– Now, pop the cover with the red rubber piece over the connector and seal the deal with the black glue.
Step 8
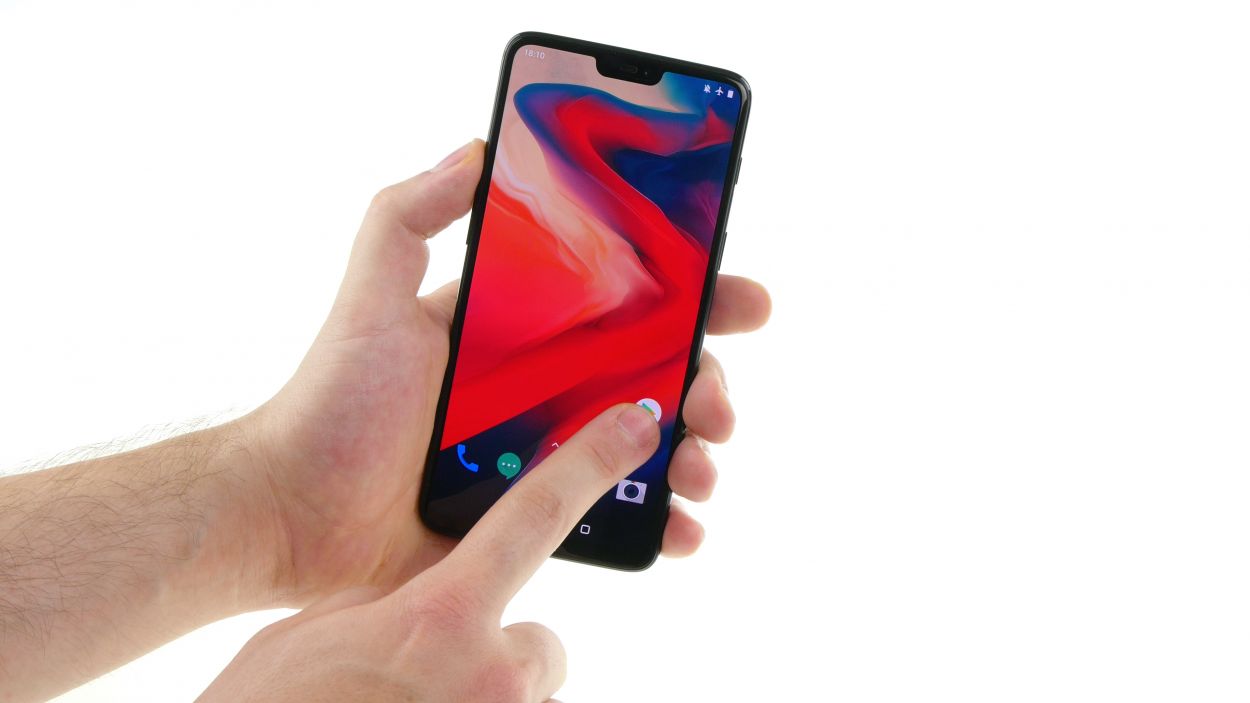
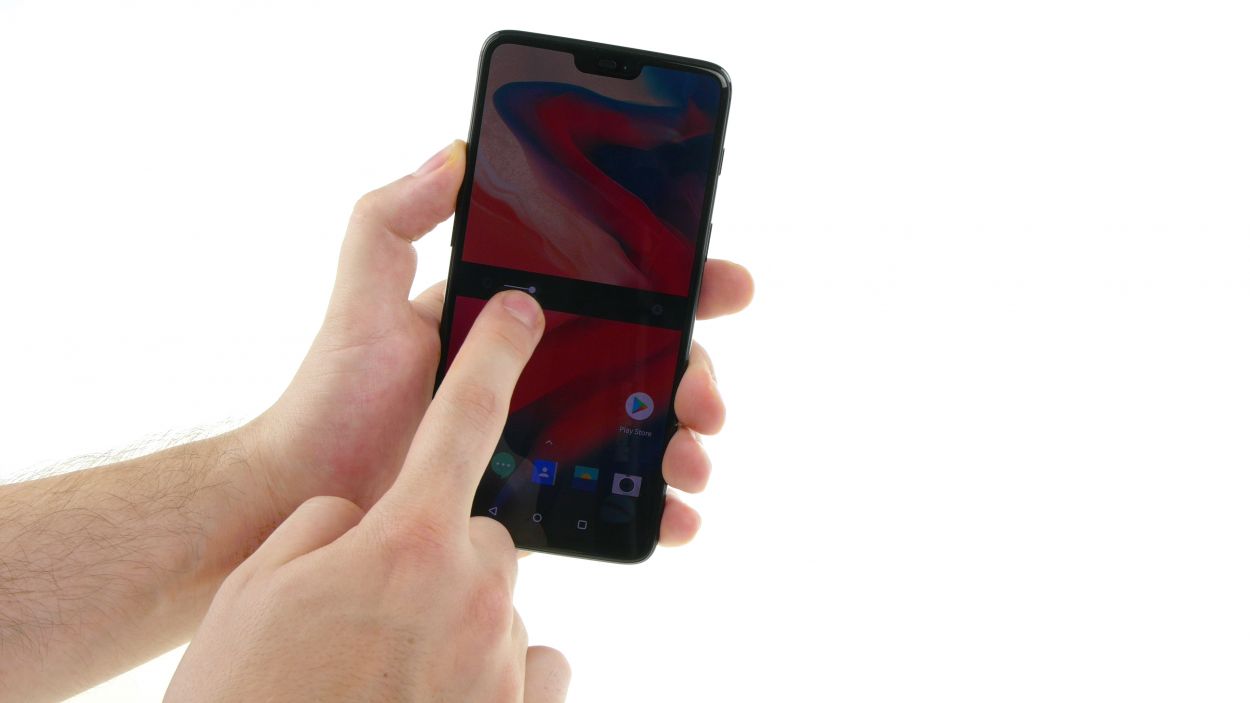

– First things first, power up your device and give that screen a good look!
– Next, slide an app along the edge and zigzag it across the display to ensure the touchscreen is responding like a champ at every spot.
– Don’t forget to check out the brightness levels—test both the dimmest and the brightest settings.
– Time to put those cameras to the test! Check out the front and rear cameras along with the flash.
– Make a call to test out the microphone and earcup—let’s make sure you can hear and be heard!
– Finally, mute your phone and give that vibration motor a whirl to see if it’s buzzing just right.
Step 9

Clamp the device between a few books for example and give the glue an hour to set.
– Give your device a little heat therapy to loosen up that stubborn glue on the back cover.
– Once it’s nice and warm, press the back cover snugly against the device frame. You’re almost there!