OWC Thunderbolt 3 Pro Dock Teardown
Duration: 45 minutes
Steps: 15 Steps
In detail teardown. I guess
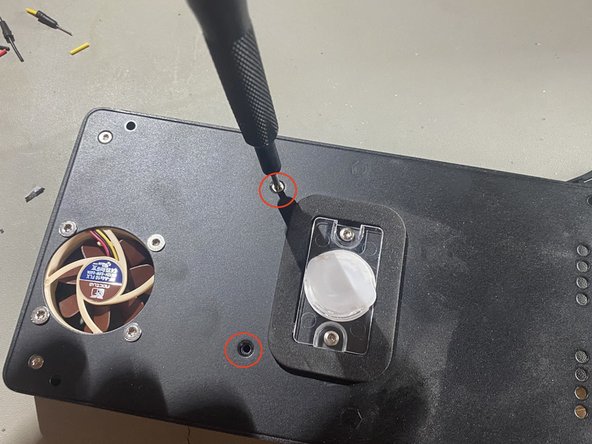
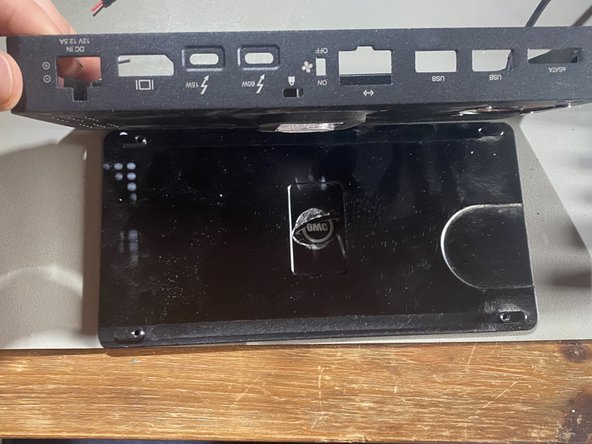
Step 1


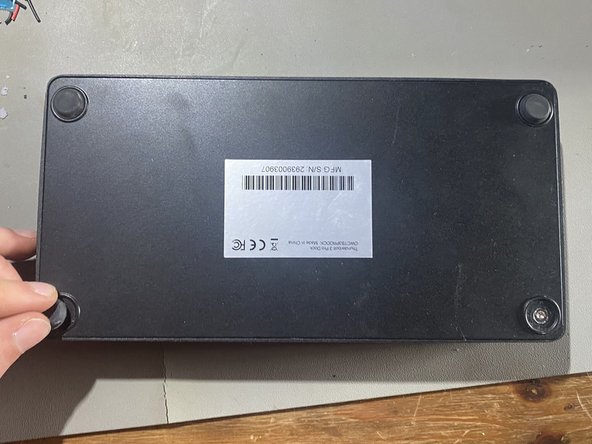
– Flip the dock over so it’s upside down, then peel off those rubber feet.
Step 2


Don’t forget to grab your trusty TORX TR8 head for those bottom screws!
– Unscrew the bottom plate, then pop it off and set it aside.
Step 3
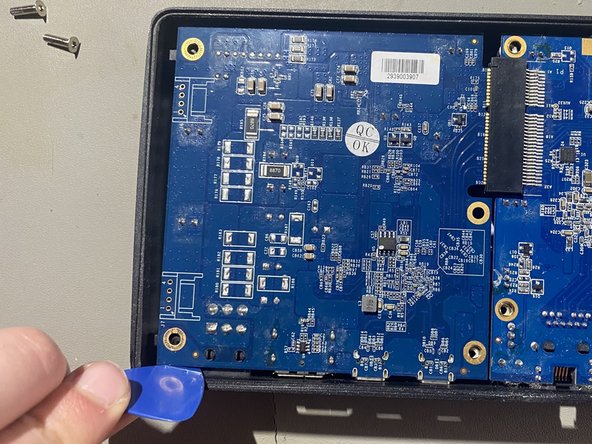

Go easy when lifting out the mainboard—the front I/O is tucked right up against the chassis, and forcing it could wreck your ports.
Grab your trusty TORX TR8, because this is the magic tool you’ll need for all these screws!
– Take out the mainboard along with its three screws—nothing tricky here!
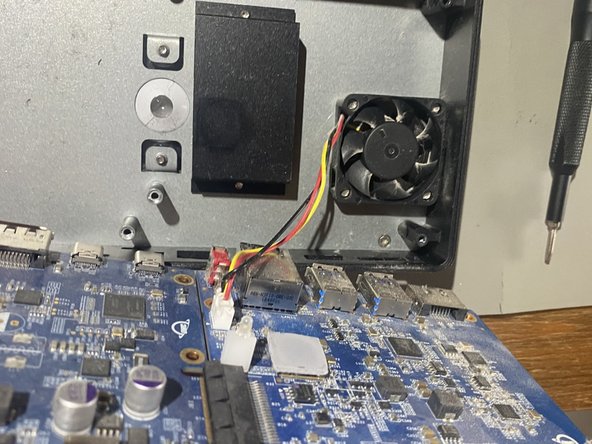
– Don’t forget to unplug the fan on the opposite side! It’s still attached to the chassis, and you might need a little elbow grease to disconnect it. It’s snug in there, so be patient.
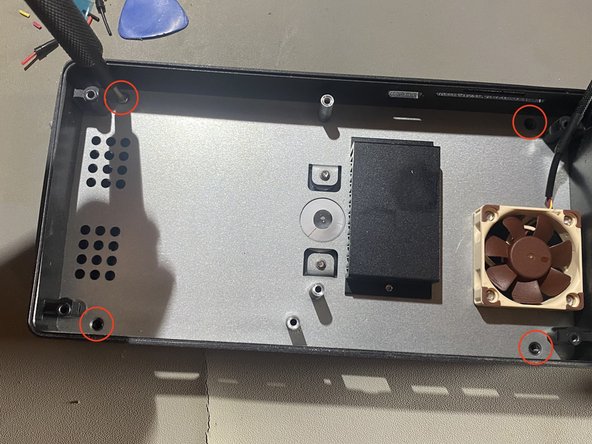
Step 4

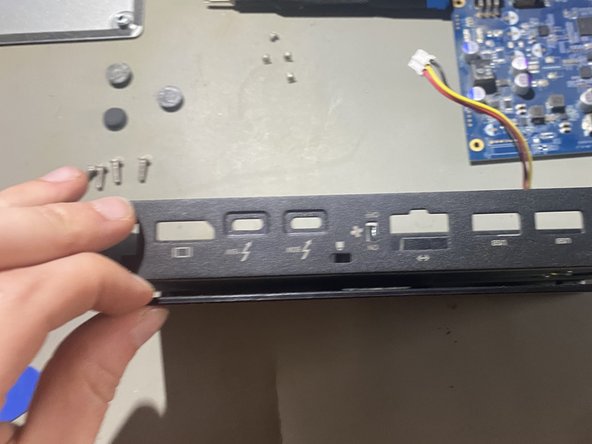
Unscrew the four TORX TR8 screws to make some space for the next steps. It’s a simple task, just a few turns and you’ll be on your way!
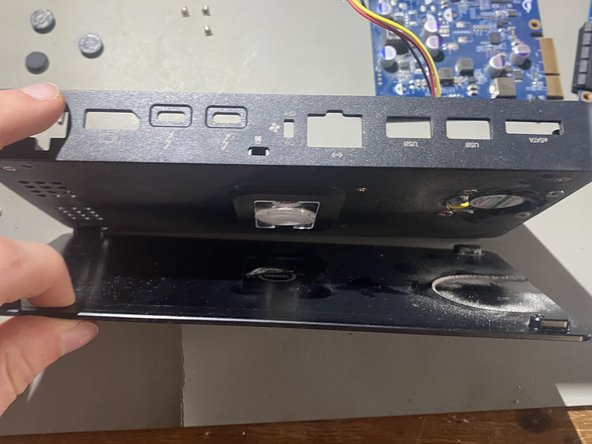
– Gently coax the top plate away from the main chassis. It might need a little nudge since it’s got some glue holding it tight!
Step 5
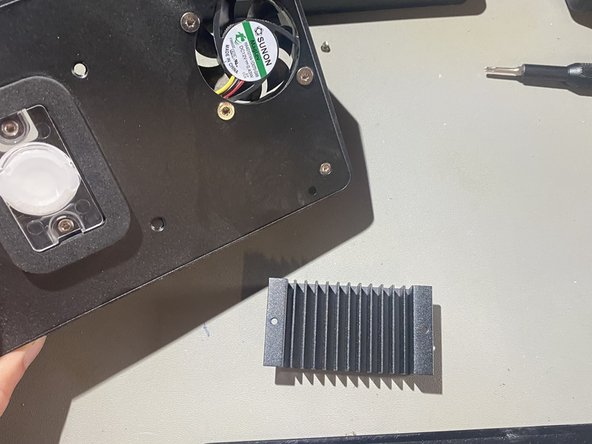

Start by removing the two TORX TR8 screws securing the heatsink. This is your first step to freeing up the heatsink so you can continue with the repair. Remember, if you need help along the way, you can always schedule a repair.
– Make sure to give the surface a good clean to remove any leftover residue from the thermal pad. It’ll help keep the dock running smoothly and extend its life.
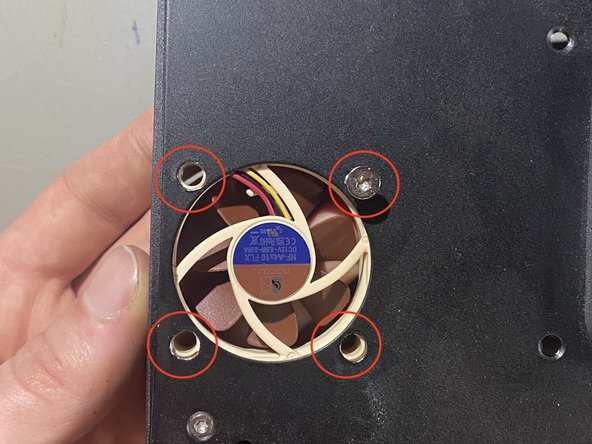
Step 6
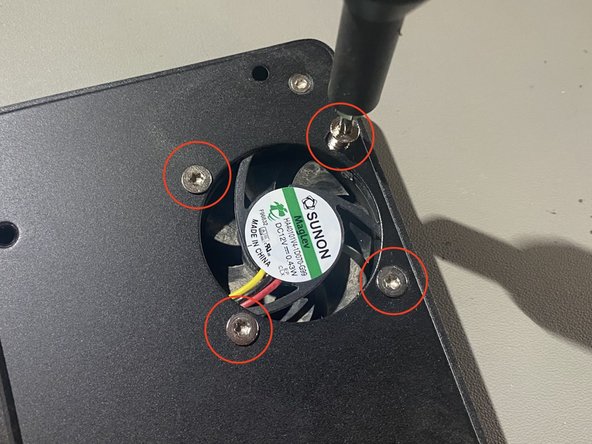
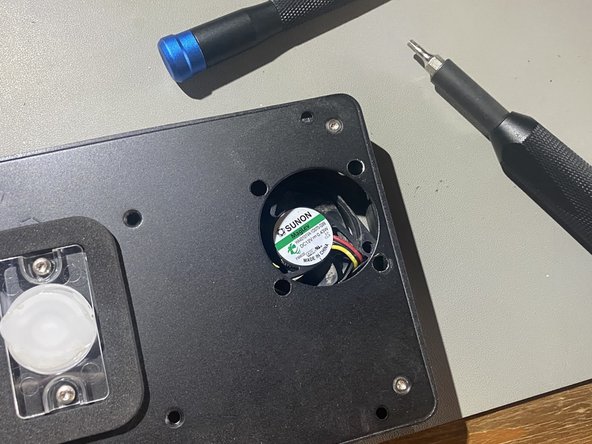

Swap in a TORX TR10 bit for the next round—these screws are for the fan.
Your fan’s model number is sunon HA40101V4-1D070-G99, in case you’re curious or need it for reference.
– Once the screws are out, the fan is ready to make its grand exit—just let it drop out!
Step 7

– Start by turning off the device and disconnecting it from any power sources. Carefully remove the back cover or casing to access the internal components. Use the appropriate tools to disconnect any cables or connectors that are securing the faulty component. Gently lift out the damaged part, taking care not to damage surrounding parts. If you’re replacing a battery, screen, or other major component, align the new part carefully and reconnect all cables. Once everything is in place, reassemble the device in reverse order. Power it on to test if the repair was successful. If you run into trouble along the way, remember you can always schedule a repair with Salvation Repair for professional help.
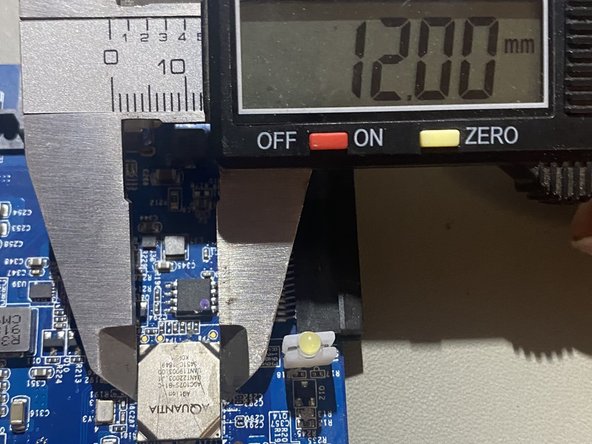
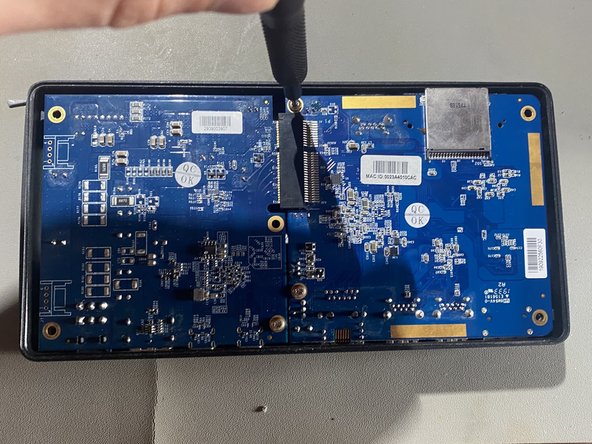
Step 8
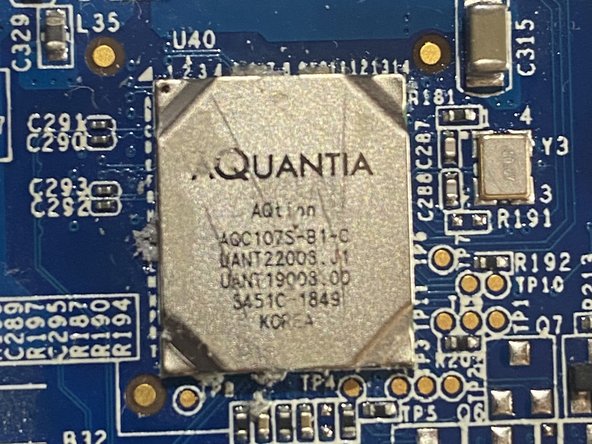

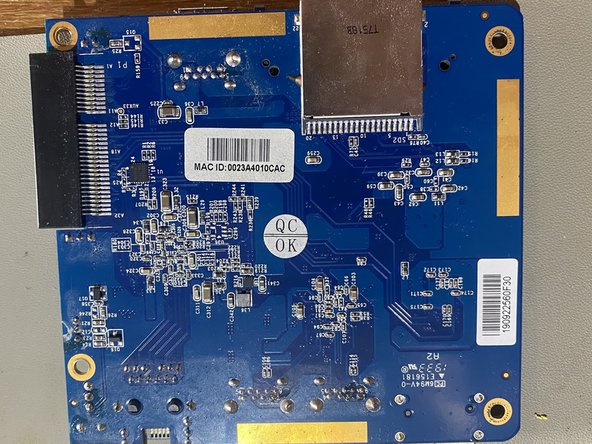
This device rocks a speedy Aquantia AQC107S-B1-C 10Gbe network card—perfect for lightning-fast connections.
– Check out the photos—they really tell the story here!
Step 9
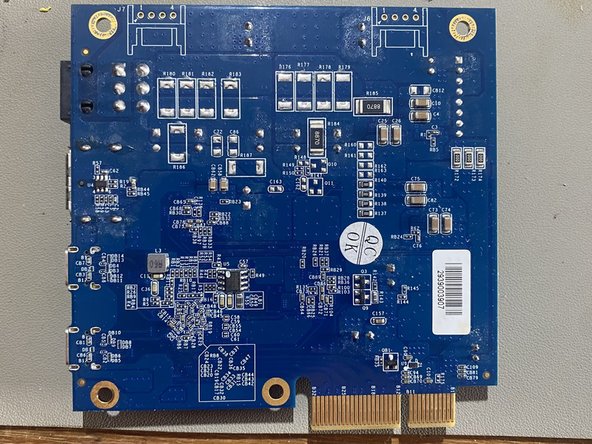

– Drop some knowledge here. – oh yes
Step 10

I’m a bit stuck on how to fit more than 3 pictures into one step, so here we are!
Step 11


Pop those two TORX TR8 screws back in place to secure the heatsink nice and snug.
– Hold the heatsink steady and match it up with the holes on top of the chassis—nice and easy does it!
Step 12

Time to bring the fan back into place! Secure it with those trusty TORX TR10 screws. It’s a small but mighty step in getting your device back to its smooth, cooling self.
– Align the fan with the corresponding holes to make sure it’s perfectly in place.
Step 13
Pop those four TORX TR8 screws back in to secure the lid.
– Align the top lid with the main chassis, making sure the fan vent is oriented correctly so it can do its breathing thing. Take your time to get everything lined up just right before moving on.
Step 14


Gently place the mainboard back into the chassis. Start by aligning the rear I/O first, then carefully lower the other side in. Take it slow, you’ve got this!
– Secure the mainboard with the 3 TORX TR8 screws—no, you aren’t missing any! The rest of the screws go through the bottom cover. Keep it simple and make sure all screws find their rightful places.
Step 15


Line up the bottom cover carefully—get that orientation right as shown in the photo, or it just won’t fit! A little attention to detail goes a long way!
Pop those four TORX TR8 screws back in to lock down the bottom cover nice and snug.
– Pop those rubber feet back in place! A touch of glue can help keep them secure while you’re on the go.
Success!