Philips SPA3210 Teardown
Duration: 45 minutes
Steps: 5 Steps
Before diving in, make sure your device is unplugged and free from any cables. Safety first, then let’s get fixing!
Ready to dive into fixing up your device? Whether you’re replacing parts or just giving it a little TLC, this guide’s got your back! Just remember to disconnect everything before you start—safety first, always!
Step 1

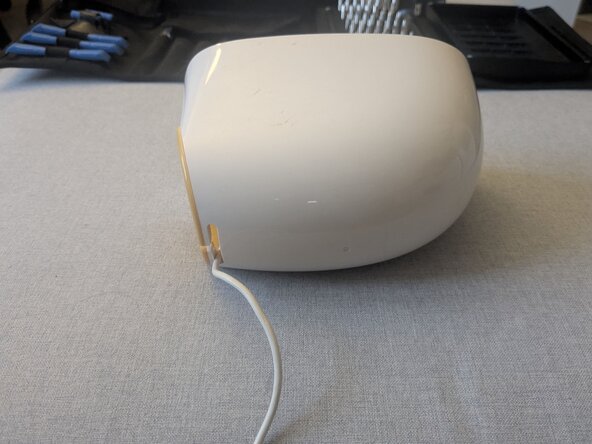
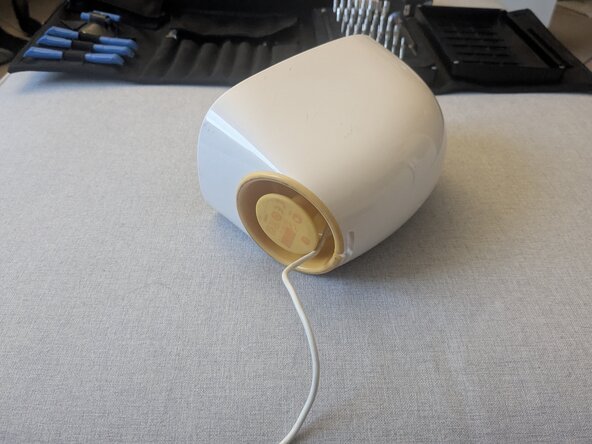
– Feed that satellite speaker’s audio cable through the back opening so you can keep things rolling smoothly!
Step 2

If you only lift one side, you might snap the plastic bits that hold the shell to the speaker. Take it slow and steady!
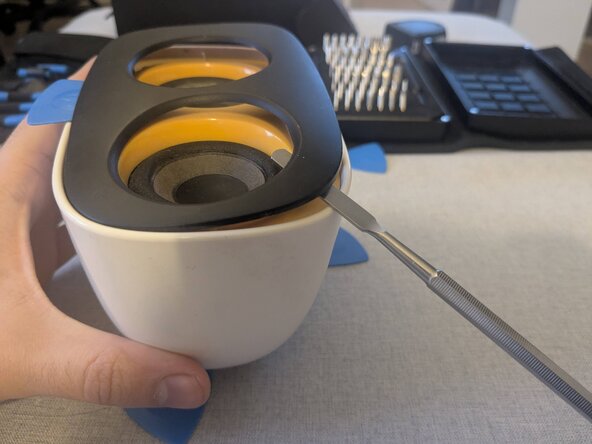
If the glue is playing hard to get, grab your metal spudger and gently pry the shell open like a pro.
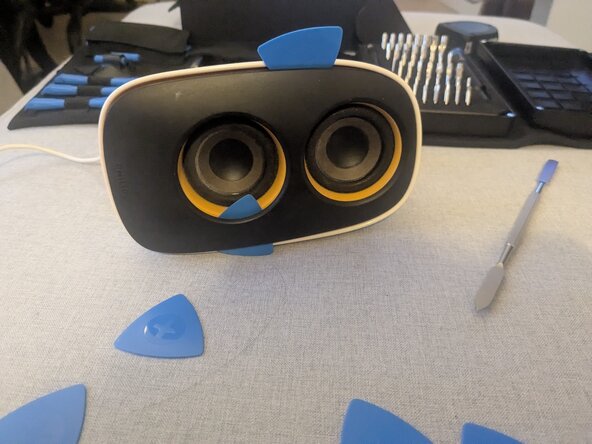
– Work those opening picks around the bottom edge, sliding them between the gray and orange shells to gently separate them.
– Carefully lift the gray shell up from both sides at the same time, nice and even, to keep things smooth.
Tools Used

Step 3


Heads up: Don’t pull the orange shell all the way off yet—the audio drivers are still hanging on!
No tools needed for this step—it’s as simple as it gets. Just follow along and you’ll be done in no time. If you hit a snag or need a hand, you can always schedule a repair with Salvation Repair.
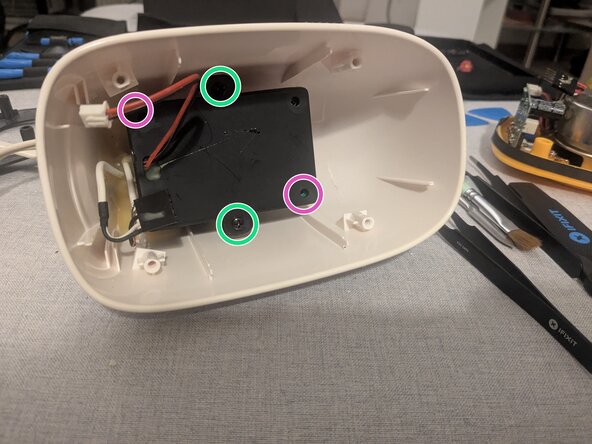
– Start by removing those four screws holding the orange shell in place. You’ve got this!
– Gently pry the orange shell away from the white case. It’s like peeling a sun-kissed orange!
– Keep in mind, you might need to tackle some extra glue with precision tweezers to unscrew everything easily. If you need help, you can always schedule a repair.
Step 4

– Gently pop off the volume knob using your fingers—no tools required, just a little wiggle!
– Do the same moves you did in Steps 2 and 3.
Step 5

Heads up: Don’t mess with the power supply unless you’re confident in your skills. If you’re unsure, it’s best to avoid opening it up—safety first! If you need help, you can always schedule a repair.
– Unscrew the audio driver to swap it out for a new one.
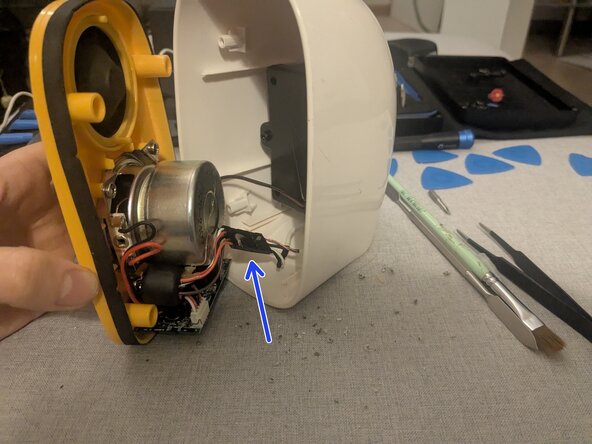
– Unplug the main speaker’s circuit to get it back in action.
– Unscrew the two main screws, pop the power supply out, and get it ready for replacement.
– Unscrew the two diagonal screws (they might be in different spots depending on the model) and carefully open the power supply cover to get to work on the fix.
Success!