Pinecil V2 Teardown
Duration: 45 minutes
Steps: 6 Steps
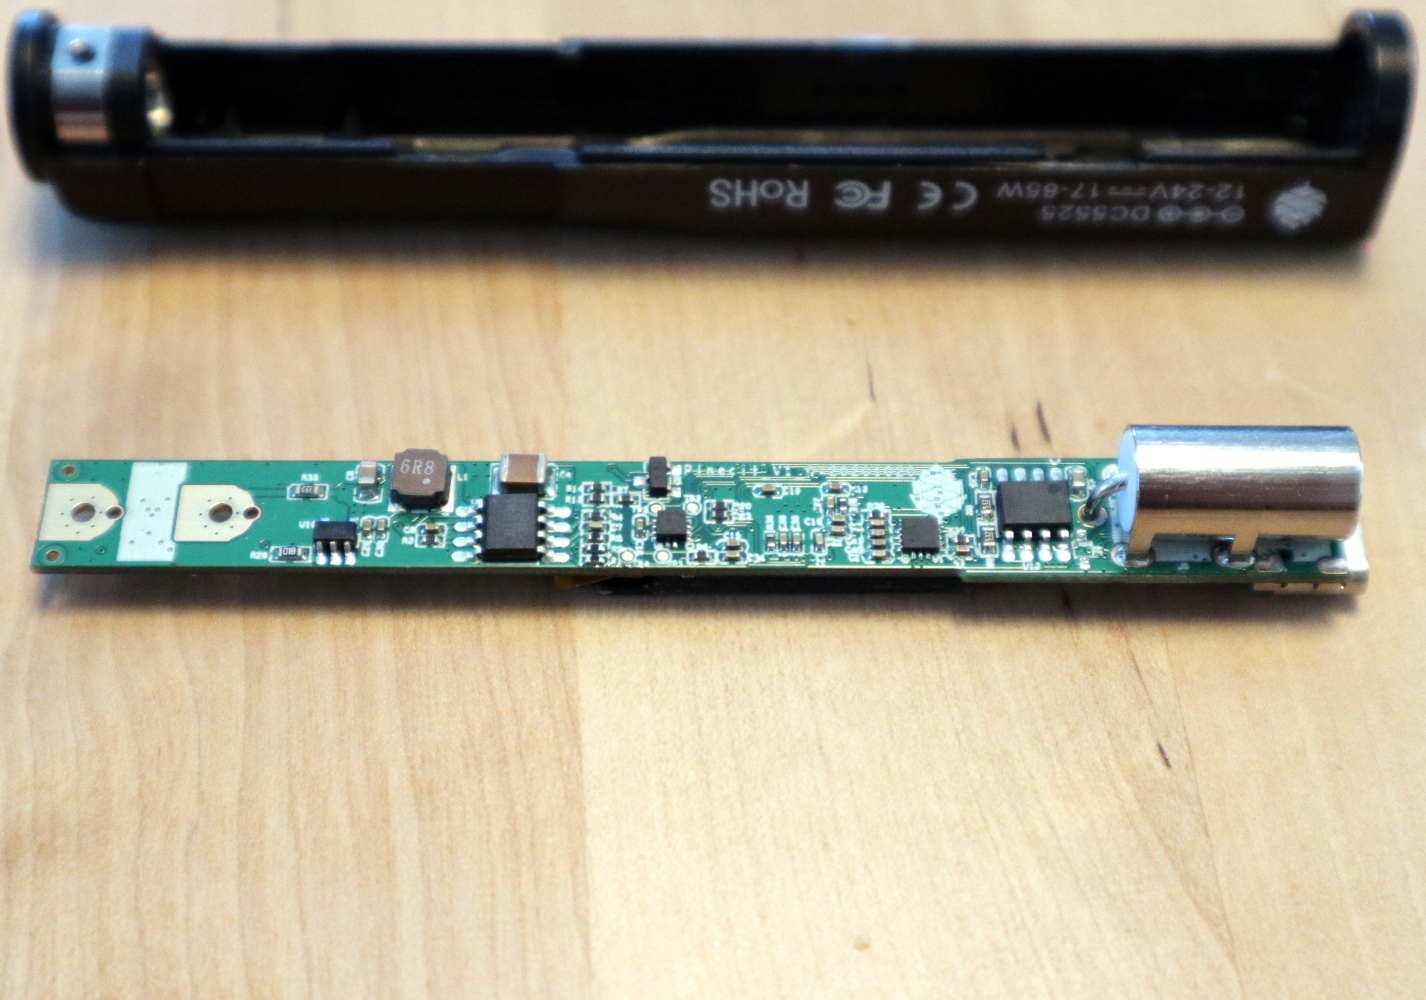
Meet the Pinecil V2, your go-to soldering iron that’s ready for action wherever you go! In this teardown, we’ll show you the ropes on how to crack it open for upgrades or to fix those pesky components.
Step 1


– Gently pull the tip of the Pinecil out.
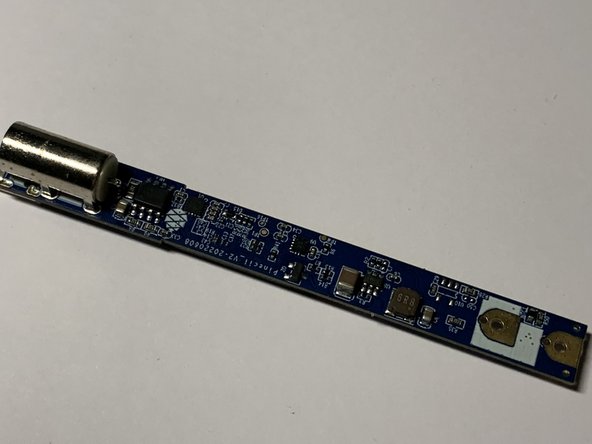
Step 2


– Unscrew the Phillips head screws holding the cartridge at the bottom—give ’em a good turn and keep ’em safe.
– Locate the Phillips grounding screw near the barrel connector and take it out—it’s the little screw keeping things grounded.
Step 3

– Gently peel off the rubber grip by pulling it in the direction of the tip, like you’re taking off a cozy sock—easy and smooth.
Step 4
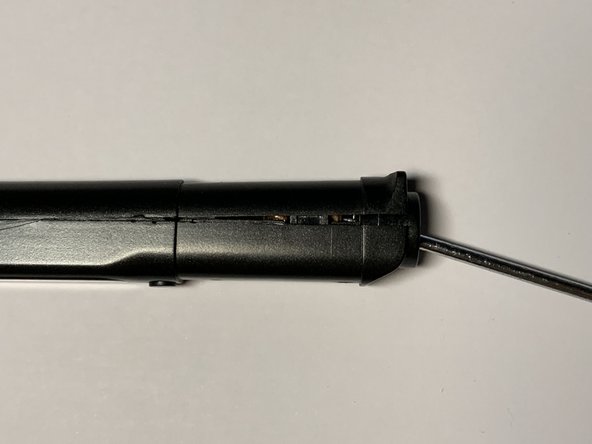

Just slip the screwdriver in a couple of centimeters—no need to go deep. The halves should separate pretty easily, so don’t muscle it.
– Grab a slim screwdriver and gently slide it into the cartridge slot.
– Carefully pry the screwdriver toward the side where the OLED screen is. The leverage will help the case pop open a bit, as seen in picture 2.
– Once you’ve started the separation with the screwdriver, gently pull each half apart by hand. Take your time—thin plastic tabs are delicate and can break if you’re too hasty. If you need help, you can always schedule a repair.
Step 5

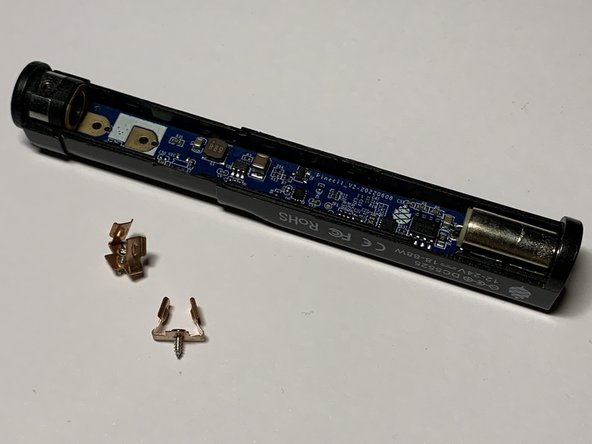
– Unscrew the 2 Phillips screws securing the cartridge contacts. They’re holding on, but not for long!
– Once those screws are out, the contacts should just fall right out thanks to gravity doing its thing.
Step 6
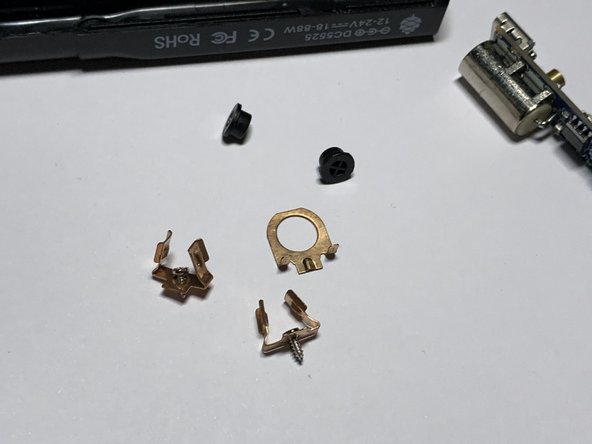

– Once all the screws are gone, the board should come right out. Just be sure not to let the copper grounding ring or any buttons wander off on their own – they tend to have a mind of their own.
Success!