Plantronics Voyager Legend Microphone Replacement
Duration: 45 minutes
Steps: 7 Steps
The microphone assembly stands out with its unmistakable “boom-like” design. It consists of a voice-tube and a circuit board system. This repair guide will walk you through how to gently take apart the microphone unit, and swap out or replace the various components inside it.
Step 1


– Pop those snaps loose—they’re holding the whole assembly together like a secret club.
– Grab the sharp end of your trusty metal spudger and start gently prying at the edge of the unit to break the snaps’ grip.
– Once you’ve got the first snap free, switch to the flat end of a plastic spudger and cruise around the microphone unit’s edge, loosening the rest of those stubborn snaps one by one.
Tools Used

Step 2

– Time to get down to business! Remove the top piece of the plastic housing to expose the metal protective plate underneath.
– Now it’s time to get a little delicate. Use your trusty precision tweezers to carefully lift the metal protective plate out of its home. Easy does it!
Step 3

Make sure to check how the volume button is positioned, especially those sneaky little hooks holding it in place.
– Find the volume button hanging out at the back of the microphone assembly, right by the earpiece assembly. It’s just chillin’ there, waiting for you!
– Grab your precision tweezers and gently coax the volume button out of its cozy spot. Give it a little lift and say goodbye to that button!
Step 4

If it’s just the voice-tube that’s acting up and needs to be swapped out, you’re almost there! Simply work your way back through the steps in reverse, piece it all back together, and you’re good to go.
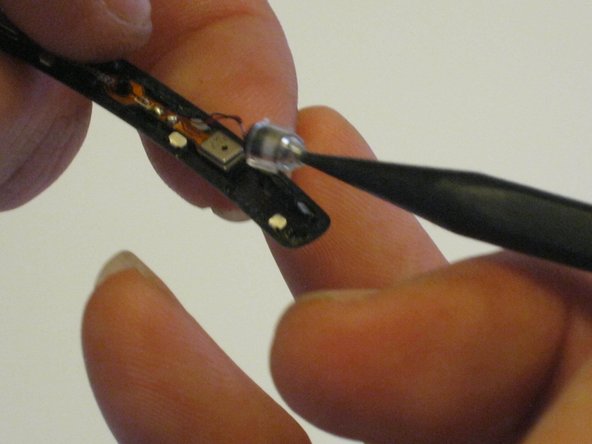
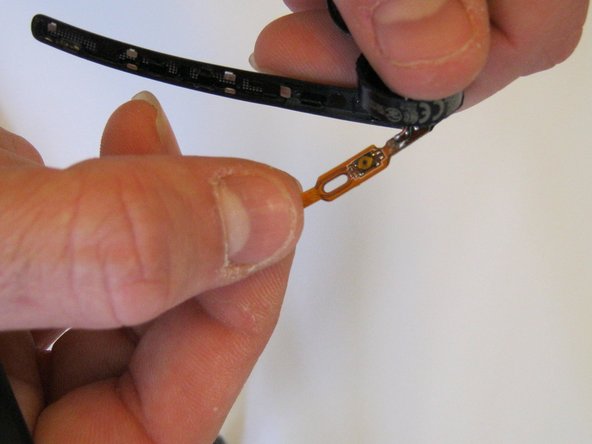
– Let’s get that voice-tube out of there! First, gently remove it from your device.
– Grab a plastic ppudger and use the pointed end to carefully lift the voice-tube free.
– Next up, disconnect the leads that are connected to the voice-tube. You’ve got this!
Step 5

Check out those guiding pegs—they’re like tiny superheroes holding that circuit board snugly in place.
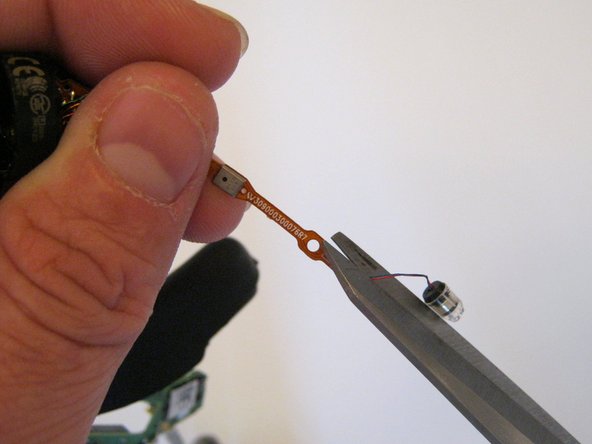
– Take out the circuit board.
– Grab a plastic spudger with a pointy end and gently start prying the circuit board loose. Begin near the area closest to the voice-tube spot.
– Switch to the flat end of the spudger to keep lifting the circuit board and work it fully out of its position.
Tools Used
Step 6

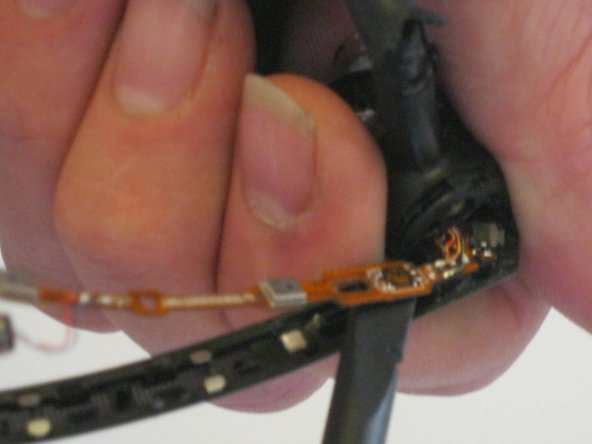
– First, you’ll wanna dive in and spot those leads hooking up the circuitry—like finding treasure in tech!
– Grab that trusty spudger and gently wiggle the circuit board until it’s ready to pop out and take a breather.
– Carefully reveal the leads so you can disconnect them like a pro—steady hands win the game here!
Tools Used
Step 7
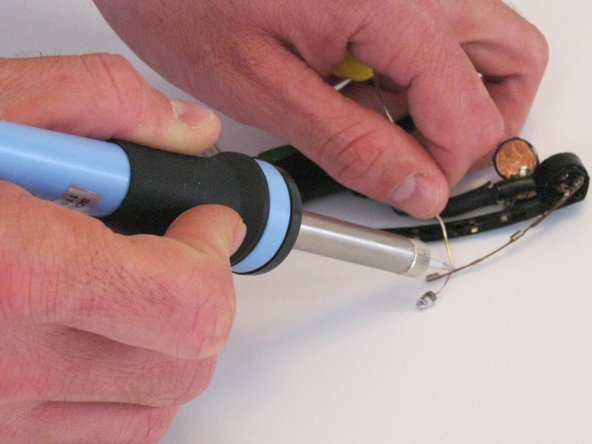

Check out the Salvation Repair soldering guide for some handy tips and tricks to nail this step confidently.
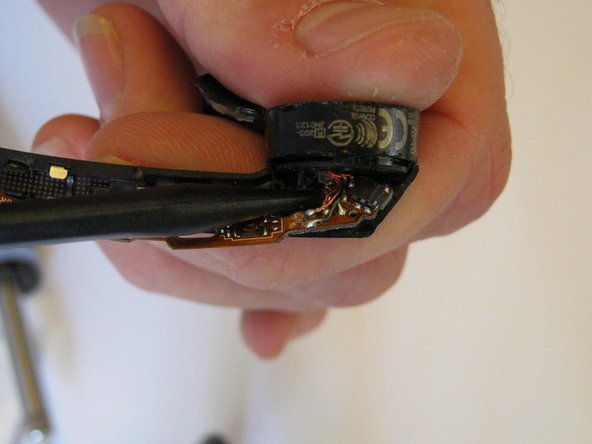
– Pop in a shiny new circuit board—easy peasy!
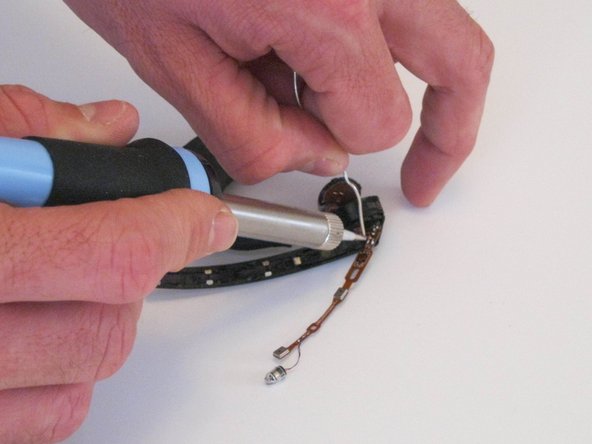
– Snip those leads loose with wire cutters. No wire cutters? Grab some sturdy scissors, and you’re good to go.
– Carefully solder the leads into their rightful spots on the new circuit board—precision is key!
Success!