PlayStation 2 Disc Drive Replacement Guide
Duration: 45 minutes
Steps: 17 Steps
If your disc drive is ready to retire, don’t sweat it—you’ve got this! First, you might need to do a little online treasure hunting for a replacement. Once you’ve tracked down the right one, these steps will guide you through swapping out the old drive for the new one like a pro.
Step 1


– Turn the PlayStation 2 over so it rests with the bottom facing up.
– Grab a metal spudger and pop out those eight flat screw covers.
– Now, let’s remove the eight screws holding the top cover to the bottom case:
– Four 55.4 mm Phillips screws
– Four 18.0 mm Phillips screws
Tools Used

Step 2

– Different models might have a variety of screw and foot setups. Go ahead and remove all the feet and screws from the bottom of the case.
– For the 10-screw model, you’ve got 6 screws at the very bottom and 4 in the upper tray.
Step 3

Be gentle when handling the parts to avoid any damage
– Gently peel off the warranty sticker, which is hanging out next to the main power switch, and set it aside. You’ve got this!
Step 4


For an easier time getting things started, try prying open the side near the power switch first, while gently rocking the top cover towards the front of the bottom case. You’ve got this!
– Gently flip the PlayStation 2 back to its original upright position.
– Carefully lift the top cover off the bottom case.
– Take a moment to disconnect the power cord assembly from the top case, separating it from the bottom half with care.
Step 5


– Take out the two 6.4 mm black Phillips screws holding the optical disc drive to the bottom case. Easy does it—no need for Hulk strength here!
– Now, carefully lift the optical disc drive straight up and out of the bottom case. Look at you go!
Step 6


– Pop out the two 14.6 mm gold-headed Phillips screws that are holding the controller ports to the bottom case.
Step 7


Hold up! Don’t yank that controller port board all the way out—it’s still tethered by a ribbon cable. Take it slow and steady!
– Carefully lift the controller port board out from its cozy spot in the bottom case.
– Gently pull the controller port ribbon cable straight out from its socket on the controller port board.
– Slide the controller port board out of the bottom case with ease.

Step 9

If there’s already something chillin’ in the expansion bay, kindly evict it. That bay needs to be totally empty before we move forward.
– Gently pop off the expansion bay cover from its pegs on the bottom case—easy does it, and you’ll have it off in no time!
Step 10

– Time to get this motherboard out! Carefully lift the motherboard assembly from its front edge and gently pull it away from the lower case.
Step 11

With all that bulky plastic out of the way, it’s time to dive into the exciting world of electronics!
– Unscrew those four shiny 7.6 mm gold-head Phillips screws that are holding the power supply snugly to the motherboard assembly. You’ve got this!
Step 12

– Gently lift the expansion bay cage off the motherboard assembly, like you’re unveiling a surprise gift!
Step 13


Hold your horses! Don’t go yanking out the power board just yet. It’s still cozy with the motherboard assembly, connected by the power board connector (check out the first picture for a visual guide), which hangs out right next to the main power switch.
Gently hoist up the power board like you’re unveiling a treasure. Underneath, you’ll spot the power board connector, all snug and attached to the board.
– Gently tug the power board connector straight out to free it from its cozy spot on the power board.
Step 14

It might be a little tricky, so you may need to work your magic to set it free.
– Beneath the spot where the power supply used to hang out, you’ll find a clear piece of plastic. This is your heat shield, and guess what? It’s ready to be taken off!
Step 15


Now that the heat shield is out of the way, check out all those screws holding everything in place.
– Time to unscrew and conquer! Remove the screws holding the metal chassis to the logic board:
– Seven shiny 5.8 mm Phillips silver screws—grab ’em!
– Two bold 7.4 mm Phillips gold screws—don’t let them escape!
Step 16


Heads up, there are some ribbon cables still hanging on!
Gently unclip the flaps—one on one side and two on the other—that are keeping the disc drive snug. The first two pictures show you exactly where those three flaps are hiding. This part can be a bit tricky, so take your time and don’t rush it!
– Gently start to lift the disc drive out with care.
Step 17


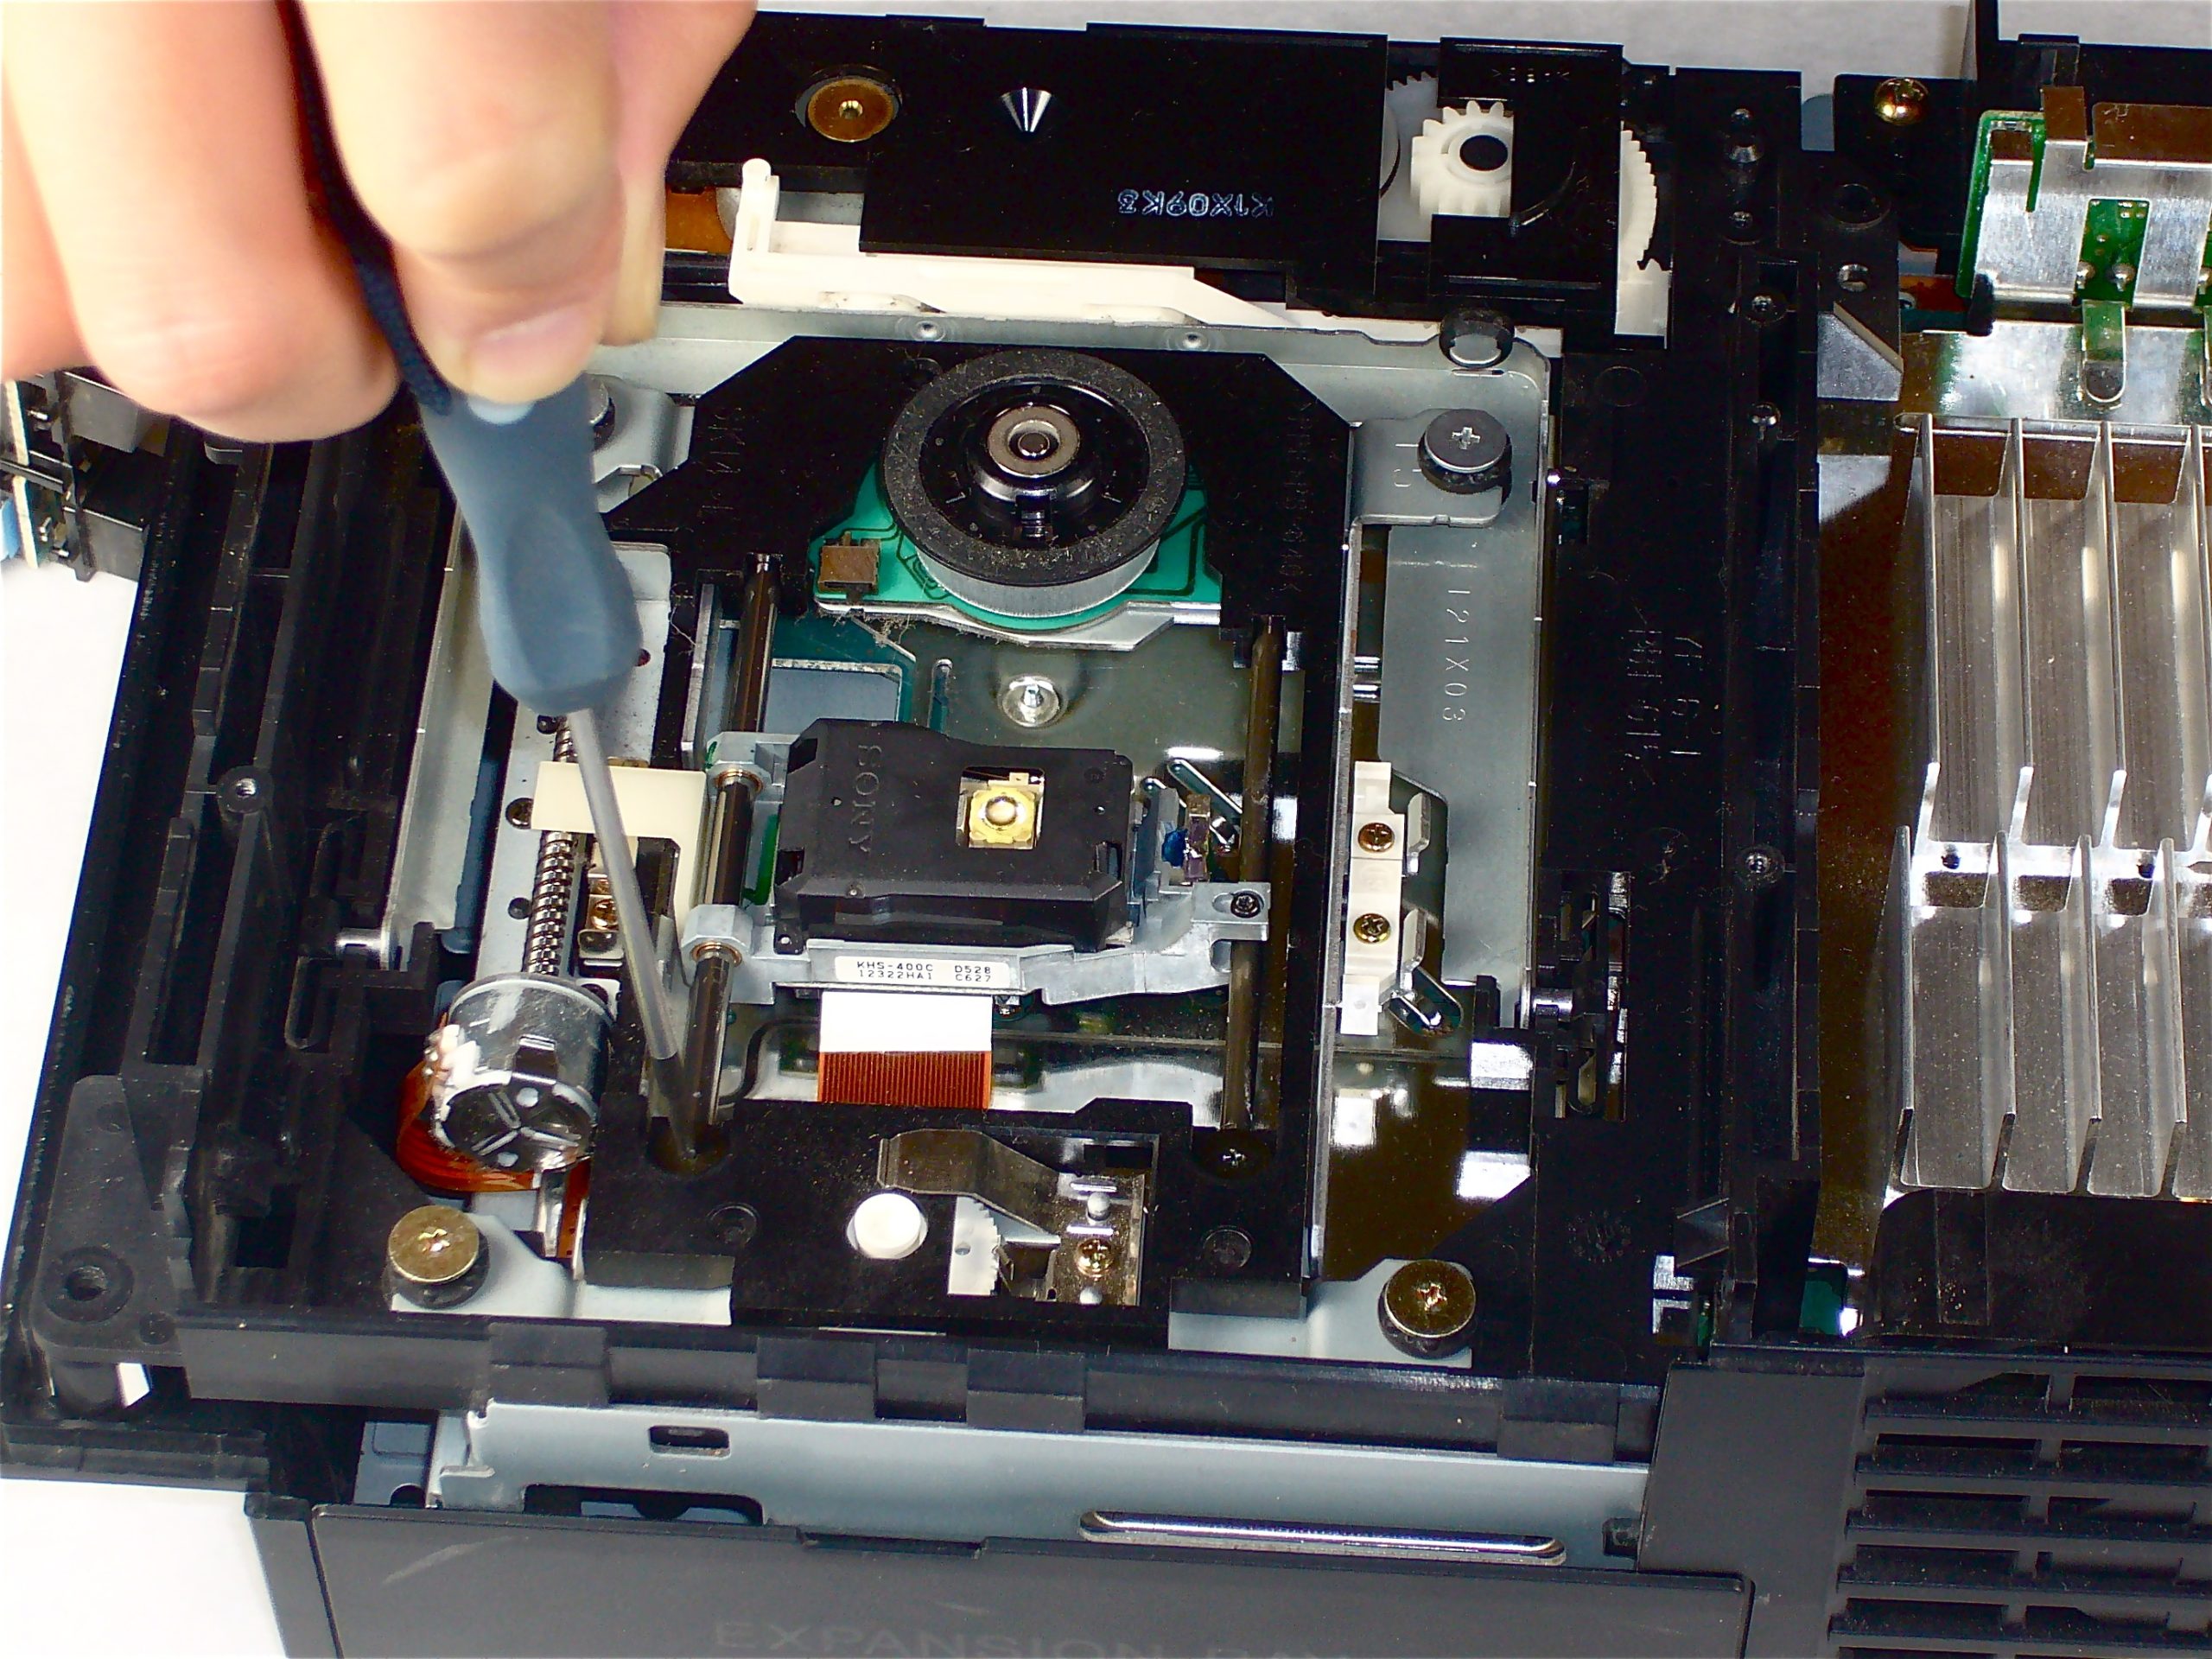
Hey, heads up! There are four ribbon cables connected to the disc drive—handle them with care so none of them get torn!
– To put your device back together, simply follow these steps in reverse order and you’re good to go.
– Change your mind? No worries! Just cancel and move on.
– If you need a hand, feel free to schedule a repair.
Success!