PlayStation 2 Slimline Teardown/Disassembly
Duration: 45 minutes
Steps: 7 Steps
Ready to give your PlayStation 2 Slimline a little TLC? This guide will walk you through taking it apart and digging into its inner workings, including the motherboard, optical drive, cooling fan, hard drive, and more. Follow along and you’ll have a clear path to those hidden components in no time.
Step 1


Heads up: you’ll need to peel off the “Do Not Void” seal to get to the final screw. Almost there!
– Set your PlayStation 2 Slimline on a flat table with the bottom facing up—let’s get this party started!
– Pop off the little covers hiding the screws (check out the red circles in the second image for their secret lairs).
– Grab a Phillips #1 screwdriver and unscrew the five screws marked with red circles in the second image. You’re doing great!
Step 2


Double-check for that sneaky screw hiding out under the ‘Do Not Void’ seal—it’s easy to miss!
If you’re working with a later model, heads up: the DVD drive assembly isn’t screwed in, so don’t flip the device upside down unless you want a surprise tumble.
– Grab a metal spudger and gently pry apart the upper half of the chassis from the lower half. Keep things steady and take your time—patience makes perfect. If you need help, you can always schedule a repair.
Tools Used

Step 3


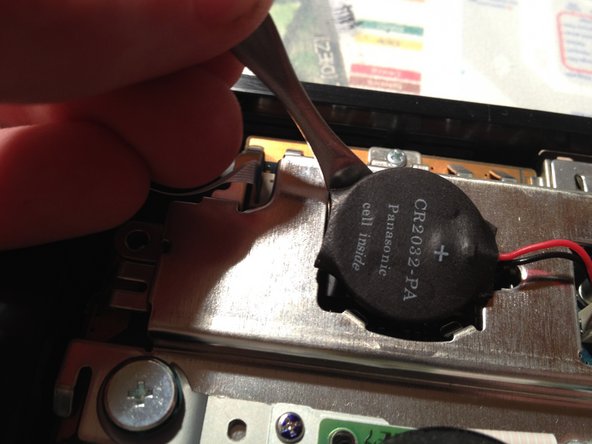
With the case open, you’re looking right at the motherboard and all the parts hooked up to it.
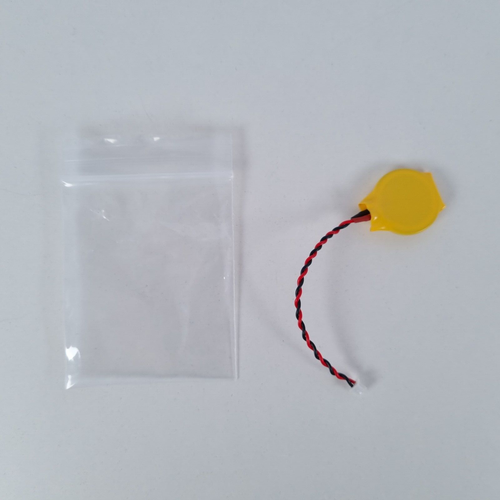
– First, locate the battery, then gently use a spudger to pry it loose. Carefully disconnect the battery from the motherboard using your fingers. If you need help, you can always schedule a repair.
Step 4

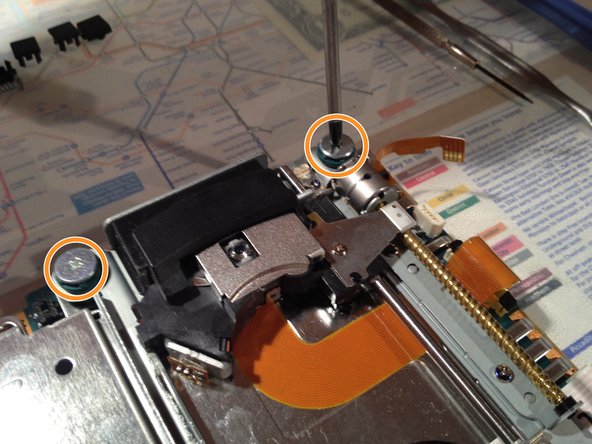
Two screws are playing hide and seek here! They’re not in the picture, but don’t worry – they’re on the opposite side of the ones you can see.
– Carefully unplug the three ribbon cables—think gentle, not Hulk mode.
– Grab your Phillips #1 screwdriver and take out the four screws holding the optical drive in place.
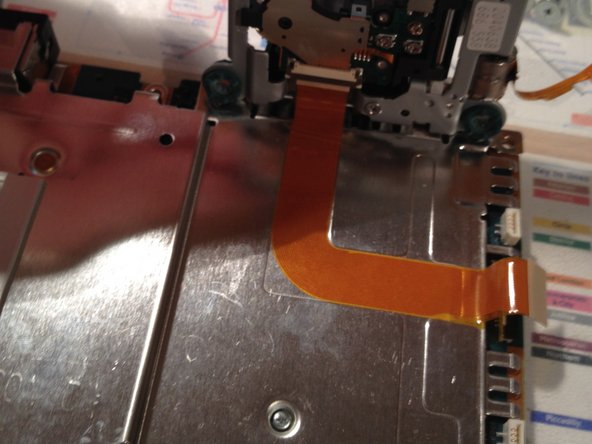
– Lift the optical drive up, then slowly peel the flex cable from underneath the drive off the metal plate. Go slow, your patience will pay off!
Tools Used

Step 5

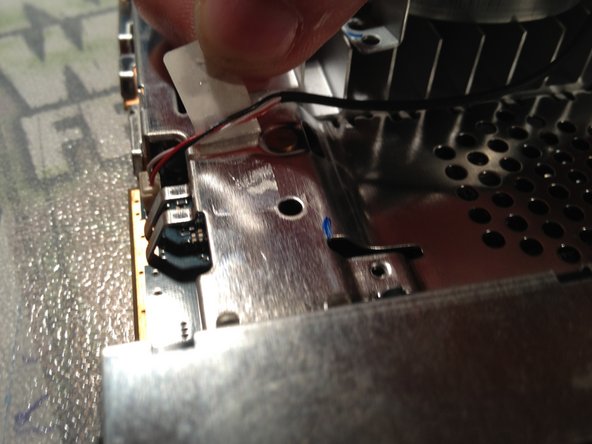
– Unscrew the three PH00 screws holding down the fan cover—don’t let them roll away!
– Next, gently peel back the duct tape and disconnect the cable.
Step 6


At this point, both metal plates should lift out easily.
– First, go ahead and unscrew the four screws highlighted in the picture. You’ll find them on the bottom side of the motherboard.
– Next, flip the motherboard over and carefully remove the two screws on the other side, just like you did before.
Step 7


All done! Your PlayStation 2 Slimline is now completely disassembled. Great job!
When you’re ready to put it back together, simply follow these steps in reverse order. You’ve got this!
– Take off the metal plate from the bottom of the motherboard. It’s like peeling back the layers to reveal the heart of your device—easy and satisfying!
Success!